Email Images & Layouts
You can email individual images or an entire layout as part of a message to a patient, parent, dentist, or anyone else you choose.
-
Open the Patient's Image Layout - View the static image layout that contains the images you want to email: You cannot email from a cardflow layout. (See "Patient Imaging Page" for details.)
-
Select Images to Include - (Not required when emailing an entire layout.) Click an individual image to work with. To select multiple consecutive images, hold down the Shift key, then choose the first and last image to include. To select multiple non-consecutive images, hold down the Ctrl key, then click each image you want to include. In addition, you can click Select All from the ribbon bar (or press Ctrl-A on your keyboard) to include all images.
-
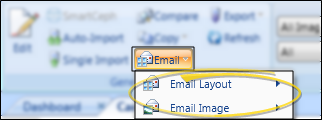
 Initiate Email - Click
  Email from the ribbon bar, and choose whether you want to email the entire layout, or only the selected images. (If you have not selected one or more specific images, the Images choice is not available.)
 -
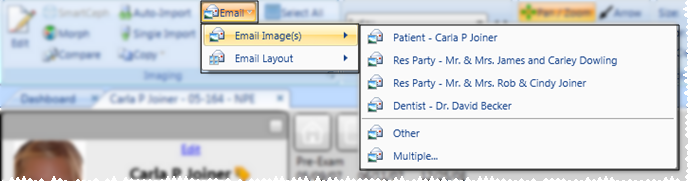
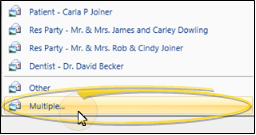
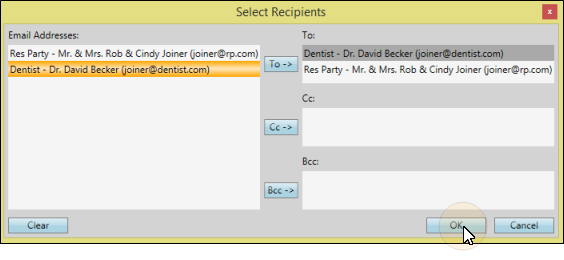
Select Recipients - Choose to send the images or layout to the email address of the patient, responsible party, or professional associated with the patient folder, or select Other or Multiple to send the images to a different email address.
-
Choose History Category - Select how to categorize this email message in the recipient's correspondence history. If you choose multiple recipients, the notification will be added to the correspondence history of each individual. (See "Set Up History Categories" for details about creating your list.)
-
Complete the Message - Your email editor opens, with the selected images inserted attachments. Complete the subject and message portions of the window, and enter or confirm the address. Then click Send.
![]()
www.ortho2.com │ 1107 Buckeye Ave. │ Ames, IA 50010 │ 800.346.4504 │ Contact Us
Chat with Software Support │ Chat with Network Engineering │ Chat with New Customer Care
Remote Support │ Email Support │ Online Help Ver. 11/11/2019


