HR Manager Employee Notepad
Use the notepad to type free-form notes. You can categorize your notes, then use the filter to view only the categories of notes you need to see. In addition, you can use entries from the internal Edge Cloud dictionary, as well as your personal and shared dictionaries, to auto-complete your text. Only operators with "full" HR Manager security access can view this area of the employee record.
Permanent Record Created - Once saved, you cannot edit or delete HR Manager notepad entries.
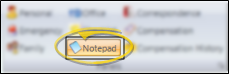
To view an employee notepad, open the employee record in your HR Manager, and select to display the  Notepad panel. (See "HR Manager Employee Records" for details about opening employee records.)
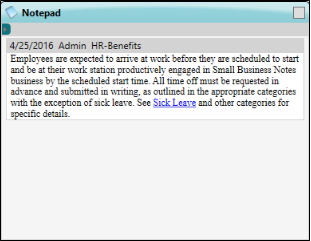
View Notes - All notepad entries are date stamped automatically, and listed by date, user, and category. Newer entries appear at the top of the notepad. Use the  filter icon to view only certain types of notes.
Expand / Collapse Panels - You can display the selected HR Manager panels in either normal or expanded view. When in normal view, all panels are given the same amount of screen space. When in expanded view, a single panel is given the maximum amount of space, and all other panels are collapsed. To work in expanded view, click the box at the upper-right corner of the panel you want to work with, or double-click the panel header. To return to normal view, click the box, or double-click the panel header again. Certain information and features are available in expanded view only.
Filter Notepad Display - Click the Filter icon at the left of the frame to select the categories of items to display. When you are finished, move your cursor off the filter selection box to close it. Edge Cloud remembers filter settings by user and page: So, no matter what workstation you use, or which patient you are working with, your favorite filters go along with you. See "Set Up History Categories" for details about setting up your categories.
Open the Notepad window from the Edit section of the HR Manager ribbon bar to add new notes to an employee notepad.
Permanent Record Created - Once saved, notes cannot be edited or deleted.
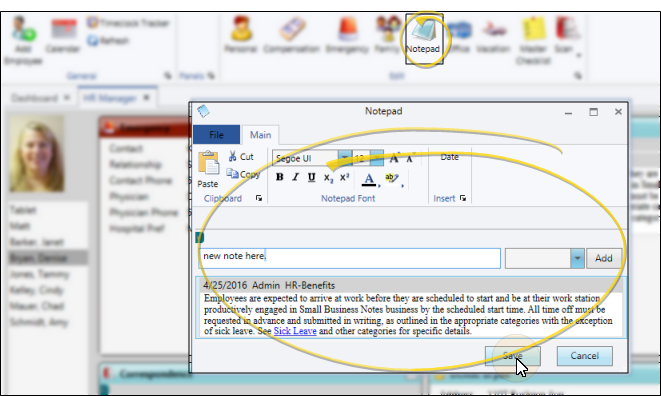
Add a New Note - Type your note in the text field at the top of the notepad window, and select a category from the drop down list. You can use the Notepad Font section of the ribbon bar, as well as standard word processing keyboard shortcuts (i.e. cut, copy, paste, bold, underline, italics) to enhance the text. As you type, your Edge Cloud dictionaries provide suggestions to auto-complete the text. If your text is not recognized, you may right-click for spelling suggestions, or to add the text to a dictionary for later use. When you are finished, click Add. The date, your Edge Cloud user name, and the assigned category are inserted automatically, and the new note is added to the beginning of the notepad. (See "Set Up History Categories" for details about creating your notepad category list.)
Date Stamp - When you add a note, the current date, as well as the user and category, are added to the note heading. However, while creating or editing the note, you can click Date fromi the Insert section of the Notepad ribbon bar to insert the date at the cursor location.
Edit Text - After you click Add, the text of the note appears at the bottom of the window. If the note has not yet been saved, you can right-click and select Edit, then modify the note as needed.
Save - Click to Save your changes, or click Cancel to exit editing mode without changing the record.
Copy Notes - You can copy all or part of any notepad entry, when the Notepad panel is either collapsed or expanded. Click and drag to select the text you want to copy, then right-click and select Copy. (Or press Ctrl+C on your keyboard). You can then past the text into another text application, such as a word processing document or email message.
Print Notepad - Expand the notepad panel, then use the  Print icon from your Quick Access toolbar to print a copy of the employee's notes. All notes are included in the print out, even if you cannot see them all on your screen. See "Printing from Edge Cloud" for details.
Work With Employee Record Panels - See "HR Manager Employee Records" for details about expanding, rearranging, and working with the panels of your employee records.