Kodak OMS Integration
Use the Kodak OMS integration to view and optionally export patient images directly from
Get Started
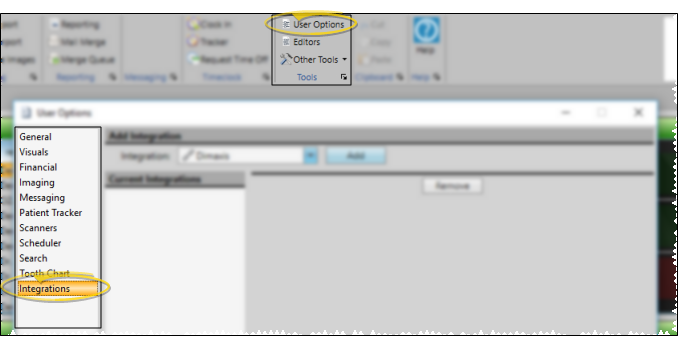
![]() Activate the Integration - User Options > Integrations > Kodak OMS > Add. This integration is user-specific: You must activate the integration on each workstation where you would like to use it.
Activate the Integration - User Options > Integrations > Kodak OMS > Add. This integration is user-specific: You must activate the integration on each workstation where you would like to use it.
 User Options from a ribbon bar.
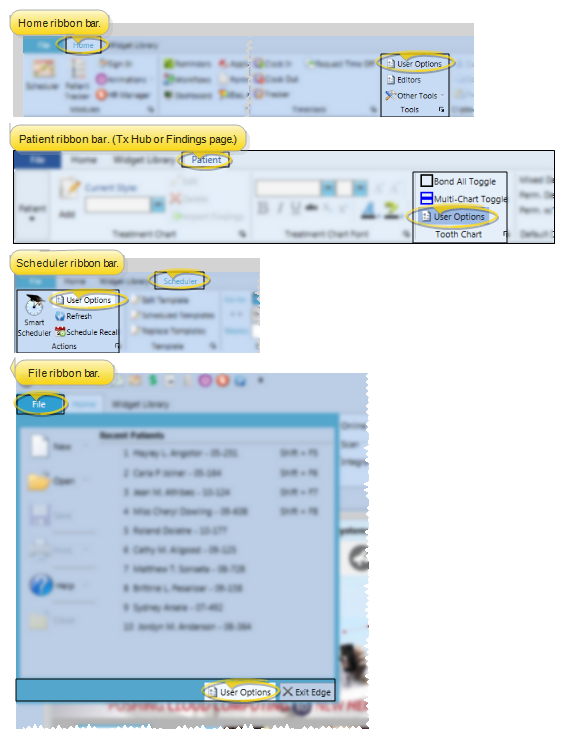
 Kodak OMS from the Integrations dropdown, and click Add.
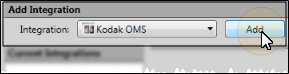
![]() Set Up Integration - Choose Kodak OMS from your list of user integrations. Enter the location of your Kodak OMS image files. You may also change the integration title if you wish. Click Ok to save your changes.
Set Up Integration - Choose Kodak OMS from your list of user integrations. Enter the location of your Kodak OMS image files. You may also change the integration title if you wish. Click Ok to save your changes.

Confirm Patient Identification - Confirm that patient records in your Kodak OMS database have the same Patient ID number as the corresponding Edge
Select Kodak OMS scanner - Select the scanning device to use with your Kodak OMS integration. See "Scanner User Options" for details.
Use This Feature
![]() View & Export Patient Images - When you select the Kodak OMS integration from the Imaging ribbon bar, your Kodak software is launched, with the patient's Kodak record loaded. Images you then export from Kodak can easily be imported into your patient's Edge Imaging page.
View & Export Patient Images - When you select the Kodak OMS integration from the Imaging ribbon bar, your Kodak software is launched, with the patient's Kodak record loaded. Images you then export from Kodak can easily be imported into your patient's Edge Imaging page.

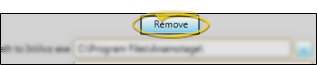
![]() Remove the Integration - User Options > Integrations > Kodak OMS > Remove.
Remove the Integration - User Options > Integrations > Kodak OMS > Remove.
More Information
Integration Support - Ortho2 can help you with questions you have about system requirements, integration setup, and using your integrations within our system. However, you will need to contact the third-party supplier for specific details about using the integrated module.
![]()
www.ortho2.com │ 1107 Buckeye Ave. │ Ames, IA 50010 │ 800.346.4504 │ Contact Us
Chat with Software Support │ Chat with Network Engineering │ Chat with New Customer Care
Remote Support │ Email Support │ Online Help Ver. 11/11/2019


