Set Up Alert List
Use the Alerts editor to create a list of standard alert descriptions to enter into your patient folders. Then, when you add an alert to a patient folder, you can simply choose a description from your list as-is, as well as type a unique alert for the patient.
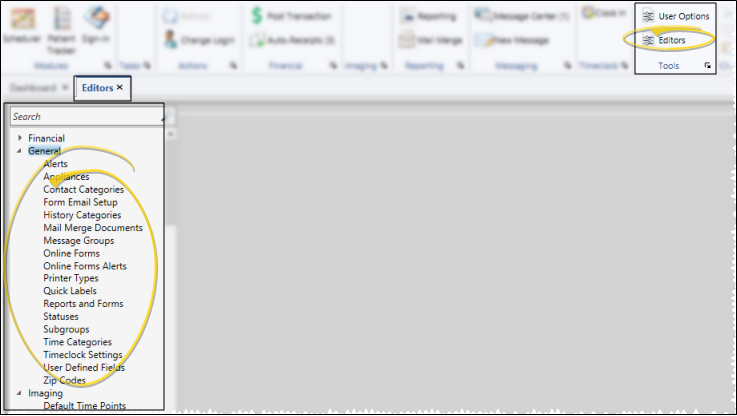
 Open Alerts Editor - Home ribbon bar > Tools section > Editors > General > Alerts. (You can also use the Search field to look for the editor you want to work with.)
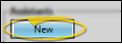
Create a New Description - Click New. Then enter the details for the new record.
Edit Descriptions - Click in the field you want to modify and type your changes, or as needed.
Assign Default Alert Stops - Enable each alert stop you want to enable by default when this alert is added to a patient folder.
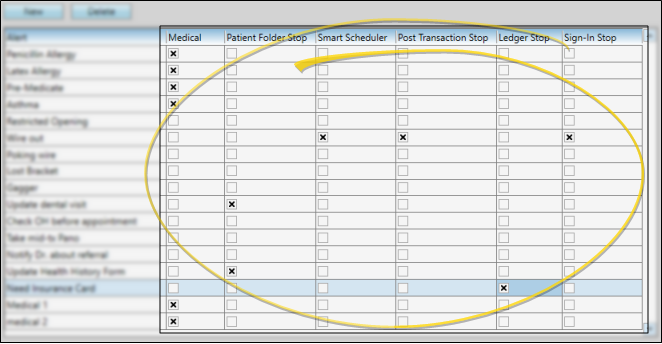
Medical Alert - Enable this option to show this alert in red in the patient folder Alert panel, the Patient Information Panel alerts widget, and the Treatment Hub summary. You can choose to show a  Medical Alert icon on Scheduler appointments. When this option is enabled, you can hover over the icon to open the patient information pop-up window, where you can read the alert message. .In addition, you can choose to include medical alerts in several reports.
Patient Folder Stop - Enable this option to show this alert in an Alert Stop pop-up window whenever you first open a patient folder.
Scheduler Stop
- Enable this option to show this alert in an Alert Stop pop-up window whenever you begin to schedule an appointment for the patient, or drag and drop an appointment for the patient from a Scheduler Bar onto your schedule.
Post Transaction Stop - Enable this option to show this alert in an Alert Stop pop-up window whenever you open the Post Transaction window for the patient.
Ledger Stop - Enable this option to show this alert in an Alert Stop pop-up window whenever you open the patient's Finance page.
Sign-In
Stop
- Enable this option to show this alert in an Alert Stop pop-up window whenever the patient signs into your office. The alert is triggered only from the sign-in screen, and not if you sign the patient in by right-clicking the appointment in your schedule.
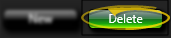
Delete Descriptions - Click the record you want to remove, then click Delete. The description is removed from the list, but not removed from any patients that already have the description assigned to them.
Save Changes - Click  Save in your Quick Access toolbar or File ribbon bar (or press Ctrl+S on your keyboard) to save any changes you have made.

Set Up Online Forms Alerts - Use the Online Form Alerts editor to set up alerts to trigger when a patient's online form response(s) match your alert criteria. You also use this editor to set up periodic online form update notices, and alert you when an online form needs signatures.See "Online Form Alerts" for details.
Print - You may want to print this list as a report for reference. See "Alert List" for details.