Default Time Points Editor
Use the Default Time Points editor to create, edit, and order the timepoint descriptions to use with your Edge Imaging system. Although you always have the option of creating additional timepoints when importing images, we recommend reviewing the list and deciding ahead of time what descriptions you want to use, and entering them into the Default Timepoints editor. This will help maintain consistency,
and provide for effectively using patient images in your mail merge documents.
System-Wide Settings - All of the settings in this editor are system-wide: When you change a setting, it changes for all Edge Cloud users and computers in your system.
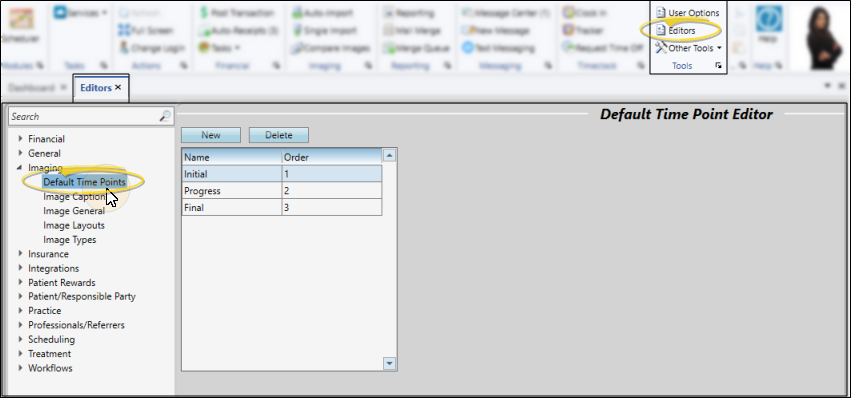
Select Editors from the Tools section of the Home ribbon bar. Then, from the Imaging section, open the Default Time Points editor. (You can also use the Search field to look for the editor you want to work with.)
You can add, delete, rename, and reorder the time points in your list. These settings are system-wide: Any changes you make to these settings are immediately applied to all machines and users in your system.
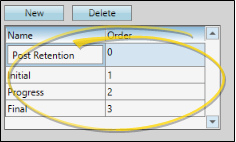
Add a New Time Point - Click New. Select New Time Point in the Name column and type a descriptive name. Assign the order you want this timepoint to appear in relation to all other timepoints.
Edit Time Point Name - Click in the Name column of the timepoint you want to change and type the correct information. Existing patient images retain the original timepoint name: New images will use your new name.
Reorder Time Points - Click in the Order column to re-define the order the timepoints appear in Edge Imaging.
Delete Time point - Select the timepoint you wish to delete. Click Delete. Existing patient images assigned to this timepoint are not affected: However, you will no longer be able to choose this timepoint for new images.
Click  Save from the file ribbon bar or your Quick Access toolbar (or press Ctrl+S on your keyboard) to save your changes.