Time Categories Editor
Use the Time Categories editor to create job / pay code categories that employees can use to indicate how they spent their working hours, and to calculate vacation and sick pay hours for your HR Manager.
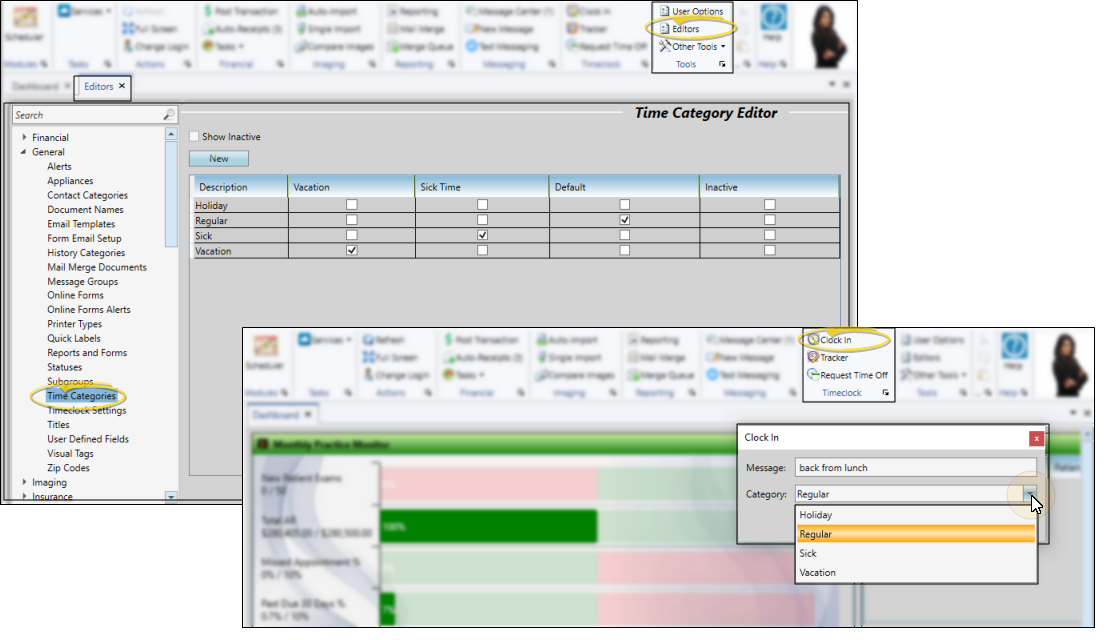
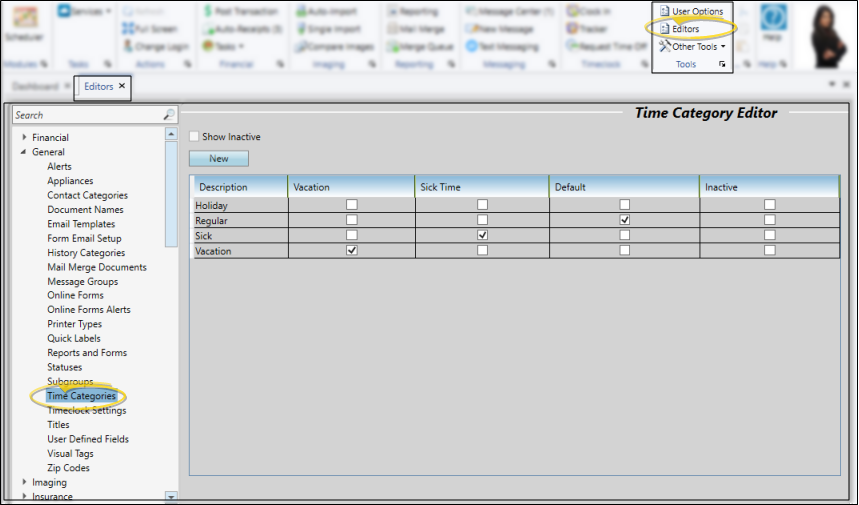
Select Editors from the Tools section of the Home ribbon bar. Then, from the General section, open the Time Categories editor. (You can also use the Search field to look for the editor you want to work with.)
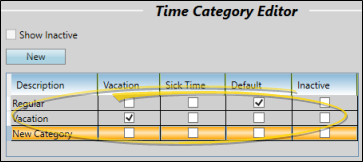
Click New to create a new category description, or select an existing description to work with. If not all your records appear in the list, enable the Show Inactive option.
Description - Type a name for the selected category.
Vacation / Sick Time Categories - Enable the Vacation or Sick Time option to indicate non-working hours that the employee is paid for. If you use the HR Manager, time stamps assigned to these categories will deduct PTO time or Well Pay hours accrued from employee records.
Default Category - Enable the Default option of your Timeclock Categories editor to specify which category should be initially selected when employees clock in. Only one category can be set as the default at any one time.
Inactive / Active Toggle - Once you create a record, you cannot delete it. You can, however, flag it Inactive. Records you flag as Inactive are not available for general use, but they remain in your system for reporting and other data collection needs. In addition, you can toggle records back to Active whenever needed.
Click  Save in your Quick Access toolbar or File ribbon bar (or press Ctrl+S on your keyboard) to save any changes you have made.