View Mail Merge Documents
Use the View mail merge action to see a mail merge document on your screen, where you can review and edit it before you print it, add it to the mail merge queue, or capture it to the correspondence history.
-
 Initiate Mail Merge - Home ribbon bar > Reporting section > Mail Merge. (You might also be able to open this feature from the Quick Access toolbar at the top of your Edge Cloud window.)
-
Choose Document to Merge - Select a document name from your Favorites or Documents list, at the left of the Mail Merge window. (You can also use the Search field to find the document(s) you want to work with.)
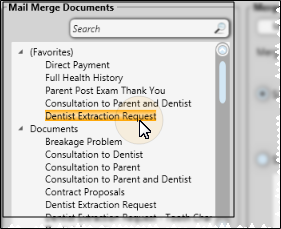
To add or remove a document from your "Favorites" list, simply drag and drop it from the Documents list. Adding a document to "Favorites" does not remove it from the "Documents" list.
-
Choose Recipient(s) - Choose whether to merge the document for all records, a subgroup of records, or a single record. The choices you have for selecting recipients depend on the "selection type" of the document you chose to merge. (See "Create and Edit Mail Merge Documents" for details about assigning document properties.)
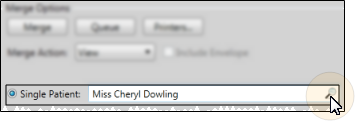
Single record - Select this option to generate the document for an individual record. If a patient folder is open when you initiate mail merge, that patient is the default, and the Mail Merge window tab displays that patient's name for your reference.
You can use the Search field to look for a different patient, if needed. The document's "selection type" property determines whether you will search for a patient, responsible party, or other party, and whether additional information, such as the patient's scheduled appointments, is included in the search.
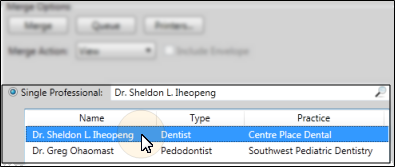
In addition, if you selected a document with the "selection type" property of Professional, Responsible Party, Patient Professional, or Patient Responsible Party, the list of records associated with the active patient appears for you to choose from.
In this example, the default patient is automatically selected. You can click the Search icon to look for a different patient.
This example shows the active patient's professional records, for merging a Professional type letter. The active patient's name remains on the Mail Merge tab for your reference.
Note the difference between 1) a Professional or Responsible Party type letter and 2) a Patient Professional or Patient Responsible Party letter type: When you merge a document for the first letter type, the document will merge for each patient who is associated with the selected professional or responsible party. However, when you merge a document for the second letter type, the document will merge only for the active patient, addressing the professional or responsible party you selected. See "Create and Edit Mail Merge Documents" for details.
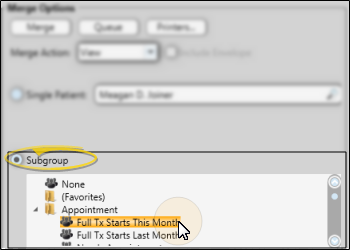
Subgroup -Select this option, then choose the subgroup to send the document to. See "Subgroup Editor" for details about creating subgroups.
-
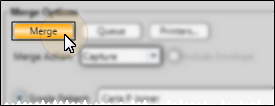
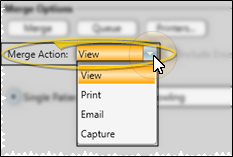
Choose Merge Action - Select the View merge action.
-
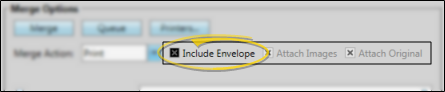
Include / Omit Envelope - If the selected document has a corresponding envelope, and you enable the Envelope option, the merge will generate the envelope in a separate word processing window. (See "Create and Edit Mail Merge Documents" for details about assigning envelopes to documents.)
-
Merge the Document - Click Merge to complete the merge process and open the output in your word processor where you can view and edit it. If you have merged multiple documents, each will appear in a separate word processing window. Documents are not added to the correspondence history at this point.
-
View & Work with Merged Output - The document opens in a separate word processing window where you can view and edit it. You can now edit the text, print the document, capture the output to the appropriate correspondence history, or send it to your mail merge queue or Edge Signature service.
Edit Text - You can review and edit the text as needed. Any changes you make are specific to this merged output, and will not affect the original document template.
Print - Press Ctrl+P on your keyboard (or use your word processing toolbar) to print the document, including any editing changes you have made, and permanently add it to the appropriate correspondence history. If your merge generated multiple documents, you will need to print each once separately. (See "Print Mail Merge Documents" for details about printing merge documents without first viewing them.)
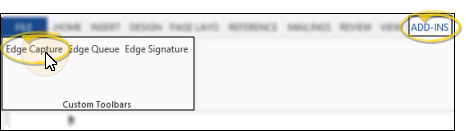
Capture to Correspondence History - Open the Add-Ins menu of your word processor, and click Edge Cloud Capture to add the document, including any editing changes you have made, to the appropriate correspondence history. This is especially useful with electronic signatures that do not require a printed copy of the document. (See "Capture Merge Documents to Correspondence Histories" for details about capturing merge documents to correspondence histories without first viewing them.)
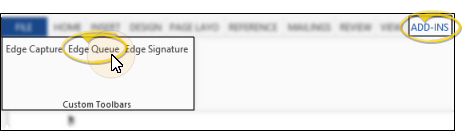
Add to Queue - Open the Add-Ins menu of your word processor, and click Edge Cloud Queue to add the document, including any editing changes you have made, to your queue. You then choose whether the final document will be printed, emailed, captured or signed. (The Sign merge action is available only if you have chosen an Edge Signature document.) This provides you with a way to first view and edit merged documents before sending them to a final output and permanently adding them to the correspondence history. See "Mail Merge Queue" for details.
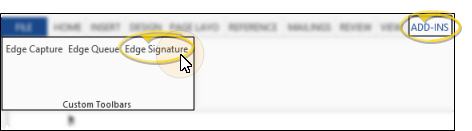
Add to Edge Signature - Open the Add-Ins menu of your word processor, and click Edge Signature to add the document, including any editing changes you have made, to your Edge Signature service. This provides you with a way to first view and edit merged documents before sending them to be signed. See "Edge Signature" for details.
-
Exit & Save - Click the X in the upper right corner of the document to exit your word processor. If you made changes to the merged output, you have the opportunity to save the document as you exit. If you have not made any changes, you will need to use the Word save feature to save a copy of the merged document. Be sure you use an original document name, and remember where it is located. Note that saving the document in this manner does not add it to any correspondence histories.