Edge Cloud / Invisalign Integration
Use the Invisalign integration to connect your Edge Cloud patient records with their corresponding record on Invisalign's web site. Once connected, you can view the patient's Invisalign details, request videos, and open a patient's Invisalign record directly from Edge Cloud.
Integration Support - Ortho2 can help you with questions you have about system requirements, integration setup, and using your integrations within our system. However, you will need to contact the third-party supplier for specific details about using the integrated module.
Obtain License Agreement - Sign and return the Align Technology ClinCheck Software License Agreement Amendment to Ortho2. You can find the agreement here.
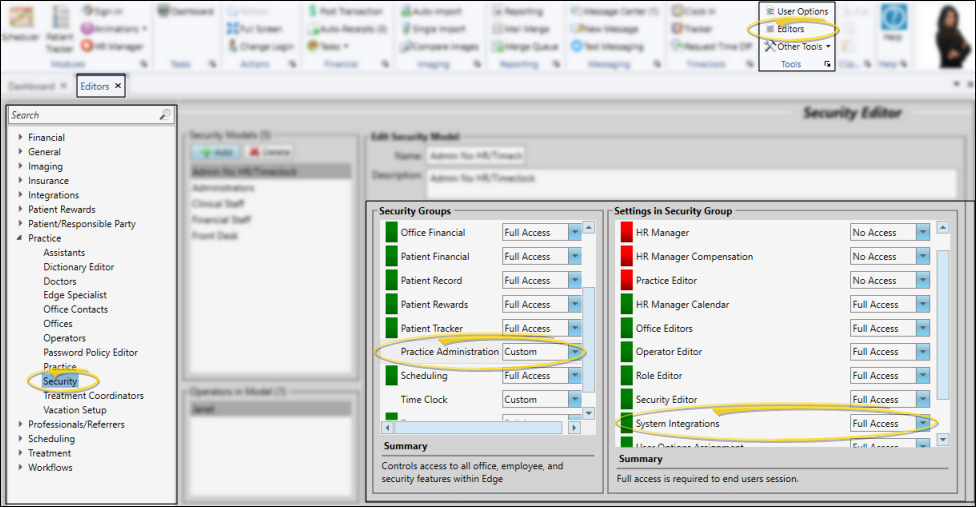
 Activate the Integration - Select Editors from the Tools section of the Home ribbon bar. Then, from the Integrations section, open theSystem Integrations editor. (You can also use the Search field to look for the editor you want to work with.) Look for the Invisalign section of the window. Enter the doctor's Invisalign username and password (provided by Align Technology) in the appropriate fields. If you want additional doctors and / or staff to use the integration as well, check the Enable Staff Login option. Be sure to click
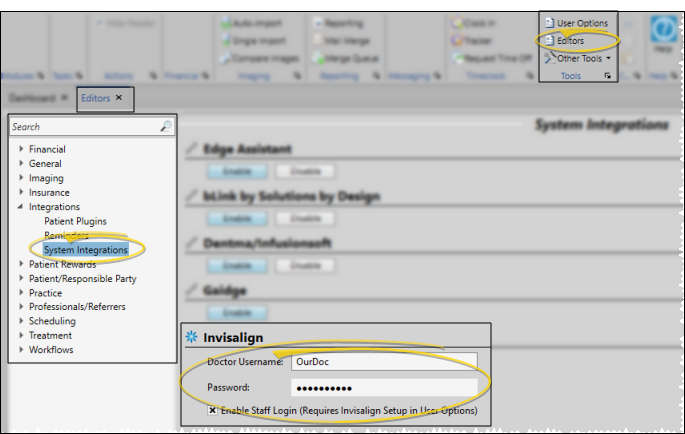
  Save in the Quick Access toolbar, or press Ctrl+S on your keyboard to save your changes.
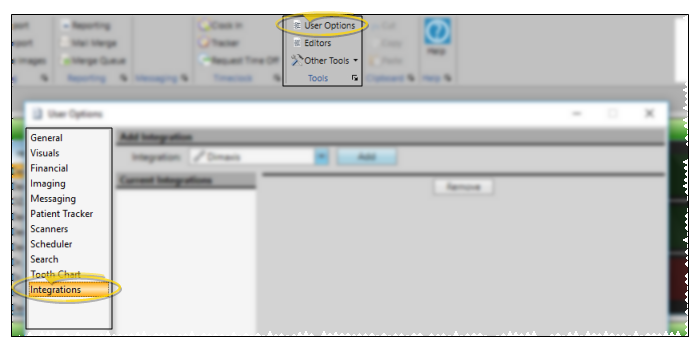
Authorize Additional Doctors or Staff - If you enabled the Invisalign staff login option in the System Integrations editor, each staff member or additional doctor will need to log into Edge Cloud, then go the Integrations page of their User Options to enter their unique login.
-
Open User Options from a ribbon bar, and select Integrations.
-
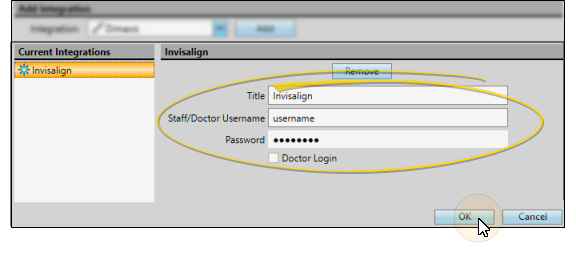
Select Invisalign From the Integrations dropdown, and click Add.
-
Enter your Invisalign username and password (provided by Align Technology) in the appropriate fields. Doctors should also enable the Doctor option. When finished, click Ok to save your changes and close the window.
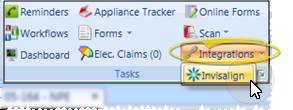
Open the Invisalign Patient List - Select Integrations from the Tasks section of the Edge Cloud Home ribbon bar, and choose the Invisalign option. This will display the list of patients with Invisalign treatment records, along with their current Invisalign status.
Sort the List - Click a column header to sort the list by that data type.
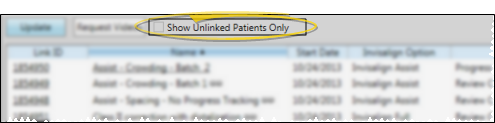
Update Data - Click Update at the top of the window to connect to the Invisalign web site and update the window to the latest Invisalign patient data.
When the patient name and birthdate of an Edge Cloud patient folder exactly matches the patient name and birthdate of an Invisalign patient record, the two are linked automatically. However, if the name or birthdate have even the slightest difference, you must manually link them, as described below.
You can optionally enable the Show Unlinked Patients Only option to quickly obtain a list of the Invisalign patients that have not yet been linked to an Edge Cloud patient folder.
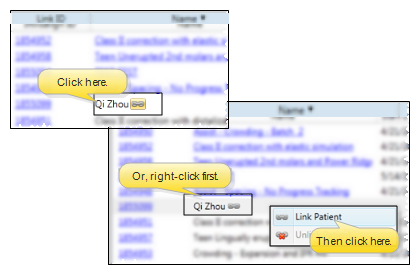
Click the  Link icon, or right-click and select Link Patient beside the Invisalign patient you would like to work with. You then use Fast Find to select the Edge Cloud patient folder to link
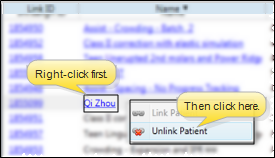
To unlink records that have been linked in error, right-click the patient name in the Invisalign patient list and select  Unlink Patient
You can scroll through the list to find a patient, or use the Search box at the top of the window.
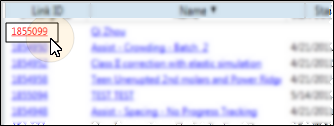
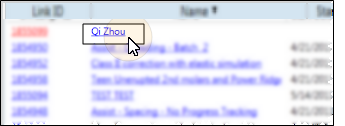
Go to Invisalign Record - Click the link number at the left of the window to go to the Invisalign web site, with that patient's record open for your review.
Go to Edge Cloud Patient Folder - Click the patient name to open your Edge Cloud patient folder.
Your Invisalign system must have ClinCheck, and the patient Invisalign status must start with the text "treatment expiration date" or "progress tracking" for videos to be available.
Check the Request Videos box for one or more patients, then click the Request Videos button at the top of the window. Once requested, a check mark will appear in the Pending Videos column until the video is complete. The next time you open the Invisalign integration (or click Update) after a video has been completed, you will receive a notification. At that time, the Pending Videos check will be removed, and the Videos Created column will show the date.
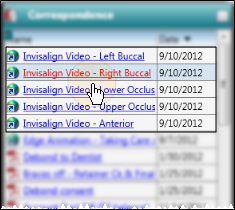
After videos have been requested and created, the patient and responsible parties will receive an email message with links to the available videos, and the list of videos will appear in the patient's Correspondence History, ready for viewing.
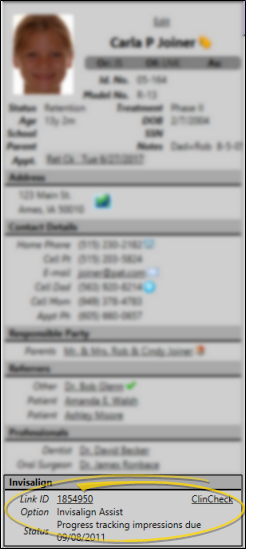
You can see a patient's most recent Invisalign information on the Patient Information Panel of their Edge Cloud patient folder. You can click the Link ID to launch the Invisalign web site with the patient's record open for your review, or click the ClinCheck link to open that Invisalign page. (This requires you to allow all popups for the site.)