Mail Merge Envelopes
You can associate an envelope with mail merge documents that require mailing, so that you can generate both the letter and accompanying envelope simultaneously.
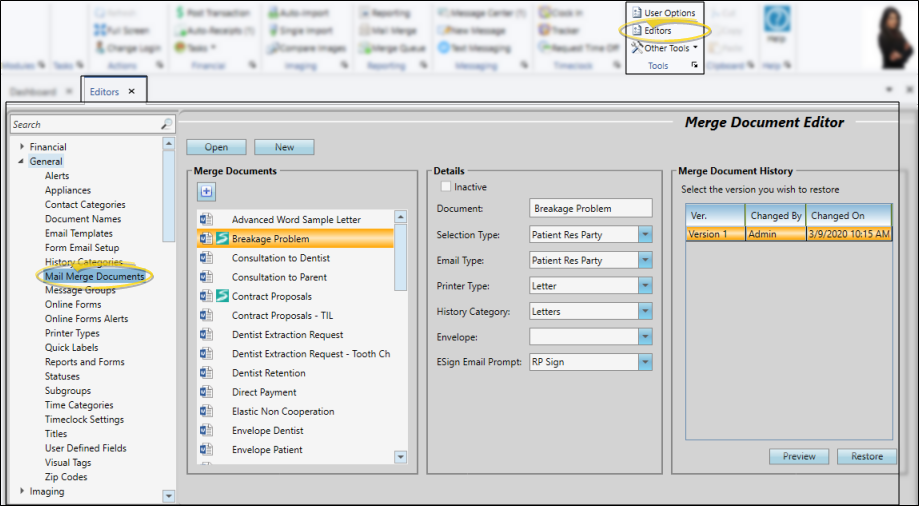
Select Editors from the Tools section of the Home ribbon bar. Then, from the General section, open the Mail Merge Documents editor. (You can also use the Search field to look for the editor you want to work with.)
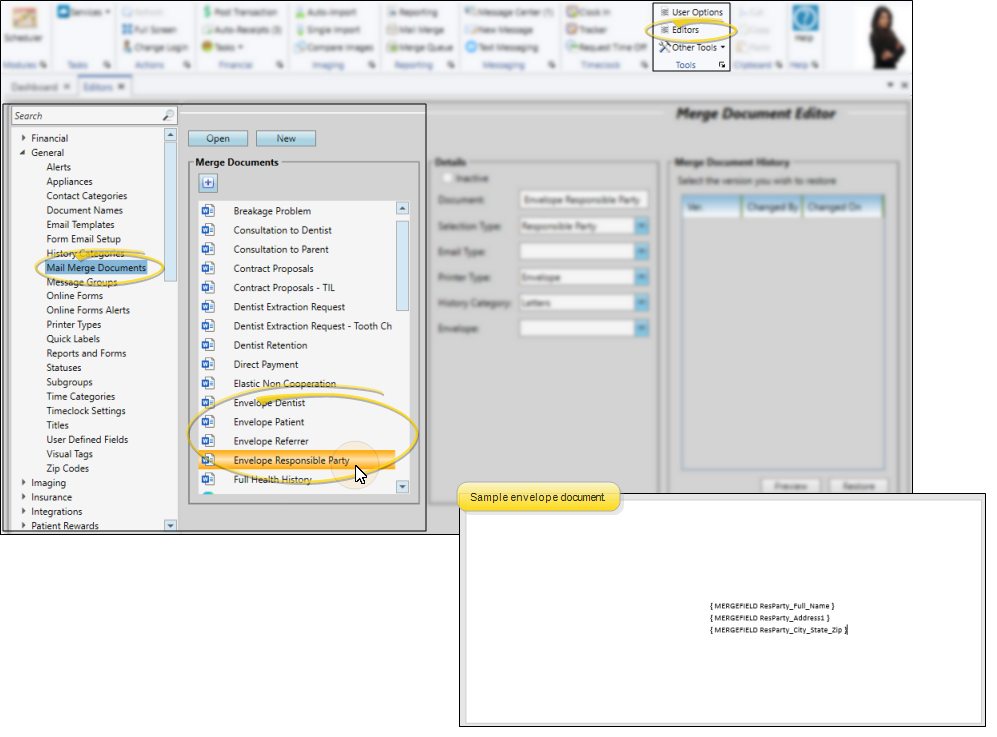
Choose an envelope document you want to work with. (i.e. Envelope Patient, Envelope Responsible Party). If an envelope document does not exist for the type of letter you want to work with, click New, and create a document that simply includes the name and address variables that you want to use.
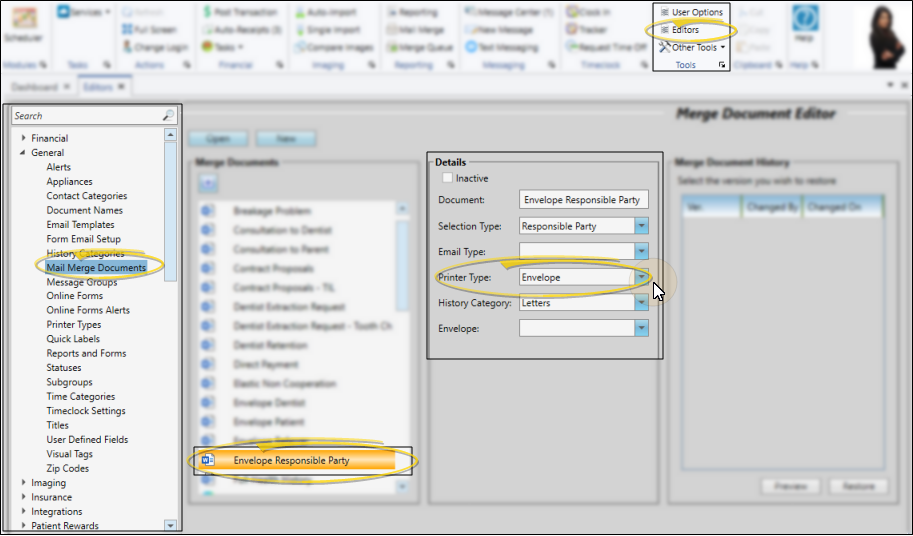
After you select an envelope document, click the Printer Type option and select the Envelope option. Repeat this step for all of your envelope documents. Then save your changes.
Assigning a Printer to the Envelope Printer Type - Be sure your envelope printer type is set up to use the printer you have filled with envelopes. Then, when you merge a letter and enable the Envelope option, the letter will print on the printer assigned to the Letter printer type, and the envelope will print on the printer assigned to the Envelope printer type (which may be either the same or a different printer as the letter). See "Printer Types Editor" for details.
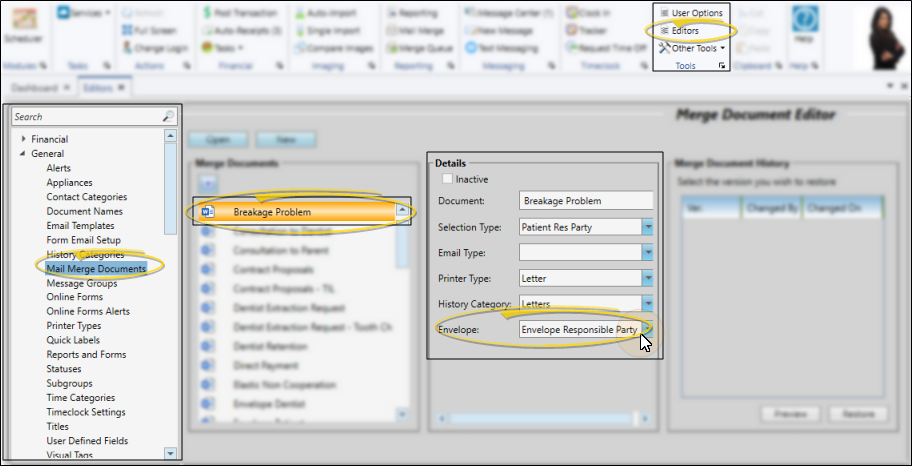
After choosing the envelope printer for your envelope documents, select a mail merge letter to work with, then click the Envelope option. Choose the appropriate envelope document to assign to this letter. Repeat as needed for your merge letters. If a mail merge document never needs an envelope, you can leave the Envelope column blank.
Click  Save in your Quick Access toolbar or File ribbon bar (or press Ctrl+S on your keyboard) to save any changes you have made.