-
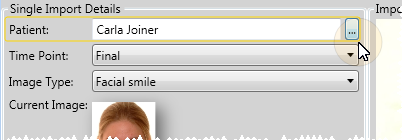
Select a different patient - If patient name at the top of the window is not correct, click [...] to find a new patient to work with. This provides an efficient way to import images for multiple patients in a row.
-
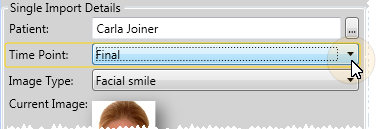
Timepoint - Choose the for this image, or type a new timepoint unique to this patient.
-
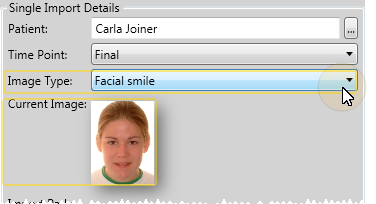
Image type & current image review - Choose the to import. A picture of the patient's current image (if any) appears below your selection for reference.
-
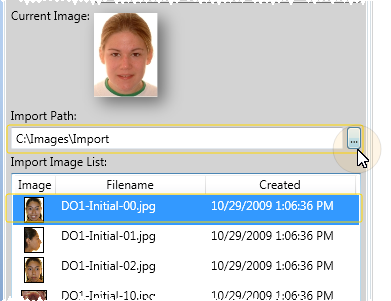
Select image to import - You can choose an image file from a folder, drag an image onto your screen, or scan an image into the patient folder.
-
Choose an image file - Enter the Import Path, or the location, of the image you want to import. Click [...] to browse to a different location if needed. Then select the file you want to import.
-
Swap (drag and drop) an image - You can drag & drop (or swap) an image file from another location onto your Imaging window. See "Swap (Drag & Drop) Image" for details.
-
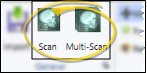
Scan an image - Click  Scan, then scan the image according to the instructions for your local scanning device. See "Scan an Image" for details.
-
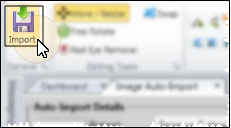
Edit image - Select the image to work with, then use editing tools to change the appearance of the image before importing it into the patient folder. See "Edit & Adjust Images" for details.
-
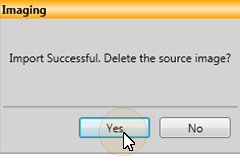
Begin importing - Click  Import to save your selections and begin the import process. The new image will replace the current image type for this timepoint, if any.
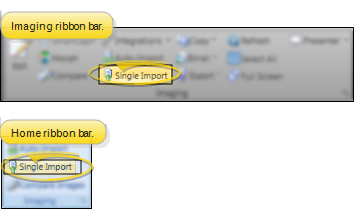
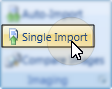
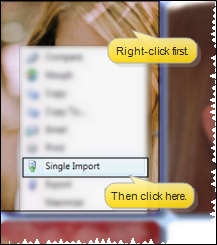
 Single import.