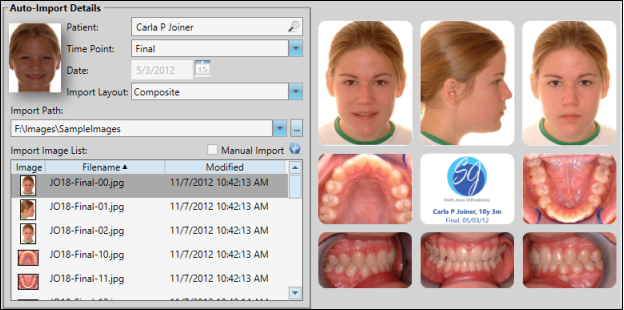
Use the auto import feature to add a series of images to a patient record. The series is tagged with a timepoint, indicating the point in treatment when the images were taken. You can auto import additional image sets into other timepoints throughout treatment, providing you with a visual comparison of the patient's condition across time.
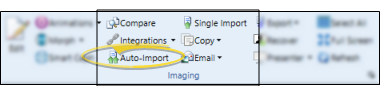
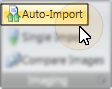
 Auto-Import.
Imaging ribbon bar:
Home ribbon bar:
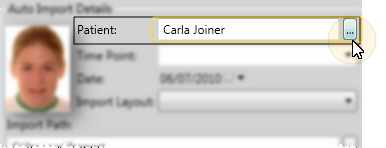
Select a different patient - If patient name at the top of the window is not correct, click [...] to find a new patient to work with. This provides an efficient way to import images for multiple patients in a row.
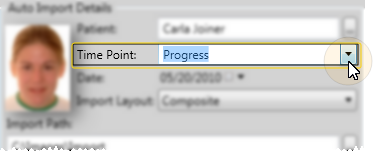
Timepoint - Choose the timepoint for this image, or type a new timepoint unique to this patient.
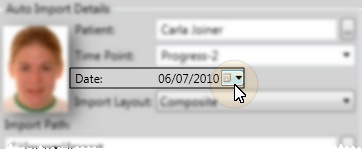
Date - Enter the date these images were taken. This date will be applied to all images in this timepoint. If you cannot change the date, images have already been imported into this timepoint. If you continue to auto import images into this timepoint, you will replace the original images with this series of images.
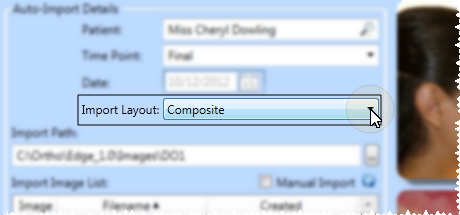
Import layout - Choose a layout to preview. The right side of the screen then shows you how the images will look after they are imported. See "Set Up Image Layouts" for details about selecting the default import layout.
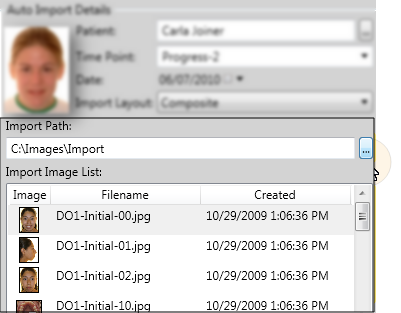
Import path & image list - Choose the location of this patient's original images. Click [...] to browse to a different location if needed. You then see a list of the images found in the Import Path location.
Zoom to individual image - Click a thumbnail in the image list to display a large picture of that graphic at the right of the window. Move your cursor off the thumbnail return to the layout preview.
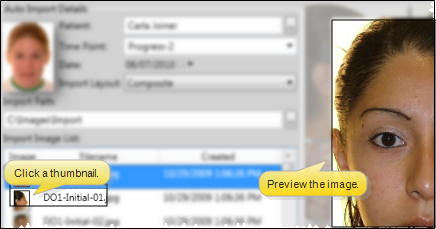
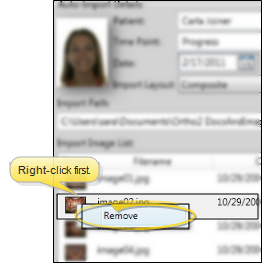
Remove image - If you do not want to import an image, right-click that image and select Remove. This does not delete the image from the original location. This feature is especially useful if, for example, you take several photos of the same image type (i.e. Facial smiling), but want to import only the best one into the patient record.
First image to use - By default, Edge Imaging will begin importing from the first image file in the list, and continue until all images are imported into the patient folder. However, you can click a different file to start with. (The layout preview at the right will be adjusted accordingly so you can see the results of your action.) This feature provides a way for you to store the original images of multiple patients in one location and choose which image is the "first" in the series to auto import for a patient.
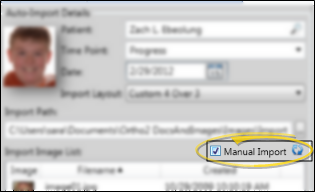
Manually arrange images - If the images are not in the correct place in your layout preview, first enable the Manual Import option, then drag and drop them into new locations as needed. The image you are dragging is swapped with the image that is currently in the new location. This feature is useful when the original images are taken out of order.
Swap (drag and drop) an image - You can drag & drop (or swap) an image file from another location onto your Imaging window. See "Swap (Drag & Drop) Image" for details.
Edit image - Select the image to work with, then use editing tools to change the appearance of the image before importing it into the patient folder. See "Edit & Adjust Images" for details.
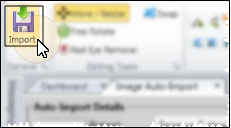
Begin importing - Click  Import to save your selections and begin the import process.
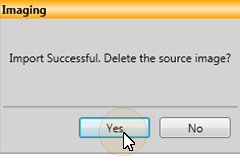
Complete the process - After images are imported, you see a completion notification dialog. If the Delete After Import option in your Imaging user options is set up to either retain original images or delete original images, you simply see a notice that the process is complete. However, if the Delete After Import option is set up to prompt you before deleting original images, select either Yes or No to direct the handling of the original images.
Oops! I imported the wrong images! - You can replace images that you auto imported in error, or add images that were missing when you auto imported, with the single import and swap features.
 │
│
Ortho2.com │1107 Buckeye Avenue │ Ames, Iowa 50010 │ Sales: (800) 678-4644 │ Support: (800) 346-4504 │ Contact Us
Remote Support │Email Support │New Customer Care │ Online Help Ver. 8/3/2015


