Email Patient Images & Layouts
You can email one or more individual patient images or an entire layout as part of a message you send to a patient, parent, dentist, or anyone else you choose.
Emailed Images Can Include Your Image Caption - The Image Caption set up in your Image Caption editor displays at the top of card flow layouts, card flip layouts, and maximized images. In addition, you can optionally "burn" this caption onto image layouts. and when you email, export, and merge patient images. See "General Imaging Editor" for details about the "burning" option.
You can choose to email one or more individual patient images, as well as entire image layouts.
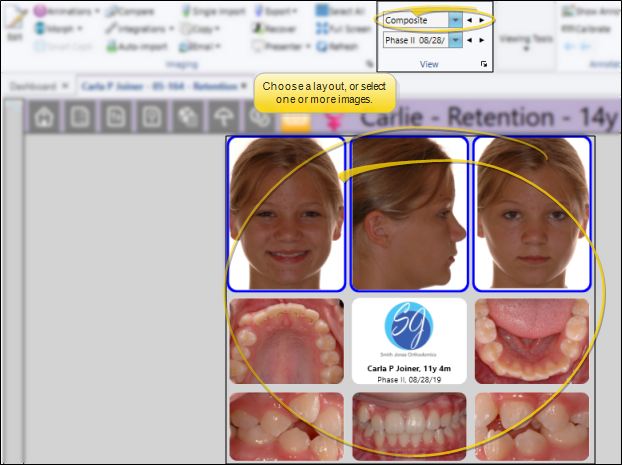
Choose a Layout - To choose an image layout to email, simply go to the patient's Imaging page and view that layout on your screen. You can email "static" and "dynamic" layouts, such as Index and Composite layouts. If you export a Cardflip layout, only the image you currently see on your screen will be exported. You cannot export Cardflow layouts.
Choose One or More Images - To select an individual image, you can simply click the image in the layout. If you want to select multiple consecutive images, hold down the Shift key, then choose the first and last image to include. To select multiple non-consecutive images, hold down the Ctrl key, then click each image you want to include. In addition, you can click Select All from the ribbon bar (or press Ctrl-A on your keyboard) to include all images in the layout.
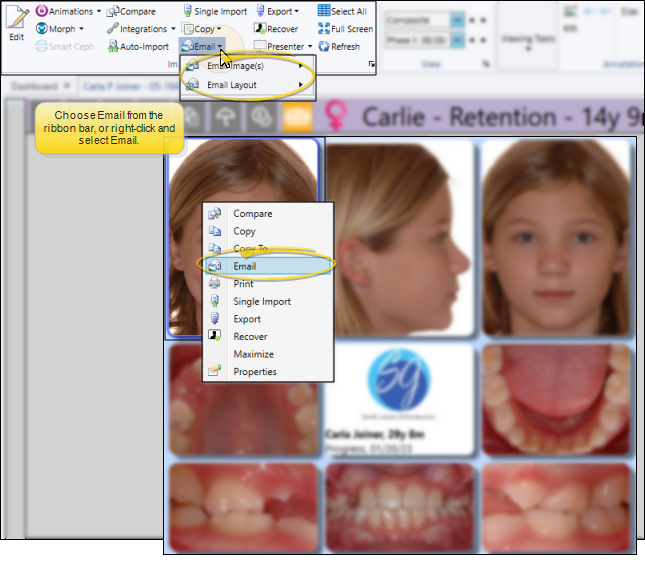
After selecting your layout or images, select  Email from the Imaging section of the ribbon bar. You can then choose whether you want to email the individual image(s), or the entire layout.
Right-Click Option - You can also select one or more images, then right-click and select Email to email them.
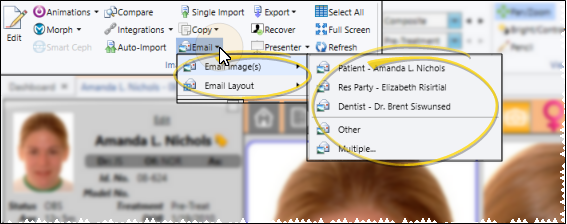
When you select to email images or a layout, a list of email addresses associated with the patient folder is available for you to choose from. You can also ignore these addresses, and select Multiple or Other to email the image(s) to someone else.
Email Contact Requirements - Only email addresses with the contact type of "email" will show up. Email addresses with different contact types (i.e."email - mom" will not show up as associated addresses.
Select an Individual Recipient
You can simply click an address from the list of associated email addresses to include it as an email recipient.
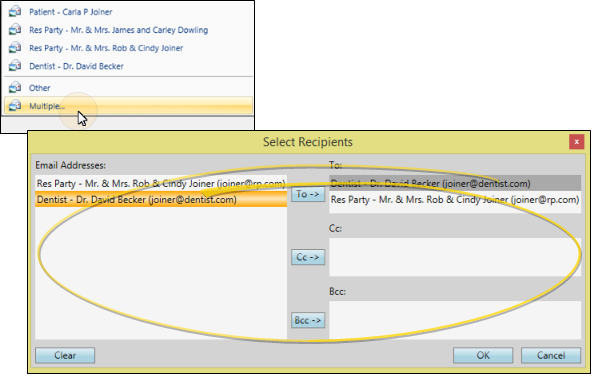
Select Multiple Recipients
Select Multiple...from the email options window, then choose the individuals you want to receive the message. You can use the To, Cc, and Bcc buttons to add addresses to the list, or double-click to add and remove addresses as needed. You can also click Clear to remove all selected addresses. All recipients will receive the same email message content and attachments, and a notification will be added to each individual's correspondence history.
Choose Another Recipient
To send the email to someone other than those listed as associated with the patient folder, select Other to open the email with no pre-assigned recipient.
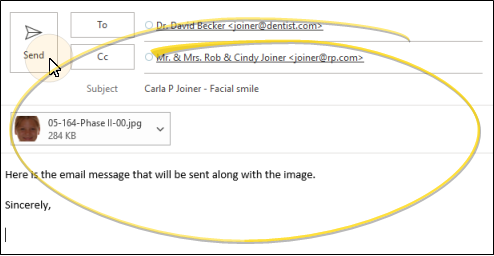
Finally, your email editor opens, with the selected images inserted as attachments. Add and review message recipients, as well as the default subject. Then, complete the body of the message and click Send to send the email immediately.
The default filename for saved individual images includes the patient id number, timepoint name and the number of the image type. The default for image layouts includes the patient id number and layout type. You can optionally use the settings in your Image General editor to include the patient name in the filename as well.