Tooth Chart Editor
Use the Tooth Chart editor to edit tooth names, as well as to set up the list of elastic types and elastics templates to use with your patient tooth charts. You also enable / disable the treatment chart / tooth chart integration with this editor.
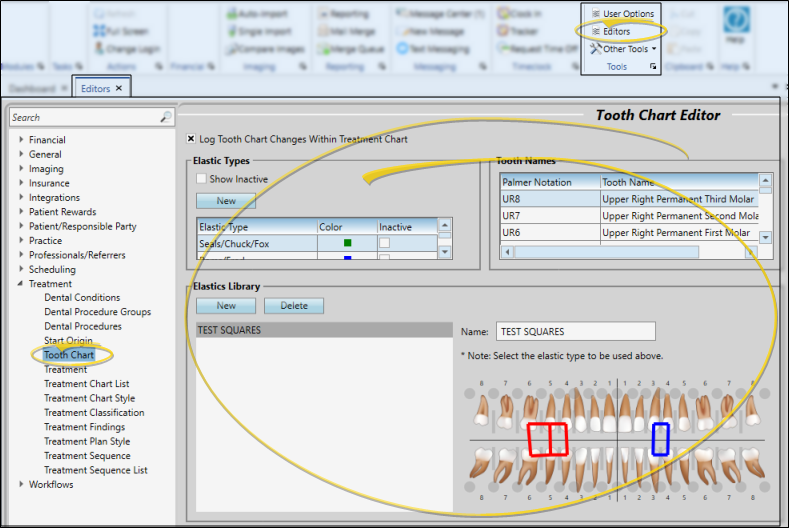
Select Editors from the Tools section of the Home ribbon bar. Then, from the Treatment section, open the Tooth Chart editor. (You can also use the Search field to look for the editor you want to work with.)
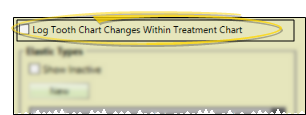
Use the Log Tooth Chart Changes Within Treatment Chart option to control whether or not tooth chart changes are recorded in the active "text only" or "list and text" column of an active treatment chart record.See "Treatment Chart Records" for details.
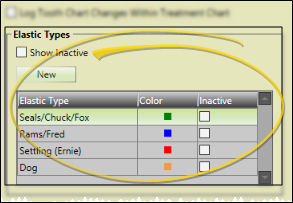
Create a New Elastics Type - Click New. Then enter the description of the new record, and select a color to display in your patients' tooth chart when this elastic type is selected.
Edit an Elastic Type - Click in a column to change the description, color, and inactive flag of an existing elastic type. You can enable / disable the Show Inactive option at the top of the window to show / hide inactive records in the list.
 Inactive Option
Once you create a record, you cannot delete it. You can, however, flag it Inactive. Records you flag as Inactive are not available for general use, but they remain in your system for reporting and other data collection needs. In addition, you can toggle records back to Active whenever needed.
Use the Elastics Library section of the Tooth Chart editor to set up elastics / TAD templates that you can apply to your patients' tooth charts.
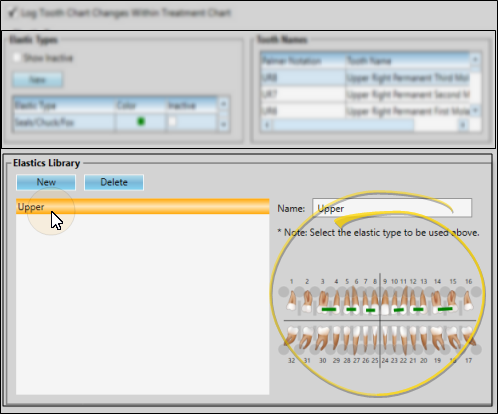
Create or Edit a Template - Select to work with an existing template in the Elastics Library list, or click New to create a new template.
Elastics
Add Elastics to the Template - Select the elastic type to use from the list at the top of the editor window. In the tooth chart, click and hold the first tooth you want to work with. Drag your cursor to the last tooth you want included in the group and release your mouse button. You can continue adding elastics to the tooth chart, selecting different elastic types whenever needed.
Remove Elastics from the Template - Right-click the elastic you want to delete, and select Remove.
TADs and Extraction Requests
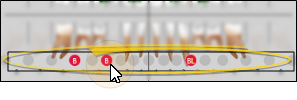
Apply / Remove TAD - You can either right-click the TAD circle and choose the TAD placement, TAD request, or extraction request to apply. Or, click the circle at the base of a tooth repeatedly to apply common TAD options.
Elastics Library Option - You can include TAD placements and requests, and extraction requests in your elastics libraries for quick application in your patient tooth charts. See "Tooth Chart Editor" for details.
Update Records - Remember to return to a patient's tooth chart to change the TAD status from a request to a placement when you receive confirmation that the procedure has taken place.
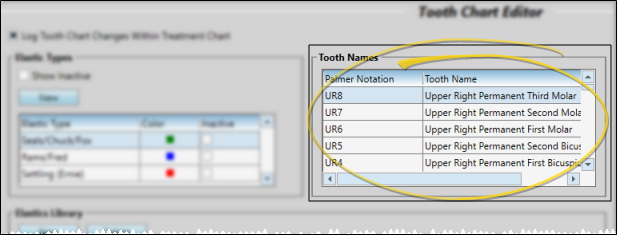
Notation Type - The tooth notation type (i.e. "Palmer Notation") is pulled from the default tooth numbering you have enabled in your Tooth Chart User Options, and cannot be changed here.
Tooth Name - Click in the tooth name you want to work with, and type your changes. These changes will remain in effect even if you change the default tooth numbering in your User Options.
Click  Save in your Quick Access toolbar or File ribbon bar (or press Ctrl+S on your keyboard) to save any changes you have made.