Issue Refunds
Use the Issue Refund feature to easily and effectively return money to a responsible party, or transfer overpaid funds to another patient contract.
-
 Open the Post Transaction Window - Select
  Post Transaction from the Home or Patient ribbon bar, or select Post Payment from the patient section of the Scheduler ribbon bar. If a patient record is already active, that patient's information will be loaded automatically. Otherwise, you use Fast Find (either typing information or swiping a registered reward card) to search for the patient to work with. (You can also post transactions from the Quick Access toolbar at the top of your Edge Cloud screen, and by right-clicking a patient's appointment in your Scheduler.)
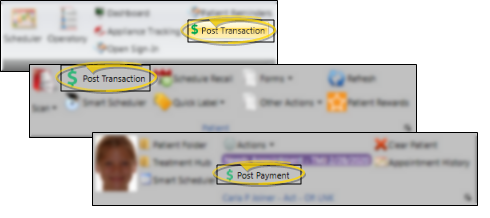
Unfinalized Transaction Warning - You can set up Edge Cloud so that when you attempt to post a transaction before you finalize the Transaction Report for the previous day, you see a warning message before the Post Transaction window will open. You must then confirm your action before continuing. This feature helps you maintain the integrity of daily transaction postings. After you have seen the message once, you can select not to see it again that day, if you choose. (See "Financial User Options" for details.)

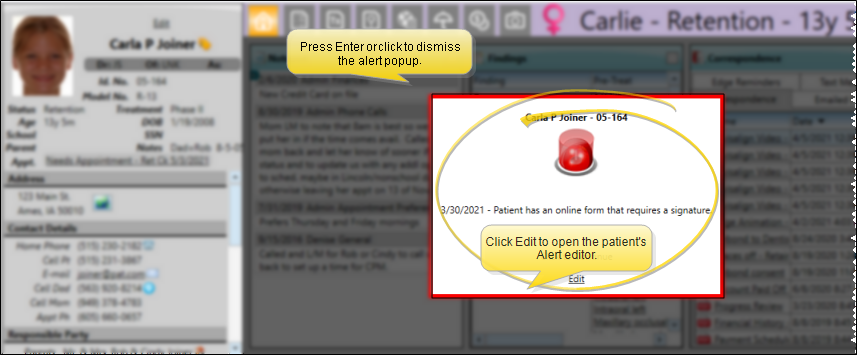
Alert Stop - If the patient has an alert trigger enabled for this feature, the Alert Stop pop-up window will appear when you initiate this feature for the patient. Review the alert information, then either press Enter on your keyboard, or click the box to continue. You can also click the Edit link to open the Alert editor for that patient.
-
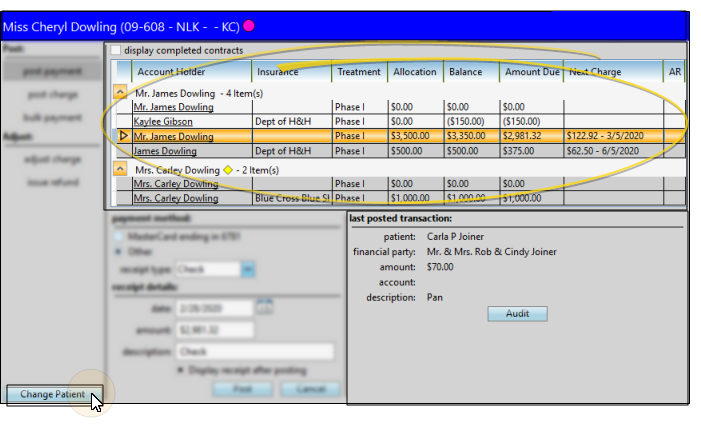
Select Patient and Contract - The selected patient's name, id number, office, doctor and patient tag (if any) appear in the header of the Post Transactions window. Choose the billing party or insurance company from the list that appears below the header.
If this person's record has a visual tag applied, the appropriate color/shape appears beside the name. If the correct patient name is not shown in the header, click the Change Patient button at the bottom of the window to choose a different patient to work with.
The accounts list includes the billing party name, any associated visual tags, the insurance company name, if appropriate, the treatment phase, and a summary of the financial obligation, including the next scheduled payment and amount. The AR column at the right of the post transactions window indicates whether the contract is set up with an Auto Receipts agreement.
Exclude Responsible Party from Financials
- When you add a responsible party to the Family panel of a patient folder, you can enable the Exclude from Financials option for Responsible Parties that have no financial obligation for this patient. You will not be able to post miscellaneous charges or receipts to this party, or add this party to the patient's financial contracts. If a charge or contract has already been posted to this party for this patient, you will not be able to enable this option.
Display Completed Contracts Option - By default, only currently active contracts appear in the list. If the contract you want does not appear, enable the Display Completed Contracts option to be sure you are viewing all accounts associated with this patient.
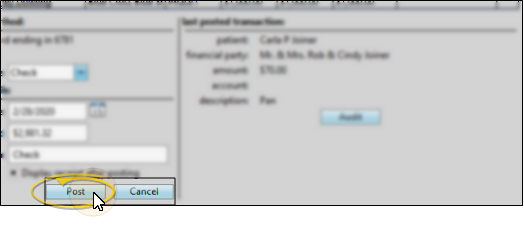
Display Last Posted Transaction - The last transaction you posted can appear at the right of the post transactions window for your reference. This helps prevent duplicate posting errors. In addition, when posting a charge, receipt, or refund, you can click Audit to review the posting details of that transaction. (You can use your Financial User Options to choose whether or not to display this information.
Open Ledger - You can click a billing name in the Contracts section of the Post Transactions window to open the patient's Finance page to that contract or billing line ledger.
Click to select billing party to post to. If you are posting an insurance payment, be sure to select the account that includes the insurance company name in the Insurance column of the list.
-
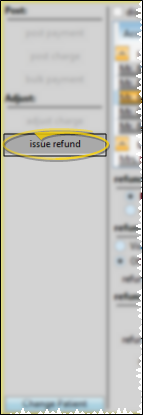
Enable Refund Mode - Click the Issue Refund button at the left of the Post Transaction window, then enter the transaction details.
-
Refund Destination - Choose whether you want to issue money back to the responsible party, or transfer the refund amount to another contract.
Refund to Responsible Party - To return money to the responsible party, choose this refund destination, and select the refund payment method you will use for issuing the refund (i.e. cash, check, or a Payment on File account), Then enter the refund details, including the date, amount to refund, and a description.
If you want a printed receipt of the transaction, Enable the Display receipt after posting option to generate a receipt for the refund immediately after posting.

Apply Refund to Another Contract - To transfer money to another contract or another patient, choose this refund destination, and enter the amount to refund. Then, you can either select to transfer that amount to another contract for the patient, or another Patient (such as a sibling's account).

-
Post the Transaction - After reviewing the transaction details for accuracy, click Post.
Open Ledger From Post Transaction Window - Click a responsible party name in the Account Holder column of the contract list that's displayed at the top of the Post Transaction window to open the patient's Finance page to the ledger details. You may need to drag the Post Transaction window to another location on your screen, or minimize it to your task bar in order to view the transactions.
Refund Tracking - The Receipt Adjustments section of the Transaction report lists transactions entered as receipt adjustments by right-clicking the receipt in he patient's ledger, as well as refunds applied from the Post Transactions window. These transactions are not included in your deposit total. In addition, refunds appear as receipt adjustments in the patient ledger.