Scan Patient Images
Use the Scan feature, available from the Single Import or Auto Import window, to add an image or multiple images to a patient record from any scanning device available to your workstation. You can scan images into previously unused image types, or overwrite the patient's existing images. This feature is often used to scan patient x-rays.
-
-
 Enter Import Details - Choose the patient, time point, date, and image type or layout in the Import Details section of the window. (For details about these fields, refer to the Import Single Images or Auto Import Images articles.) If there are already images in the time point, you cannot change the date. You can ignore the Import Path and list of images when you are going to scan a new image.
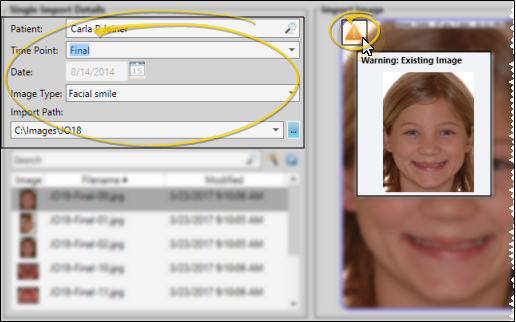
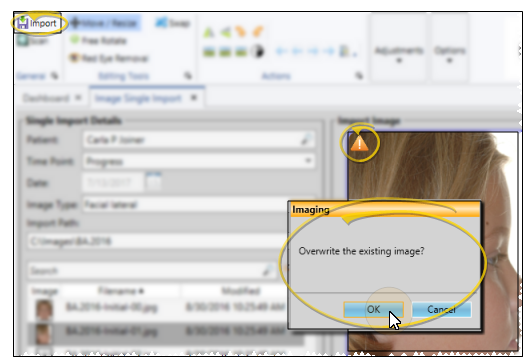
Overwrite Warning - If an image already exists for this image type in this time point, you will see a  Warning icon in the preview section of the window. You can hover over the icon to view the existing image. (X-Ray Location images do not show this warning: They do not overwrite any images, but simply add images to the Index layout of the patient's Imaging page, and the patient's tooth chart.)
-
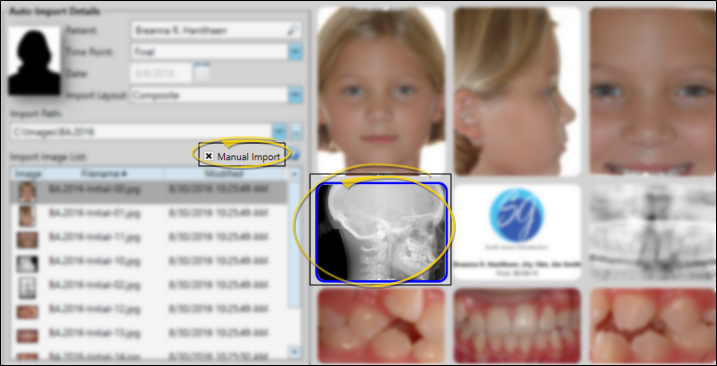
Enable Manual Import Option - (Auto Import only.) If you are using Auto Import, enable the Manual Import option. Then, if you are importing a single image, click the image location you want to scan into. (If you are using Single Import, skip this step: The image will be scanned into the layout location you started with.)
-
-
Image Preview - A preview of your selected image appears at the right of the window. You can move, rotate, and edit the image as needed before importing it into the patient record.
Edit Images - Use the icons in the Editing Tools section of the Imaging ribbon bar to move, re-size, manually rotate, and remove red eye from patient images. See "Image Editing Tools" for details.
Image Actions - Use the tools in the Actions section of the Imaging ribbon bar to mirror or flip the image orientation, rotate images by 90 degrees, sharpen, blur, or smooth image resolution, and apply auto-contrast. The Actions tools also provide you with a way to reverse or re-apply changes you have made to your images. See "Image Editing Actions" for details.
Image Adjustment - Use the tools in the Adjustments section of the Imaging ribbon bar to manually adjust the brightness, gamma, saturation, contrast, and hue values of your images. See "Image Editing Adjustments" for details.
Image Options - Use the tools in the Options section of the Imaging ribbon bar to superimpose grid lines and silhouettes on your images to assist you as you resize
and realign an image. See "Image Editing Options" for details.
-
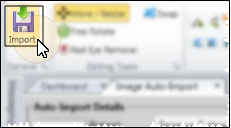
Import Image(s) - Click  Import from the General section of the Imaging ribbon bar to save your selections and begin the import process.
-
Verify Overwrite - If you are importing an image (or images) that will overwrite an existing image in this time point, you must confirm your action before continuing.
No Overwrite Warning - When you use Single Import to add an X-Ray Location image to a patient folder, you will not see any overwrite warning, even if an image has already been imported into the image type you select. Each X-Ray Location image you import is simply added to the patient's Imaging index, as well as linked to the patient's tooth chart.
-
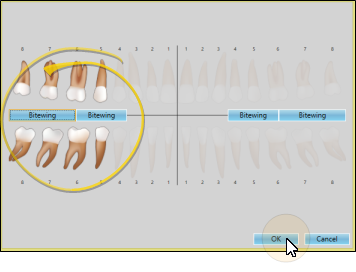
Link Tooth Chart - As you import an image, such as a bitewing radiograph, into a patient folder, you can link that image to one or more teeth, then view that image within the patient's tooth chart. Only image types with the X-Ray Location property enabled will ask for the teeth to link. See "Link Images to Tooth Chart" for details.
After images are imported, you see a completion notification dialog. If the Delete After Import option in your Imaging User Options is set up to either retain original images or delete original images, you simply see a notice that the process is complete. However, if the Delete After Import option is set up to prompt you before deleting original images, select either Yes or No to direct the handling of the original images.
 Single Import or
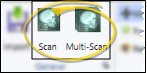
  Auto Import: You can scan an individual image from either import option, but you can only scan multiple images from the Auto Import option.
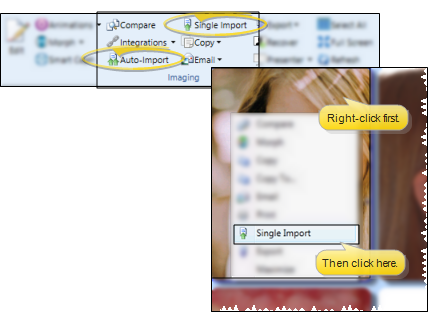
 Scan to import a single image, or click
  Multi Scan to import multiple images (available from Auto Import mode only). Then follow the instructions for your scanning device to preview and initiate the scan.