Patient Tags Editor
Use the Patient Tags editor to create a list of standard patient tag descriptions to enter into your patient folders. Then, when you add a tag to a patient folder, you can simply choose a description from your list, or type a unique tag for the patient.
Patient Visual Tags - This article discusses one type of patient tag. You might also be interested in learning about another type, patient visual tags. See "Visual Tags" for details.
Select Editors from the Tools section of the Home ribbon bar. Then, from the Patient / Responsible Party section, open the Patient Tags editor. (You can also use the Search field to look for the editor you want to work with.)
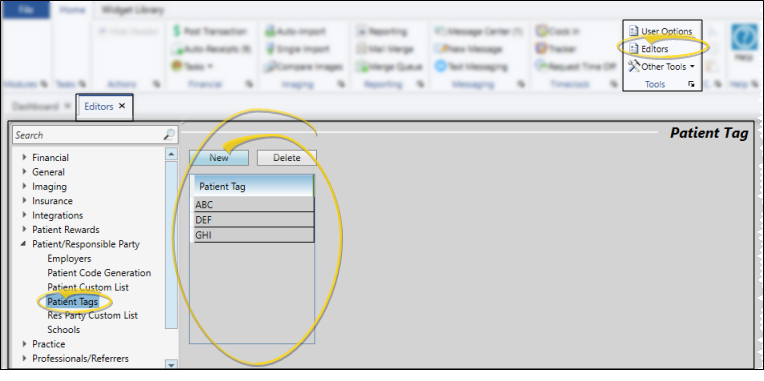
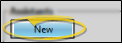
 Create a New Description - Click New. Then enter the details for the new record.
Edit Descriptions - Click in the field you want to modify and type your changes, or as needed.
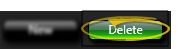
Delete Descriptions - Click the record you want to remove, then click Delete. The description is removed from the list, but not removed from any patients that already have the description assigned to them.
Save Changes
Click  Save in your Quick Access toolbar or File ribbon bar (or press Ctrl+S on your keyboard) to save any changes you have made.
You can add a patient tag to a patient folder as you create the folder, or by editing the Patient Information panel. Use the patient tag field to categorize your patients in any way you wish. The tag appears on the patient folder header, and your Scheduler appointment hover. In addition, you can enable Fast Find to search by the patient tag. Patient tags can be unique to the patient, or you can select a standard tag description from your Patient Tag editor. See "Patient Information Panel" for details.

