Mail Merge Patient Images
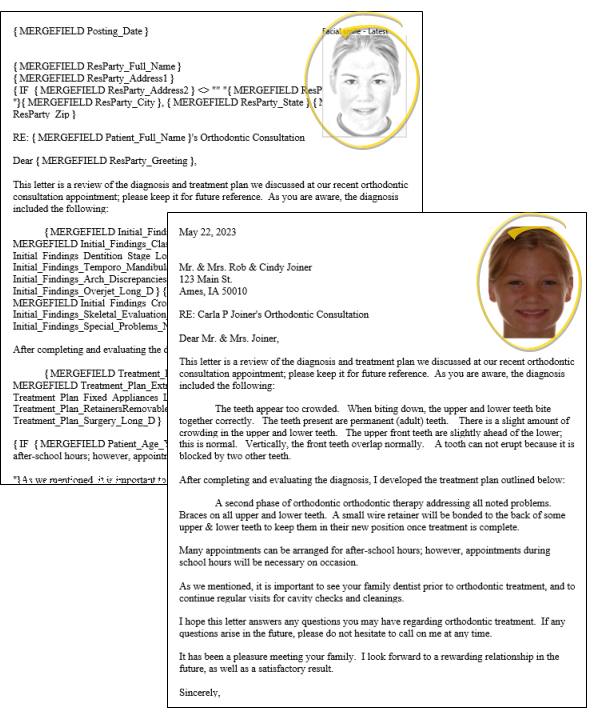
You can add variables that will insert Edge Imaging patient images and layouts into your mail merge documents.
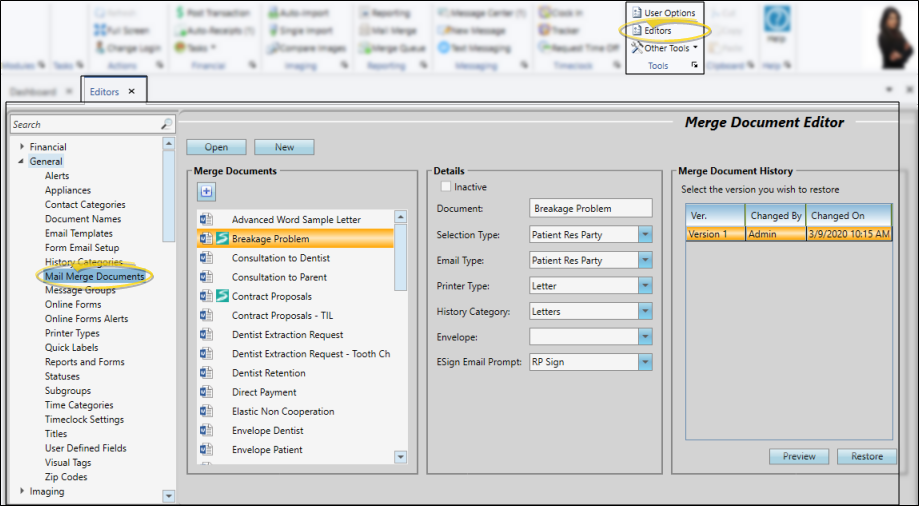
Select Editors from the Tools section of the Home ribbon bar. Then, from the General section, open the Mail Merge Documents editor. (You can also use the Search field to look for the editor you want to work with.)
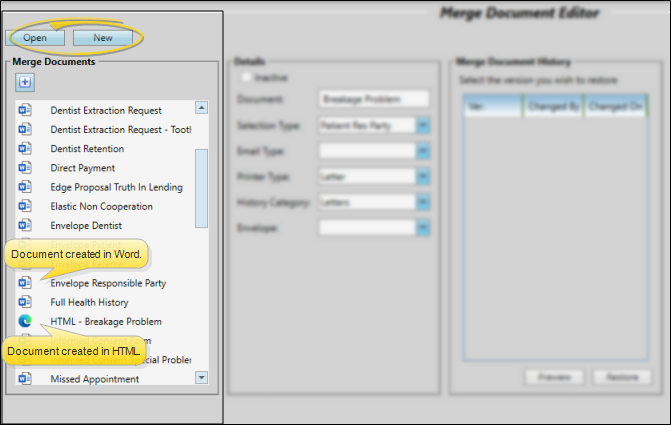
Open your Mail Merge Documents editor, then choose an existing document and click Open, or click New to create a new document. You can create documents with either Microsoft Word or with HTML. Existing documents created in Word are preceded by the  Word icon. HTML documents are indicated with your primary browser icon (i.e.
  ).
).
Toggle Merge Code Display - When creating and editing word processing documents with mail merge codes (such as variables and conditional statements), it is helpful and sometimes necessary to be able to see the codes. During regular daily use, however, you may wish to have them off. While different versions of Word have different ways of accessing this setting, an easy way to toggle the merge code display, regardless of your version of Word, is to press Alt+F9 on your keyboard. (HTML documents always display the inserted codes.)
-
Position Your Cursor
Place your cursor in the document where you want the information to print.
-
Open the Variable Menu
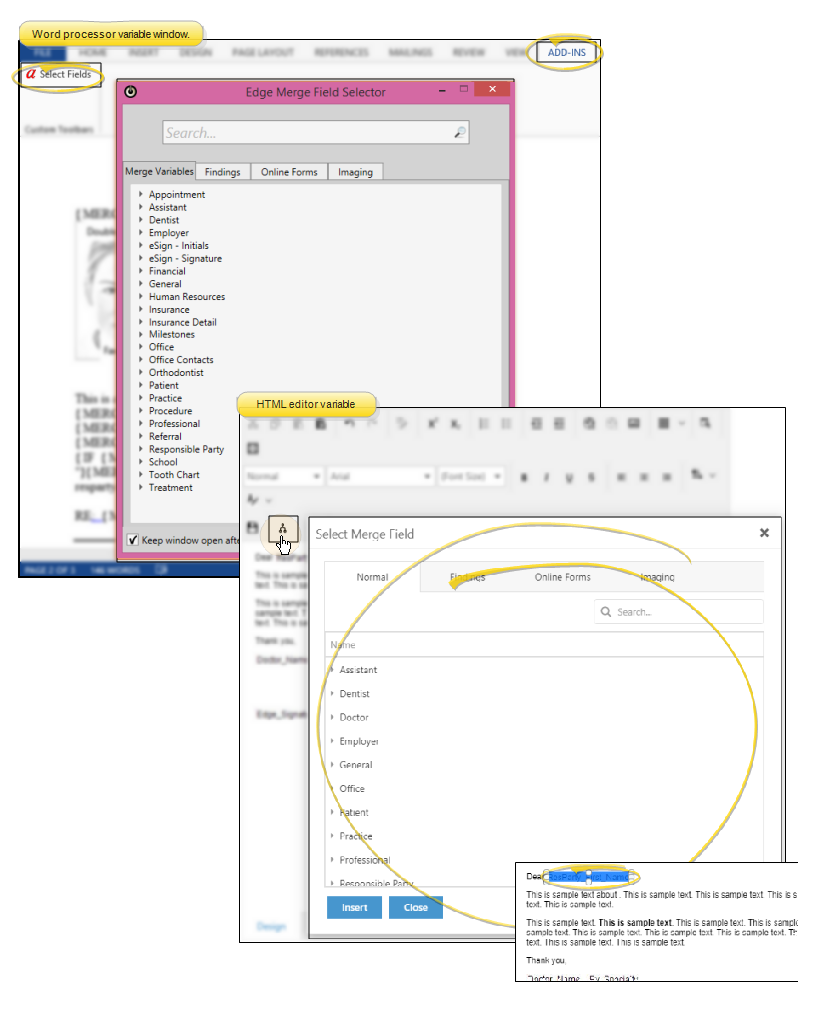
If you're working in your word processor, open the Add-Ins menu (if needed). Choose the Select Fields option to open a window of variable categories, most of which have subcategories. If you're working in the HTML Editor, click the Insert Merge Fields icon on the toolbar to open the window.
-
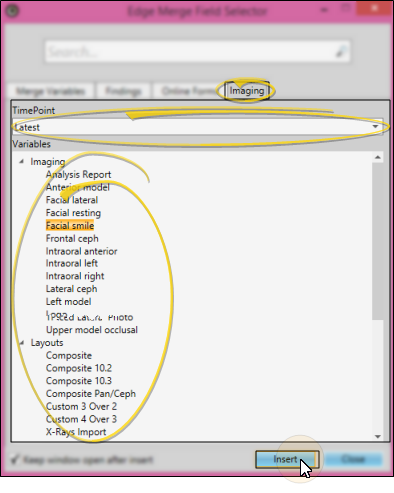
Choose an Image
Click the Imaging tab at the top of the variable selection window. Then select the timepoint you want to work with. You can then choose an image from either the Imaging or Layout list. (You can also use the Search field to find the variable to use.) Click Insert (or double-click the image name) to add the image placeholder to the document. (If the image name variables do not match your imaging system, please contact Ortho2 for further information .)
-
Position & Resize Image
After inserting the image variable, you can click and drag the image placeholder to the desired location in the document. You can also hold down the Shift key, then click and drag the box handles to resize the image. (If you resize without holding the Shift key, your image proportions will become distorted.)
Click the X in the upper right corner of the document window. As you exit, you have the opportunity to save the document.