Email Merge Documents
Use the Email mail merge action to send merge documents via email, as well as recording them in the appropriate correspondence histories. The text of the merge document will be used as the body of the email message, and optionally included as an attachment in .PDF format. If the merge document includes any patient images, those images will not appear in the body of the email message, but will be included in the resulting .PDF, and can optionally be included as individual email attachments.
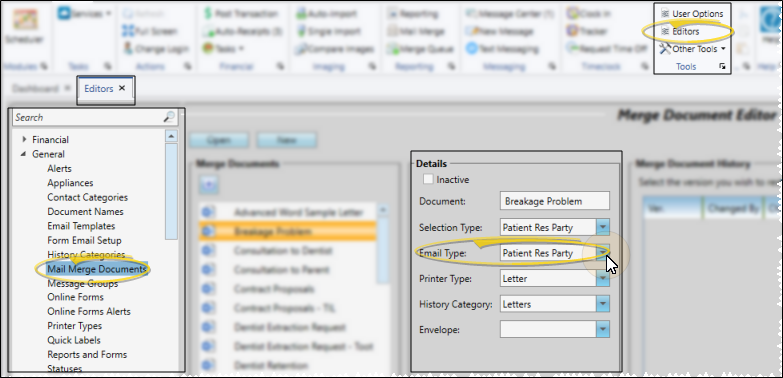
 Set Up Document Email Type
Use the Email Type column of your Mail Merge Documents editor to define which email address to use when merging this document to send via email. If this column is blank, you cannot email this document via mail merge. See "Mail Merge Document Editor" for details.
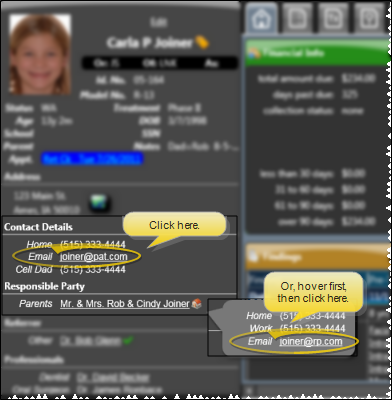
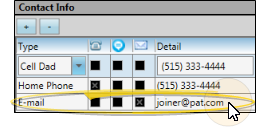
Obtain Email Addresses
Enter the email addresses of your patients, responsible parties, and professionals in the Contact section of their record. They do not need to be enabled for Edge Reminders in order to be used for mail merge documents.
Edge Portal Email Options
You may use your Edge Portal settings to choose to capture any outgoing emails or attachments sent to a professional and store them in Edge Portal. Instead of receiving an email with sensitive patient information the professional receives a notification to log into Edge Portal to retrieve the message and any attachments. This option can be enabled in the Options page of the Office Edge Portal.
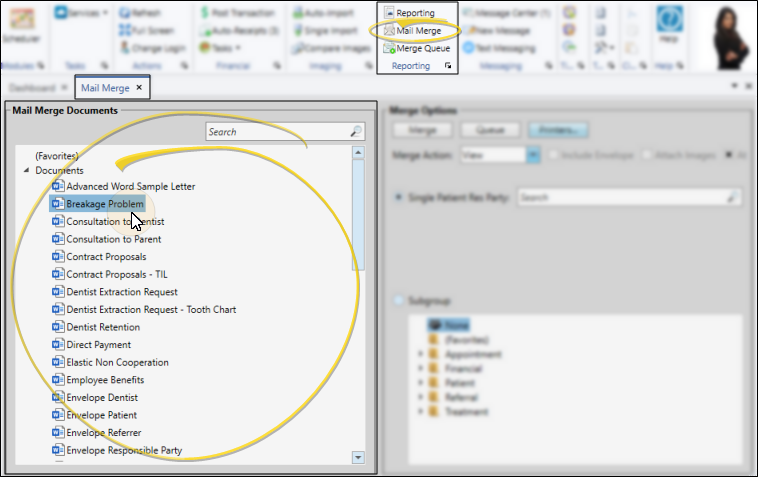
Select Mail Merge from the Reporting section of the Home ribbon bar. Then select a document name from your Favorites or Documents list, at the left of the Mail Merge window. (You can also use the Search field to find the document(s) you want to work with.) You can easily add or remove a document from your "Favorites" list, simply drag and drop it to / from the Documents list.
Choose whether to merge the document for a single record or a subgroup. The choices you have for selecting recipients depend on the "selection type" of the document you chose to merge. (See "Mail Merge Document Editor" for details about assigning document properties.)
Single Record
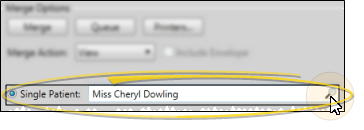
Select this option to generate the document for an individual record.
If a patient folder is open when you initiate mail merge, that patient is the default, and the Mail Merge window tab displays that patient's name for your reference. You can click the Search icon at the right of the name field to look for a different recipient. The document's "selection type" property (set up in the Mail Merge Documents editor) determines whether you will search for a patient, responsible party, contract, or other party, and whether additional information, such as the patient's scheduled appointments, is included in the search.
If the document's "selection type" property is Professional, Responsible Party, Patient Professional, or Patient Responsible Party, the list of records associated with the active patient appears for you to choose from. You can also search for the recipient if needed.
Important Document Type Information - Note the difference between 1) a Professional or Responsible Party type letter and 2) a Patient Professional or Patient Responsible Party letter type: When you merge a document for the first letter type, the document will merge for each patient who is associated with the selected professional or responsible party. However, when you merge a document for the second letter type, the document will merge only for the active patient, addressing the professional or responsible party you selected. See "Mail Merge Document Editor" for details.
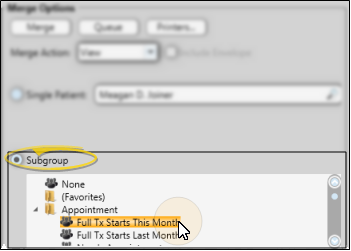
Subgroup
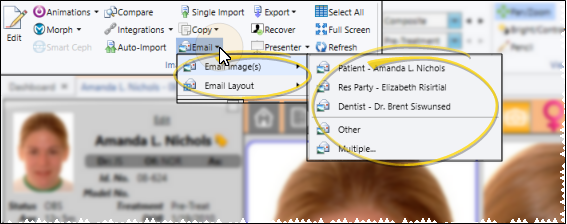
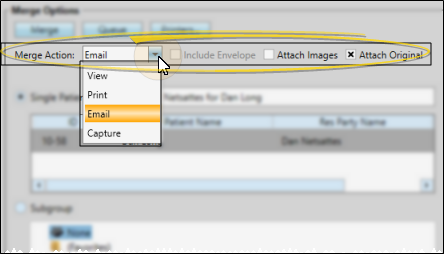
Select the Email merge action. Then choose the output options.
Edge Signature Document Output - When you merge an  Edge Signature document, you must use either the Sign merge action, or the View action and select the Sign Add-In before exiting the viewer. If you select to print or capture the document instead, you will not be able to digitally sign it. See "Edge Signature" for details.
Attach Images Option
Enable the Attach Images option to add any patient images included the merge document as individual attachments to the email. While images are not included in the body of the email, they are always embedded in the .PDF file attachment. (If the document does not use any patient images, this option is ignored during the merge.)
Attach Original Option
Enable the Attach Original option to include a .PDF version of the merged document as an attachment to the email message.
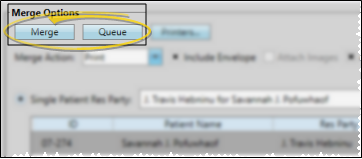
Click Merge to complete the merge process immediately, emailing the document and permanently adding it to the appropriate correspondence history. Or, click Queue to add the document to your mail merge queue to email later. It is not added to the correspondence history at this point. (See "Mail Merge Queue" for details. about emailing from the merge queue.)
Correspondence History Records - Once processed, your mail merge documents are automatically added to the appropriate correspondence history, in .PDF format. Depending on the document selection type, it may be recorded in multiple correspondence histories, such as both the dentist and patient histories. (See "Mail Merge Document Editor" for details.) In addition, when you view an expanded patient correspondence history, emailed mail merge documents are preceded by an email icon to indicate that the document was sent electronically. You can hover over the icon to see a tooltip identifying the email address that was used. See "Patient Correspondence History" for details