Run Edge Cloud Reports
Use the Reporting window to run Edge Cloud reports. You may choose from any available report, select a report you have run recently, and even run a group of reports together. While a report is open on your screen, you can change the report options to obtain different results, and save or print the report.
 Assign a Correspondence History Category to Forms
Use the History Category editor to set up the categories for sorting and filtering the forms and documents recorded in the correspondence histories and notepads of your patients, responsible parties, professionals, employees, and your practice. See "History Categories Editor" for details.
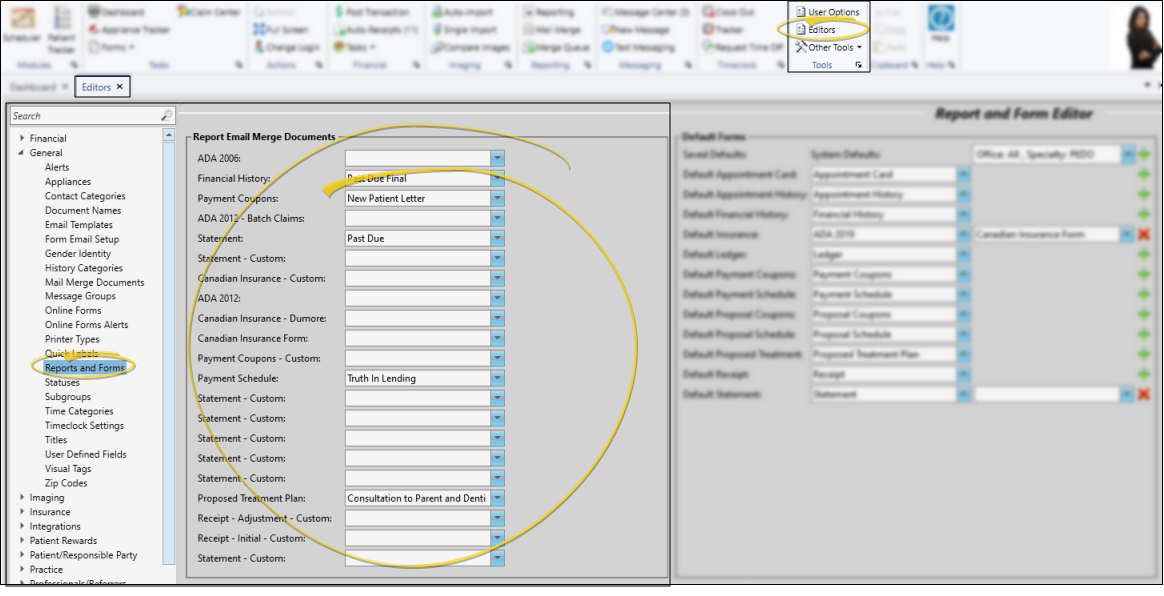
Assign Email Merge Documents to Forms
In addition to printing them, you can send most forms to your patients and parents via email. To do this, you must use your Reports and Forms editor to assign a mail merge document to use as the text of the email message. When you email a form, the name of the assigned mail merge document will be the email subject, the text of the mail merge document will be the email message, and the form will be sent as a PDF attachment. In addition, the mail merge document and the form will be entered as separate items in the patient's correspondence history. See "Reports and Forms Editor" for details.
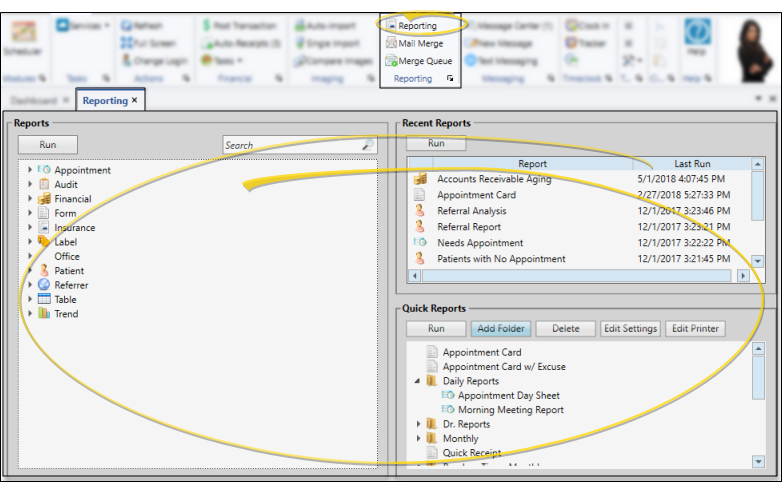
Select Reporting from the Reporting section of the Home ribbon bar. Then choose the report you want to run (You can also open this feature from the Quick Access toolbar at the top of your Edge Cloud system window.) You can select from all Edge Cloud reports and forms, or choose from your Recent Reports list, or choose a Quick Report. (You can also use the Search field to find the report you want to work with.)
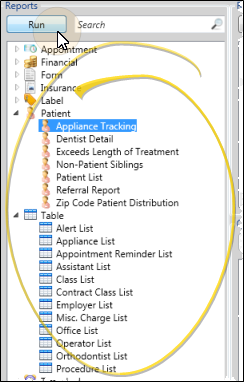
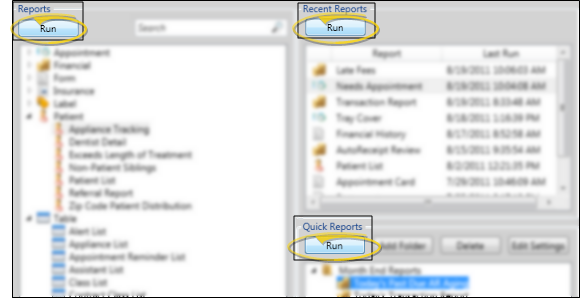
Choose From All Reports
All Edge Cloud reports and forms, as well as any custom reports you have purchased, are listed on the left side of the window, grouped into categories. Click the arrow beside a category name to expand / collapse that category. You can hover over a report name to see a tooltip that describes the purpose of that report.
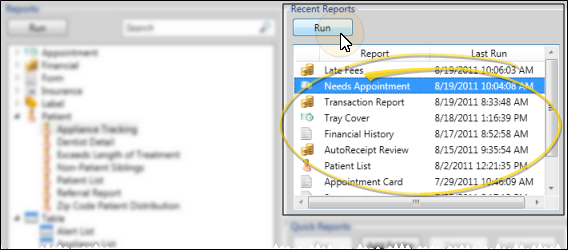
Choose a Recent Report
The reports you have run recently are listed on the upper right-side of the window, with the most recently run report listed first. This makes it easy to find reports you run often.
Choose a Quick Report
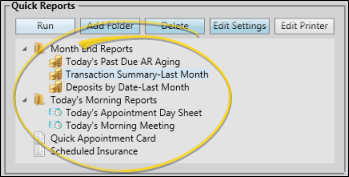
Your Quick Reports are listed on the lower right-side of the window, under your Recent Reports list. The Quick Reports feature provides one-click access to viewing and printing reports with preset report options, from either your Reporting window or the Quick Reports widget. You can run a quick report individually, or run a group of quick reports with one click, saving you time when running your month-end or morning huddle reports. See "Quick Reports" for details about creating and running these reports.
After choosing a report, click the Run button in that section of the window, or double-click the report name to run it.
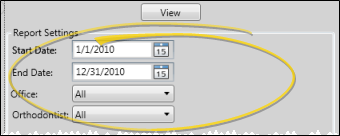
Select Report Options
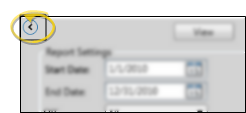
Select the options to use for choosing records and generating this report. Choose carefully, as your selections will affect which data is included in the report. (If the report settings panel is not visible, click the  Show/Hide icon in the upper left corner of the Reporting window.) The options will be different, depending on which report you chose to run. The last settings used to generate the report are the defaults.
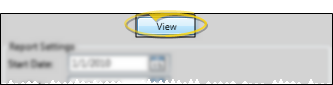
View the Report
Click View to generate the report to your screen. (This step is bypassed when you run a Recent Report or a Quick Report.)
Choose Other Options
With the report still showing on your screen, you can choose different report options, then click View to re-generate the report with the new options. (If you cannot see your options, you may need to click the Show/Hide icon to show them.)
Get Detailed Report Description
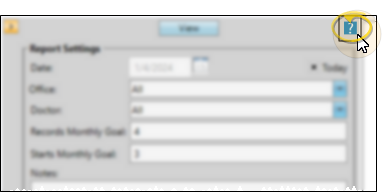
You can click the  icon to the right of the View button to open a detailed description of the report.
Use the toolbar at the top of the report window to zoom the display, view additional pages, print the report, and more. Be aware that not all output choices are available for all reports and forms. See "Report Output Options" for details.