Drag and Drop Appointments
You can quickly reschedule an appointment by dragging and dropping the appointment to a new time slot that has enough cells available to accommodate the procedure.
Watch the movie. (A valid Ortho2 customer login is required to run video tutorials, webinars, and training programs.)
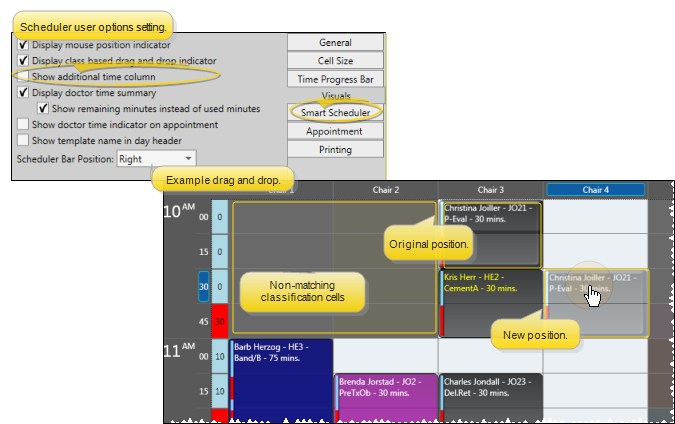
Enable the Use Class Based Drag and Drop Indicator option of your Scheduler user options to highlight the grid cells that match the procedure classification of the appointment you are dragging to a new location. Grid cells that do not match the procedure's classification will be dimmed. If you disable the setting, no cells will appear dimmed when you drag and drop appointments. See "Scheduler Visuals Options" for details.
-
 Open Your Scheduler - You can open this feature in multiple ways: Use the method that's most convenient for you.
You can open this feature in multiple ways: Use the method that's most convenient for you.
Home ribbon bar or Quick Access toolbar
Clicking the
 Scheduler icon from either the Home ribbon bar or your Quick Access toolbar while a Scheduler session is already active can either bring the open Scheduler tab to the front of your Edge Cloud window, or open another Scheduler tab. See "Scheduler User Options" for details about setting up this option.
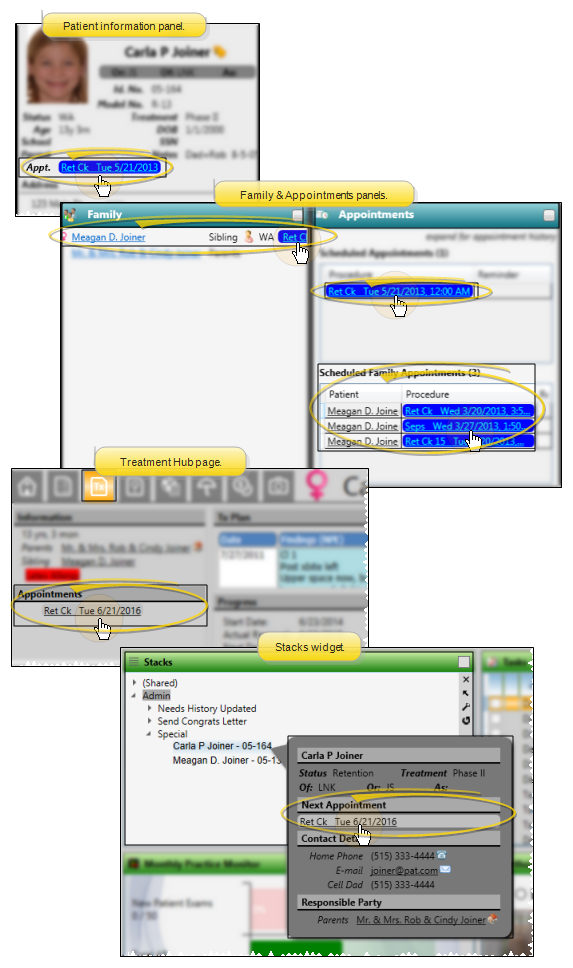
You can open your Scheduler to a specific appointment by clicking the appointment link wherever it appears in the patient folder, such as on the Patient Information Panel, the Family panel, or the Appointments panel of the patient folder Home page, on the Treatment
Arranging Multiple Scheduler Tabs - If you have multiple Scheduler tabs open, clicking a patient appointment link will bring the left-most tab to the front of your Edge Cloud window. Note that before you click the link, you can reorder your tabs by simply dragging them into place, thus selecting which Scheduler tab you want to work with. See "Scheduler User Options" for details about enabling/disabling the multiple Scheduler option.

-
Choose the Appointment - Click to select the appointment you want to reschedule. You can select an appointment from your schedule, or from a
-
Drag to New Location - You can drag the appointment to any other location on the same date, as long as there
If the dates are more than seven days apart and cannot be viewed simultaneously, you can first drag the appointment to a
-
Review Warnings and Notices - You may see one or more warning or notice as you schedule patient appointments. Be sure to review each message, and respond appropriately, to continue.
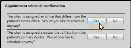
Multiple Appointment Warning - If you attempt to appoint the same patient twice in a row, you are notified of the event and must confirm your action to continue scheduling the appointment. This feature helps prevent accidental duplicate scheduling.
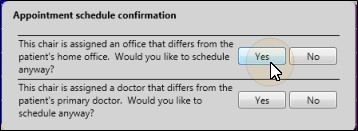
Doctor, Office, Assistant Conflicts - If this appointment is being scheduled to a grid cell that is assigned to a different doctor, office, or assistant than those in the patient folder, you must confirm you action before continuing.
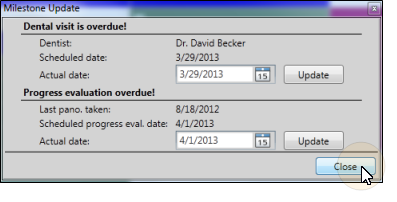
Milestone Reminders -

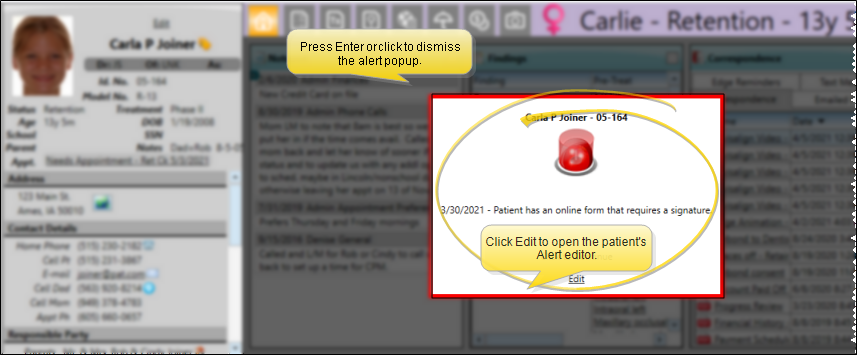
Alert Stop - If the patient has an alert trigger enabled for this feature, the Alert Stop pop-up window will appear when you initiate this feature for the patient. Review the alert information, then either press Enter on your keyboard, or click the box to continue. You can also click the Edit link to open the Alert editor for that patient.
-
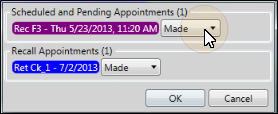
Record Change - After you drop the appointment into place, you are asked whether to record the change in the patient's appointment history. Confirm or cancel the action to continue.
-
Process Previous Appointments with Drag and Drop - When you drag an appointment from a Scheduler bar onto a scheduling grid, you have the opportunity to individually process all other appointments already scheduled for the patient.