Scheduler Notes
Use the Scheduler Notes feture to add, edit, and delete notes about your schedule. The notes appear under the day of the week header at the top of your schedule. You can choose to show the notes at all times, or collapse them into a tooltip. In addition, you can use the Search tool at the top of your Scheduler window to search for both appointment data and note text for the currently visible grid.
Expand / Collapse Notes Option - Enable the Collapse Grid Notes user option to collapse notes you have typed into your scheduler into a tooltip. If this option is disabled, the notes will always appear under the day of the week header. See "Scheduler User Options" for details.
Security Setup - Your Edge Cloud security settings can allow or prevent operators from editing and deleting scheduler notes. To set up this security access, open the Security editor and choose the security model to work with. Then click the Scheduling security group, and set the Allow Editing / Deleting of Scheduling Notes option to the appropriate access setting. (See "Security Editor" for details about using the editor.)
You can view Scheduler notes while viewing your schedule in day, week, or month mode, and while using the Smart Scheduler.
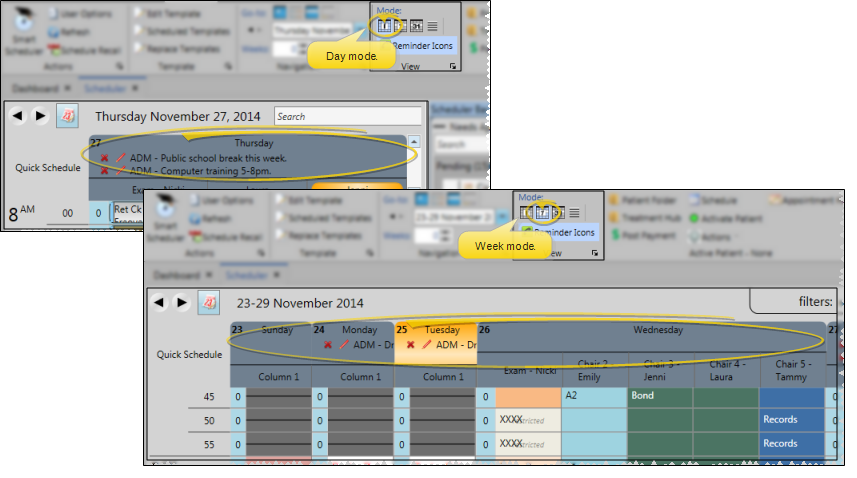
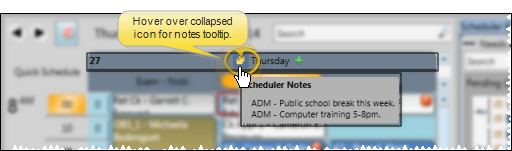
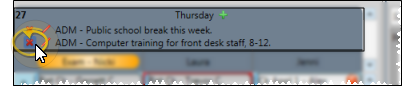
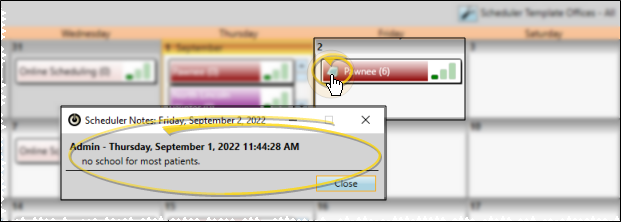
View Notes in Day or Week Mode - While viewing your Scheduler in Day mode or Week mode, the notes appear under the day of the week header. If the notes are collapsed, you can hover over the  Note icon to view them.
Expanded Scheduler notes:
Collapsed Scheduler notes:
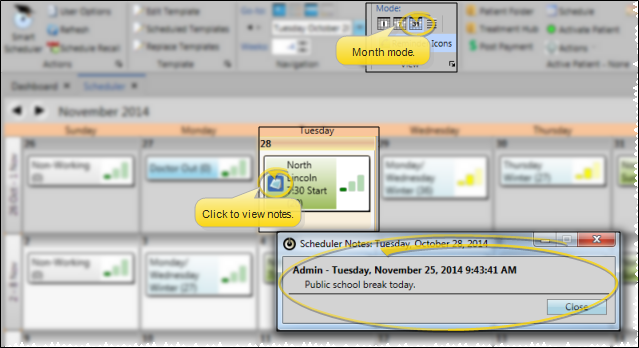
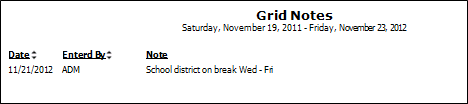
View Notes in Month Mode - Click the  Notes icon on your monthly schedule to see any notes that have been created for that day. You cannot add or edit notes from month-view mode. If you don't see a Notes icon, there are no notes available for that date. See "View Monthly Schedule" for details.
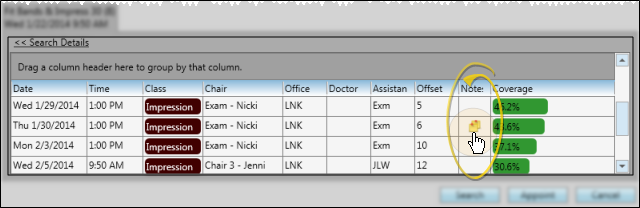
View Notes from Smart Scheduler - Hover over the Note icon in the in the Smart Scheduler results panel to read the Scheduler notes associated with that date. See "Smart Scheduler" for details.
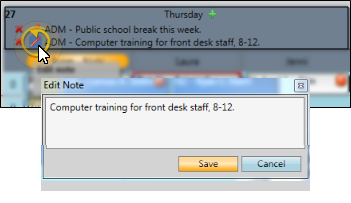
(Available only from Day and Week viewing modes.) Hover in the day of the week header, and click the + symbol that appears. Type your message, then click Save at the bottom of the editing window to save the note and exit.
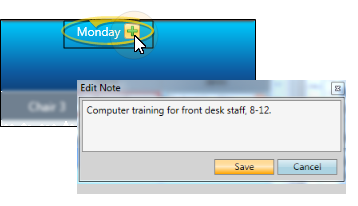
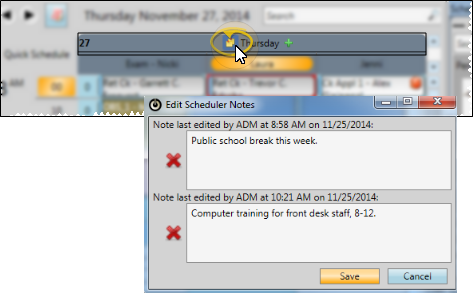
(Available only from Day and Week viewing modes.) Click  Edit beside an expanded note you want to work with, or click the Note icon to open the collapsed notes window, then make your changes. Click Save at the bottom of the editing window to save the note and exit.
Edit expanded Scheduler notes:
Edit collapsed Scheduler notes:
(Available only from Day and Week viewing modes.) Click  Delete beside an expanded note you want to work with, or click the Note icon to open the collapsed notes window, then click Delete.
Delete expanded Scheduler notes:
Delete collapsed Scheduler notes:
Available only from Day and Week viewing modes.) Use the search box in the upper right corner of your scheduling window to locate a scheduled appointment or a Scheduler note. You can type any information you have, including all or part of the patient name, id number, procedure, appointment time, chair, or note text. The search tool will only look for scheduled appointments that appear on the currently displayed date or dates, but will search Scheduler note text for all dates. See "Search Your Schedule" for details.

