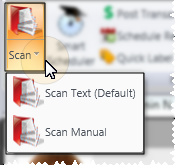
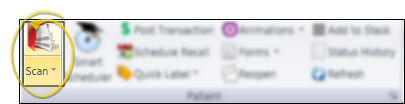
Scan into patient correspondence history -  Open patient > Patient ribbon bar >
  Scan.
Scan.
If the ribbon bar is not displayed at the top of your Edge window, click the Patient ribbon bar heading, then make your selection, or use the  Show/Hide button at the far right of your screen. See "Show / Hide Ribbon Bar" for details.
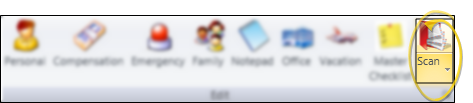
Scan into HR Manager employee record - ![]() Open employee > Ribbon bar >
Open employee > Ribbon bar >
If the ribbon bar is not displayed at the top of your Edge window, click the Employee Information ribbon bar heading, then make your selection, or use the Show/Hide button at the far right of your screen. See "Show / Hide Ribbon Bar" for details.
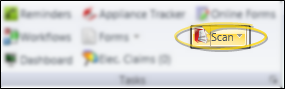
Scan into responsible party, professional, or practice correspondence history - Open the responsible party page, professional page, or your Dashboard > Home ribbon bar > Scan.
If the ribbon bar is not displayed at the top of your Edge window, click the Home ribbon bar heading, then make your selection, or use the Show/Hide button at the far right of your screen. See "Show / Hide Ribbon Bar" for details.
Note that the Correspondence widget does not need to be open on your Dashboard for the scan to work with your practice correspondence history.
Scan into insurance company or office contacts correspondence history - Open the insurance company or office contacts record > Scan.

If the ribbon bar is not displayed at the top of your Edge window, click the Home ribbon bar heading, then make your selection, or use the Show/Hide button at the far right of your screen. See "Show / Hide Ribbon Bar" for details.