Add and maintain Professional records for the consulting and treating professionals, such as oral surgeons, pedodontists, and periodontists, that work with your patients. Each record includes the professional's name, practice name, address, phone number, several user-defined fields, and a notepad you can use to add additional information.
Create professional records - Add the names and addresses of professionals that work with your patients into your Edge database. See "Set Up Dentist & Other Professional Records" for details.
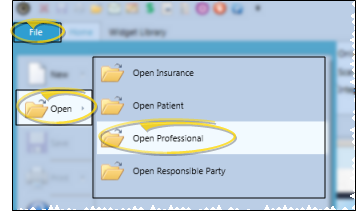
File Ribbon Bar -  Open (hover to open options) > Open Professional. Once the search window opens, you can locate a professional by typing the first and last names, or the practice name. (You might also be able to open this feature from the Quick Access toolbar at the top of your Edge window.)
Throughout Edge - You can also click an underlined professional name anywhere in Edge (such as the Patient Information Panel, Treatment Hub patient summary, and your schedule) to open that professional page.
Professional Editor - Home ribbon bar > Editors > Professionals / Referrers > Professionals. When you first open the Professional
Open the editor.
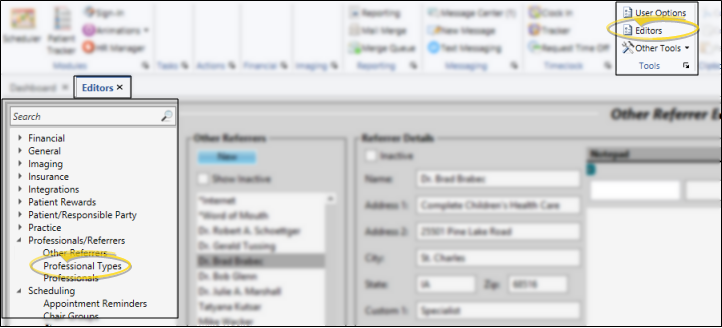
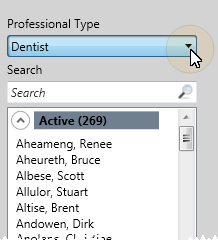
Select the professional type, then select the person to work with.
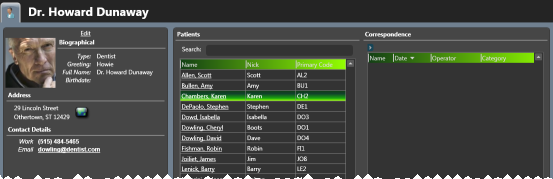
Biographical details - This section of the professional record includes the professional name, type, phone numbers, e-mail addresses, and an optional photo.
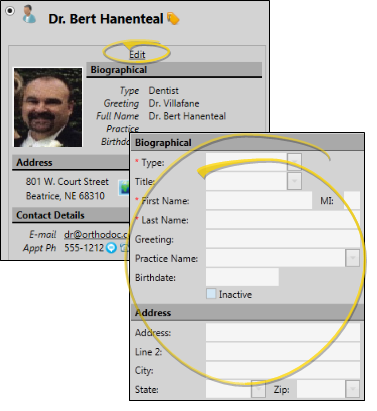
Add / remove photo - (Not available from the Professional Editor.) Click the photo space and choose the photo to use, or drag a photo into the photo space. You can repeat this process to change the photo at any time. To remove the photo completely, right-click the photo and select Clear image.
Print label - (Not available from the Professional Editor.) Click the 
Edit details - (Not required in the Professional Editor.) Click Edit at the top of the window to edit the information. Be sure to click  Save from your Quick Access toolbar to save your changes, or Cancel at the top of the editing window to ignore your changes. See "Set Up Dentist & Other Professional Records" for details about each field.
View map of street address - (Not available from the Professional Editor.) Click  Map beside the address to open a map of the address.
Send an email Quick Message - (Not available from the Professional Editor.) Click the email address in the Contact Details section to send a Quick Message to this party. See "Send Quick Message Email" for details
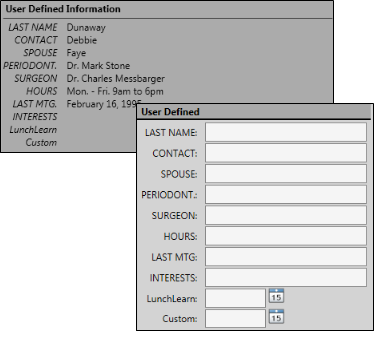
User defined information - This section details the unique information you have chosen to include in your professional records. Click Edit at the top of the Biographical section of the window to add / change this information. See "Set Up Professional Types" for details about defining the type of information you want to track.
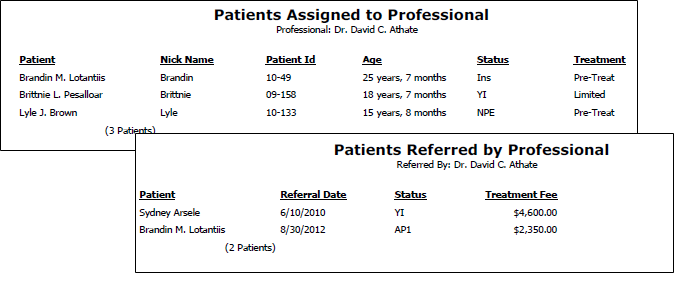
Patients / Referrals - (Not available from the Professional Editor.) These panels list the patients treated by or referred to your practice by this professional. Note that this professional must be flagged as the patient's primary referrer for the patient to appear in the referral panel.
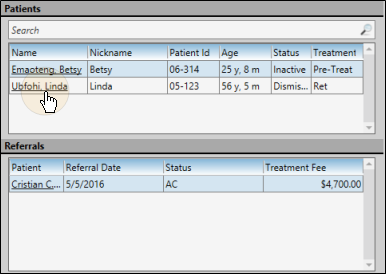
Patient search - Type a name in the Search field to locate a specific patients associated with this professional.
Open a patient folder - Click a name to open that patient folder.
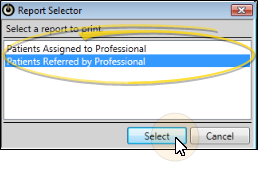
Print a report - While viewing a Professional page, click  Print icon in the Quick Access toolbar, (or press Ctrl-P on your keyboard) then select whether you want to print a report of the professional's assigned or referred patients.
Click  Print from the Quick Access toolbar:

Select the type of report to generate:
After selecting the printer or output destination, the report is generated:
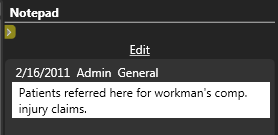
Review / edit notepad - (Not available from the Professional Editor.)Use the notepad to type free-form notes. You can categorize your notes
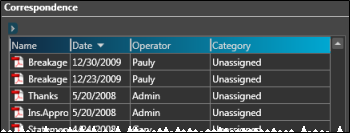
Correspondence (Not available from the Professional Editor.) - The Correspondence  filter in the upper-left corner of the list to select the types of documents to view. You can also adjust the columns of the correspondence section as needed.
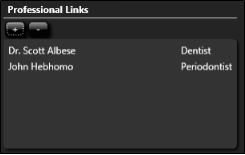
Professional links - (Only available from the New Professional and Professional Editor pages) Use this section of the professional record to indicate with professionals this party prefers to work with. When you create a link in one professional record, that same link appears in the other party's record automatically.
Save Changes![]() Click Save in your Quick Access toolbar or File ribbon bar (or press Ctrl+S on your keyboard) to save any changes you have made.
Click Save in your Quick Access toolbar or File ribbon bar (or press Ctrl+S on your keyboard) to save any changes you have made.
Associate professional with patients - You can assign professionals to patients as you create new patient folders,and when you edit the Patient Information Panel.
View professionals from scheduler - The tooltip that displays when you hover over a patient's appointment in your scheduler includes any assigned professionals. You can click a professional name to open that record directly from the tootltip. See "View & Navigate Your Schedule" for details.
 │
│
Ortho2.com │1107 Buckeye Avenue │ Ames, Iowa 50010 │ Sales: (800) 678-4644 │ Support: (800) 346-4504 │ Contact Us
Remote Support │Email Support │New Customer Care │ Online Help Ver. 8/3/2015


