Sample Index layout.
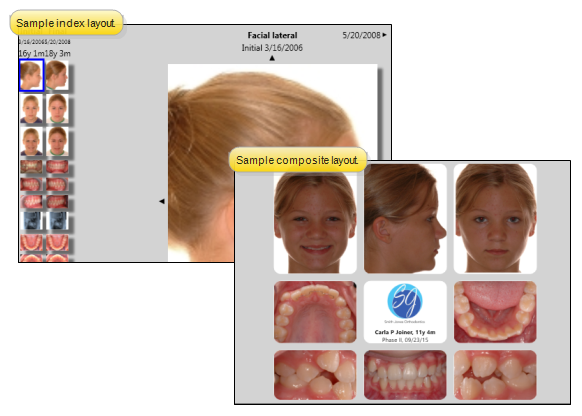
Sample Index layout.
 Open patient >
  Imaging.
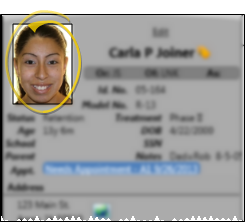
You can also click the patient image at the top of the patient information panel to open that patient's Imaging page.
You can also right-click an appointment in your Scheduler and select Imaging to open the patient's Imaging page.

When you first
View a different layout - Click the Layout field on your

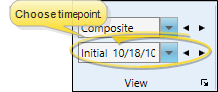
View a different timepoint - Click the Timepoint field of the
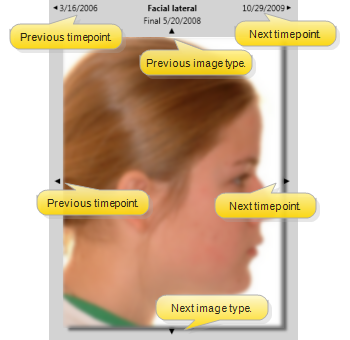
Navigate index or card flip layouts - If you are viewing a card flip or index layout you can use either the arrows at the margins of the image or the arrow keys on your keyboard to move through all images in the layout. Notice you can select a different timepoint with either the arrows at the sides of the image, or the timepoint date captions that appear above the image.
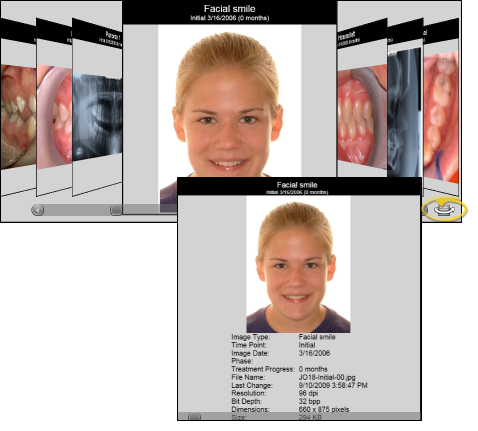
Navigate card flow layout - When viewing a card flow layout, click the image that comes "before" or "after" the current image, or use the slider bar at the bottom of the window to move through the images in the timepoint. You can also click  Over at the right edge of the slider bar to turn the current image card over and view additional details.
Example card flow layout.
Example "flipped" image card.
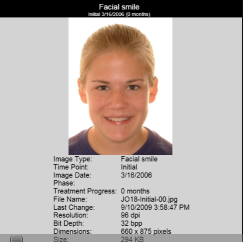
View image properties - Right-click an image to view the image properties. Use the Image Properties window to view details about the image. When you open the window in Edit mode, you can change date the image was actually taken (which may differ from the timepoint date), and add notes to the image. See "View & Edit Image Properties" for details.
Maximize an image - Double-click an image to maximize it. Maximize an image to display that single image as large as possible in the imaging window, providing a closer look at the patient's condition. See "Maximize Images" for details.
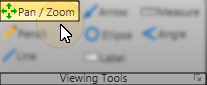
Zoom & move an image - Enable the  Pan/Zoom viewing option, then left-click and drag an image to move it within its window, or right-click and drag your mouse to make the image appear larger or smaller. You can also use the tracking wheel on your pointing device (i.e. your mouse) to "zoom" an image.
Annotate the image - Use annotation tools to add lines
Open SmartCeph - (Ceph tools are part of Premier Imaging, an optional module, available from Ortho2.) When the patient's lateral ceph is selected, click  SmartCeph. You can then review and perform ceph traces as needed for the patient. Note that the SmartCeph button is available only when you have selected to view the patient's lateral ceph. Otherwise, the button appears dim on the ribbon bar.
(Note that whenever you save a traced ceph or Analysis Report in SmartCeph, a copy is saved in the appropriate timepoint of the patient's Edge Imaging page. You can view these images from the Index layout, or from any layout that includes SmartCeph image types.)

Print - You can print an individual image, or the entire image layout currently displayed on your screen. See "Print Images" for details.
Some images are missing - Each layout uses specific image types. Select a layout that contains all the images you want to view. If images are still missing, consider the following solutions:
Add images for the patient - The "missing" image type might not have been imported into the patient folder yet. You can use the Single Import option to add the necessary images to the patient. See "Import a Single Image" for details.
Adjust the layout - The "missing" image type might not be included in the layout you are viewing. Select a different layout to view.
Images appear distorted - If a dynamic layout has both Stretch to fit and Equal row heights enabled, the proportions of some images may distorted. See "Set Up Image Layouts" for details.
View patient folder & images simultaneously - Click  Other Actions then select
  Reopen from the Patient ribbon bar to open a second session of the patient folder. If you have multiple screens, you can then drag one of the folder tabs to another screen. This feature is particularly useful for systems with dual monitors that want to keep the patient folder information available while viewing images (or any other page of the patient folder) on another screen.
Professional presentation option - Use the Presenter to duplicate whatever is currently being shown on your main screen on your secondary display screen. This feature is particularly useful for showing patient images to parent and professionals,as well as presenting case, compliance, and treatment progress information. See "Use The Presenter" for details.
 │
│
Ortho2.com │1107 Buckeye Avenue │ Ames, Iowa 50010 │ Sales: (800) 678-4644 │ Support: (800) 346-4504 │ Contact Us
Remote Support │Email Support │New Customer Care │ Online Help Ver. 8/3/2015


