-
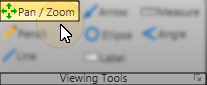
 Pan / Zoom - Enable the Pan/Zoom viewing option, then left-click and drag an image to move it within its window, or right-click and drag your mouse to make the image appear larger or smaller. You can also use the tracking wheel on your pointing device (i.e. your mouse) to "zoom" an image.
-
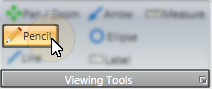
 Free-hand drawing - Select the Pencil tool, then click and drag to draw a free-hand illustration.
-
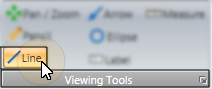
 Draw a straight line - Select the
  Line tool, then click and drag to draw a line anywhere on the image.
-
 Draw an arrow - Select the Arrow tool, then click and drag to draw an arrow anywhere on the image. Note that the point of the arrow is always at the tip of your cursor.
-
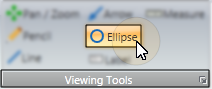
 Draw an ellipse - Select the Ellipse tool, then click and drag to draw a circular shape anywhere on the image.
-
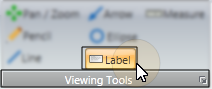
 Add a label - Select the Label tool to add descriptive text to the image. Click where you would to add descriptive text to the image. Then, type your text box in the Annotation Text window, and click Ok. While the Label tool is selected, you can click and drag an existing label anywhere on the image.
-
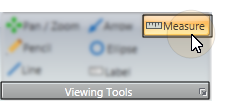
 Add a measurement - Select the Measure tool, then click and drag to measure a distance on the image. The distance is calculated using the image DPI by default, but can be calibrated if needed (described below).
-
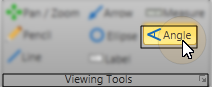
 Add an angle - Select the Angle tool to draw a measured angle on your image. After enabling the tools, click to select 3 points on your image. An annotation that includes two lines and the measured angle between them is added to your image.
-
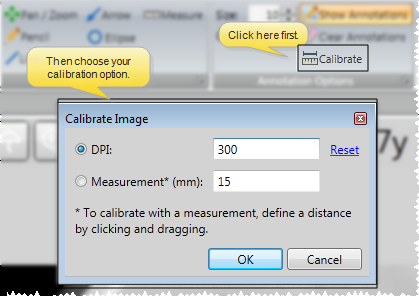
Calibrate image - (Use with care.) If your annotation measurements do not appear to be correct, you may need to use the  Calibrate tool to re-calibrate the measurement scale for the image. By default, measurements use the DPI of the image. If you want to use a different scale, click Calibrate, then select the DPI option, and enter the appropriate DPI setting. If your image includes a standard measuring scale, such as a ruler at the edge, you can instead select the Measurement option. You are prompted to click and drag a sample line on the image that corresponds to the Measurement value. Edge Imaging will then calculate the appropriate DPI for this image.
You can also click Reset to return the image to the default calibration. Note that calibration changes affect this image only, and measurements already in place on the image will not change to reflect the new scale.
-
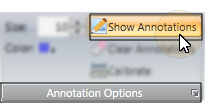
 Show / hide annotations - Enable the Show Annotations tool to display the annotations you have made to all images on the current layout. Or, disable the tool to display the images without any annotations.
-
 /
/  Erase image annotations - Click (or press Ctrl-Z) to erase the most recent annotation you have applied, or click to erase all of your annotations from the image. Note that the Show Annotations tool must be enabled before you can use the Clear Annotations tool. In addition, if you have saved annotations to the image (described below), and then use Clear Annotations, you must save the image again to permanently remove the annotations from the image.
-
Save Changes Click
Click  Save in your or File ribbon bar (or press Ctrl+S on your keyboard) to save any changes you have made.

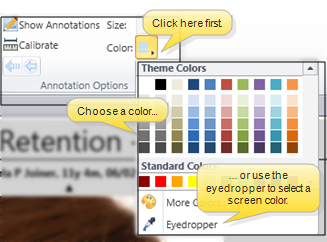
 Color, then choose the color to use when annotating the image. Your selected color is used for all annotation tools until you choose to change it again.