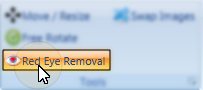
Enable  Red eye removal on the Editing Tools section of the ribbon bar, or hold down the Shift key on your keyboard.
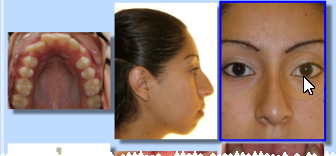
Click the image to work with. The image may magnify automatically, depending on your Red Eye Auto Zoom settings. See "Set Up General Imaging Options" for details.
To better use the magnification feature, you may wish to first  Move the image so the eye area is centered in the window before enabling red eye removal. See "Move, Resize, Rotate & Flip Images" for details.
Position your cursor at one corner of the eye to work with Then
click and hold your left mouse button while you drag the cursor to select the eye area to fix.
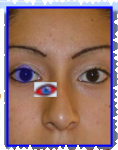
Release the mouse button to fix the red eye.
 Edit. (Note that your Edge Imaging background changes slightly to indicate when you are in Edit mode.) (See "Edit & Adjust Images" for details.)

 Refresh on the
  Save your changes - Click
  Cancel. (If you have enabled the Exit Edit on Save option, you exit Edit mode automatically when you save changes to an image.)