Edit. (Note that your Edge Imaging background changes slightly to indicate when you are in Edit mode.) (See "Edit & Adjust Images" for details.)
You can also use these options with the Single Import feature. See "Import a Single Image" for details.
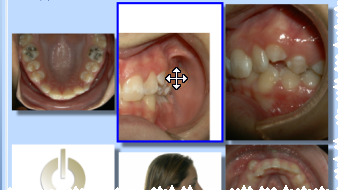
 Move an image in its window - (Not available from
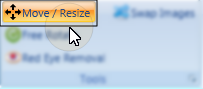

 Mirror- "Mirror" an image to turn it on its vertical axis. (Think of looking in a mirror.) (This tool is available while both Morphing and Editing an image. The location of the icon depends on which ribbon you use to open it.)
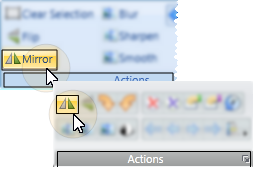
 Flip - "Flip" an image to turn it on its horizontal. (Think upside down.) (This tool is available while both Morphing and Editing an image. The location of the icon depends on which ribbon you use to open it.)
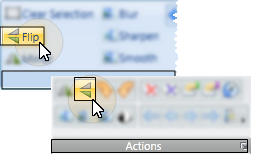
 Free rotate -(Not available from
 Rotate clockwise or
  Rotate counter-clockwise on the Actions section of the
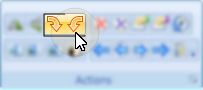
 Refresh on the
  Save your changes - Click
  Cancel. (If you have enabled the Exit Edit on Save option, you exit Edit mode automatically when you save changes to an image.)