The Correspondence History keeps a record of mail merge documents, email messages, and other correspondence you send to your patients, responsible parties, office contacts, professionals, insurance companies, and employees. Documents and forms, including payment receipts and insurance forms, that you generate from Edge are added to the appropriate correspondence history automatically. In addition, you can drag and scan additional items into correspondence histories as needed.
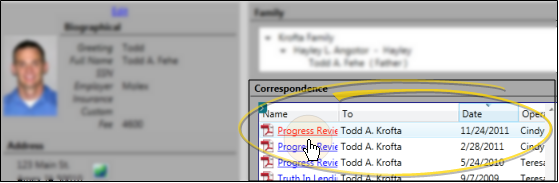
The patient correspondence history includes all mail merge documents and Edge forms you have generated for the patient and any associated responsible parties, as well as additional documents you have dragged or scanned directly into the correspondence history. Certain mail merge documents generated for dentists / professionals associated with the patient are also included. See "Set Up Mail Merge Documents" for details.
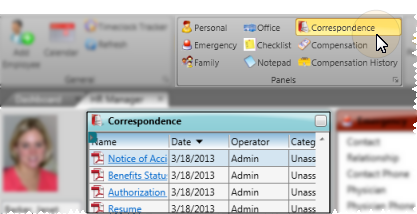
HR Manager correspondence history - Open employee > Correspondence panel.
The employee correspondence history includes all mail merge documents you have generated for the employee, as well as additional documents you have dragged or scanned directly into the correspondence history.
The responsible party and professional correspondence histories include all documents you have dragged or scanned directly into the history, as well as mail merge documents you have generated for this party with a selection type property that matches the record type (e.g. responsible party, patient responsible party, professional, or patient professional). Note that these mail merge documents will also be recorded in the associated patients' correspondence history. (See "Set Up Mail Merge Documents" for details.)
The insurance company correspondence history includes all mail merge documents with the selectiontype Insurance that you have generated for the company, as well as additional documents you have dragged or scanned directly into the correspondence history.
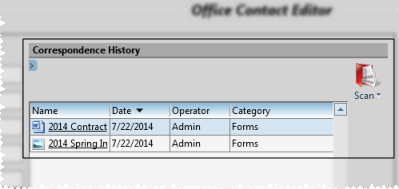
The office contact correspondence history includes all documents you have captured, dragged, or scanned directly into the correspondence history.
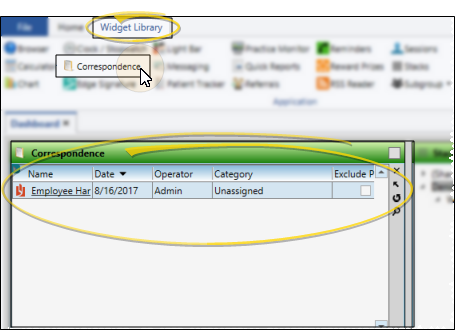
Practice correspondence history - Widget Library ribbon bar > Correspondence >
Dashboard or Application widget.
The practice correspondence history includes documents you have dragged or scanned directly into the correspondence history.
Use This Feature
Choose categories to display - (Note that the patient folder widget displays the categories selected from the Correspondence panel of the patient's Home page.) Use the Filter icon to select the correspondence history categories to display. See "Set Up History Categories" for details about setting up your categories.
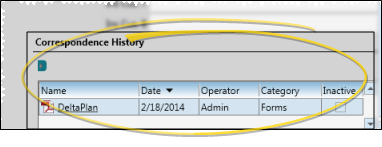
Inactive / active toggle - (Panels must be expanded.) You can flag correspondence items Inactive (at the right of the window), then use the Filter to choose whether to include them in the correspondence history display. When displayed, you can still open inactive items, and change them back to active as needed.
Include / exclude in Edge Portal - (Panel must be expanded.) Enable / disable the Exclude Portal option (at the far right column) to include / exclude this correspondence history item from appearing in your Edge Portal mobile viewer.
(Patient home page and HR Manager only.) Expand / Collapse / Move the Panel - (Normal panel mode only: Single Expanded panel mode always shows panels expanded. See "Patient Home Page" for details.) You can expand, collapse, and move the information panel as needed. Some features of this panel only function when the panel is expanded.
Open a document to view & print - Click the filename to open the document. You must have an appropriate viewing/editing tool installed to be able to open files.
Identify recipient - (Expanded patient correspondence history only.) When you expand a patient correspondence history, the To column indicates to whom mail merge documents were printed, captured, or emailed, according to the Email Type setting in the Merge Document editor.
Mail merge documents that you sent via email are preceded by an email icon, to indicate that the document was sent electronically. You can hover over the icon to see a tooltip identifying the email address that was used.
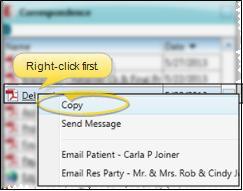
Copy a document to the clipboard - (Patient correspondence history only.) Right-click an item, and select Copy. The document to copied to your clipboard, ready to be pasted into another folder or application.
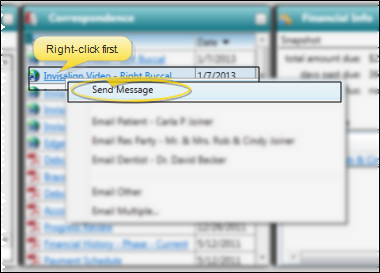
Send a message - (Patient correspondence history only.) Right-click an item, and select Send Message. The New Message window opens, with a link to the patient and the correspondence history item. You may then add text to the message, select recipients, and send the message. (See "Send a New Message" for details.)
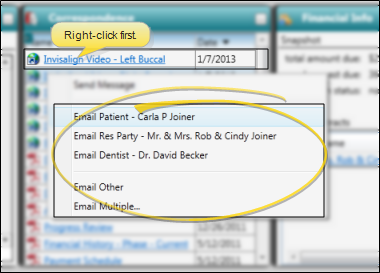
Email a correspondence history item - (Patient correspondence history only.) Right-click an item, and choose an email option.
Select individual recipient - Choose to send the document to the email address of the patient, responsible party, or professional associated with the patient folder, or select Other to send the document to a different email address.
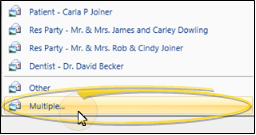
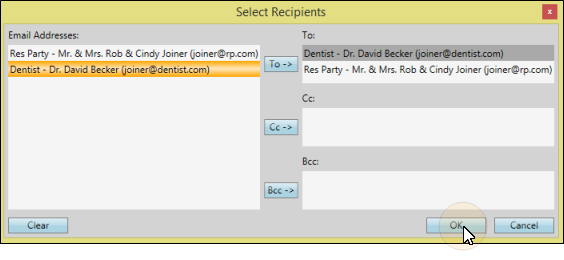
Select multiple recipients - Select Multiple, then choose the individuals you want to receive the message. You can use the To, Cc, and Bcc buttons in the Multiple Recipients window to add addresses to the list, or double-click to add and remove addresses as needed. You can also click Clear to remove all selected addresses.
Note that all recipients will receive the same email message content and attachments, and a notification will be added to each individual's correspondence history.
Open Multiple recipient window:
Select recipients:
Select individual recipient - Choose to send the document to the email address of the patient, responsible party, or professional associated with the patient folder, or select Other to send the document to a different email address.
Select multiple recipients - Select Multiple, then choose the individuals you want to receive the message. You can use the To, Cc, and Bcc buttons in the Multiple Recipients window to add addresses to the list, or double-click to add and remove addresses as needed. You can also click Clear to remove all selected addresses.
Note that all recipients will receive the same email message content and attachments, and a notification will be added to each individual's correspondence history.
Open Multiple recipient window:
Select recipients:
Adjust Columns You can adjust both the width and location of the columns in the window. All columns return to the defaults when you exit and re-enter.
Adjust Column Width - Click the bar between two columns to reallocate the column space. Be aware that it is possible to adjust a column to be so narrow that you no longer see it.
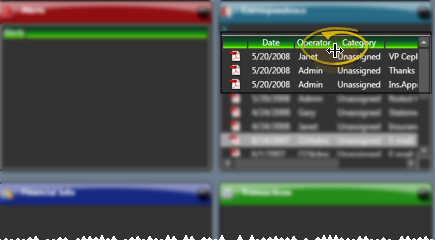
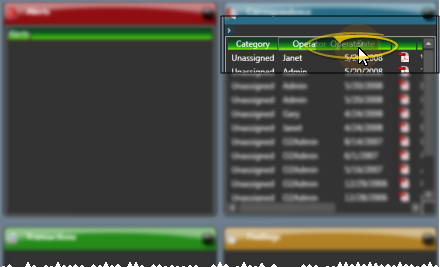
Change Column Order - Click a column heading and drag it to a new location within the window. Other columns adjust accordingly.
Drag document into correspondence panel - You can drag & drop almost any type of digital file into a Correspondence panel for archive and reference purposes. Files you may want to drag & drop include .PNG graphic files, .PDF document files, and .MP3 sound files. See "Drag & Drop Documents" for details.
Mail merge documents - With the exception of Viewing mode, processed mail merge documents are automatically added to the appropriate correspondence history, in .PDF format, as they are completed. Depending on the document selection type, it may be recorded in multiple correspondence histories, such as both the dentist and patient histories. (See "Set Up Mail Merge Documents" for details.)
Patient forms & education history - Forms, such as receipts of payment, and education modules, such as videos viewed from Edge Animations, are automatically added to the patient correspondence history.
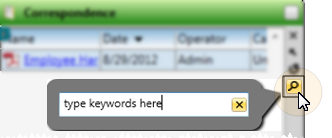
Search practice documents (Practice correspondence history only.) - Click the Search icon in the Correspondence application or dashboard widget tool panel, then type a key word or words to quickly locate the text you need. To clear your current search, click the X in the search text box.
More Information
Can't open file - You must have an appropriate viewing / editing tool installed on your workstation to be able to open files from a Correspondence panel. For example, in order to open a .PDF document, you must have Adobe Acrobat Reader installed..
 Correspondence. (See "Patient Home Page" for details about opening the patient's Home page and selecting the panel(s) to view. The process is slightly different, depending on whether Normal panel mode or Single Expanded panel mode is enabled in your Visual User Options.)
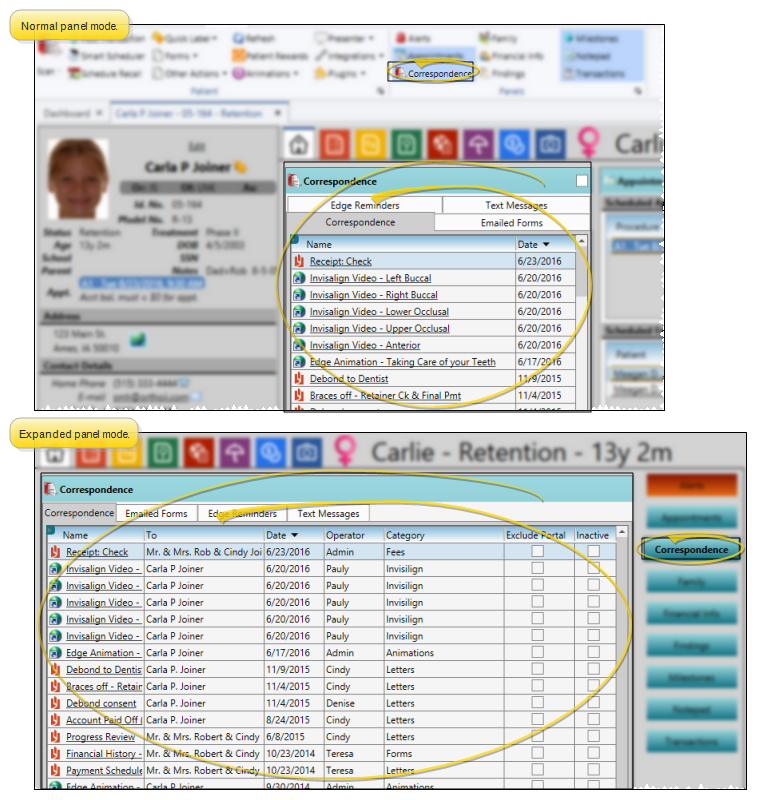
 Correspondence >

 Inactive
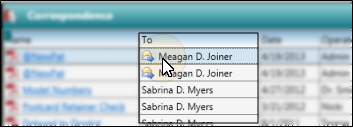
 Search icon in the Correspondence application or dashboard widget tool panel, then type a key word or words to quickly locate the text you need. To clear your current search, click the X in the search text box.