Use the Insurance Company
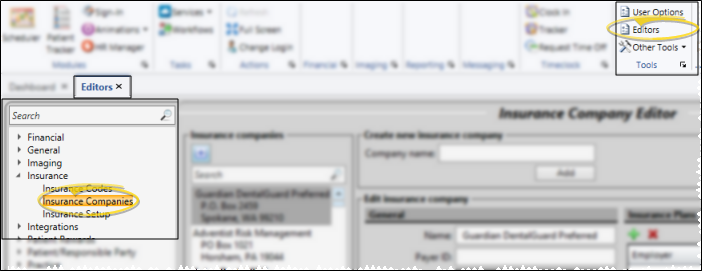
Home ribbon bar > Editors > Insurance > Insurance Companies. (You can also search for the editor you want to work with.)
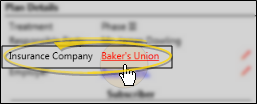
You can also open your Insurance Company editor from the Insurance Detail page of the patient folder. See "Insurance Details" for details.
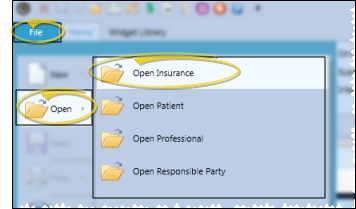
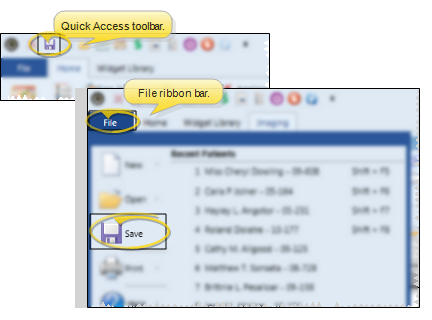
You can also open the Insurance Company editor to a specific insurance company record from the Open options of your File ribbon bar, and optionally from your Quick Access toolbar.
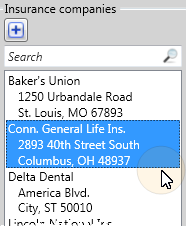
Choose Record to Work With - Your list of existing records appears at the left. Click the record to work with. The details for that record appear at the right. (You can also search for the company you want to work with.)
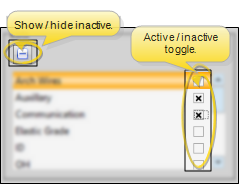
Display Active / Inactive Records - You can choose whether to include inactive records in your list. icon at the top of the window
Create new record - Type the company name in the Create New Insurance Company portion of the window, then click Add. You can then complete the details, described below.
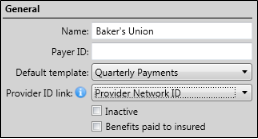
General information - Enter general claim submission details and preferences for this insurance company.
Name - You can change the company name if needed.
Payer ID # - (Electronic insurance submission only.) Enter the appropriate payer identification code for this Insurance Company record in this field. You can obtain a list of insurance company payer id numbers from your electronic insurance form clearinghouse.
Default template - (Optional.) Select the default contract template to use when creating a financial contract for this insurance company. See "Set Up Contract Templates" for details.
Provider ID link - Use the Provider ID Link field to select the type of orthodontist identification that is required for claims submitted to this company. When the forms are generated, the identification data is pulled from the corresponding field in your Orthodontist
Inactive / active toggle - Once you create a record, you cannot delete it. You can, however, flag it Inactive. Inactive records cannot be selected for your patients. You can, however, include inactive records in your list of records, and change them back to Active if needed.
Benefits paid to insured - Enable this option if the insurance benefits should be sent directly to the responsible party, and not to your office. This setting overrides the Assignment of Benefits default in your Insurance Setup editor.
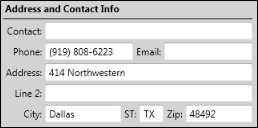
Address and contact information - Enter the name of your contact, as well as the insurance company address, phone number and email address. Note that the state must be in 2-letter postal abbreviation format.
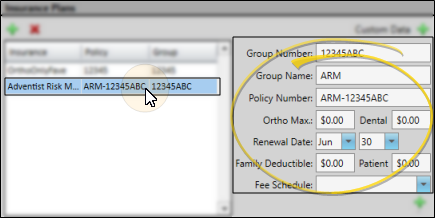
Insurance plans - Insurance plan details are linked in your Employer editor, Insurance Company editor, and the Responsible Party page of your patient folders. When you make a change in one place, the change affects the others automatically. However, Insurance Detail records in your patient folders are not linked: Changes to Insurance Detail records do not affect the other records, and vice-versa.
Add a plan - Click Add new insurance plan and enter the company name, group number and policy number.
Add & edit details- After adding an insurance plan, use the fields at the right of the list to add and edit details about the plan, such as the maximum benefits allowed.
Custom data - If you need to add even more information about this insurance plan, such as the type of form required, click Custom Data to create your own text field. Then type the information. If a custom field is blank, you can click
beside the field name to remove it.
Delete a plan - Select the plan to remove from this responsible party, then click . You cannot remove a plan that is associated with an active financial contract.
Note that when you select an employer for a responsible party, you will have the opportunity to add any associated insurance plans to the responsible party record as well.
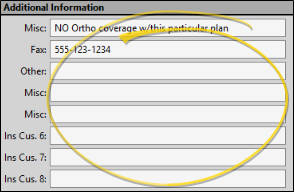
Additional information - Use the Additional Information fields to track any further data you need for working with insurance companies. In addition to providing you with the information you need to see, the fields can be included in sugrouping, and added to merge documents. You use the User Defined Fields
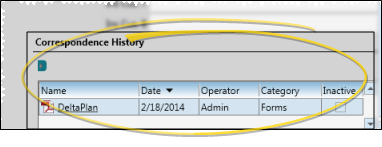
Correspondence history -
Save Changes Click
Save in your Quick Access toolbar or File ribbon bar (or press Ctrl+S on your keyboard) to save any changes you have made.
Ortho2.com │1107 Buckeye Avenue │ Ames, Iowa 50010 │ Sales: (800) 678-4644 │ Support: (800) 346-4504 │ Contact Us
Remote Support │Email Support │New Customer Care │ Online Help Ver. 8/3/2015