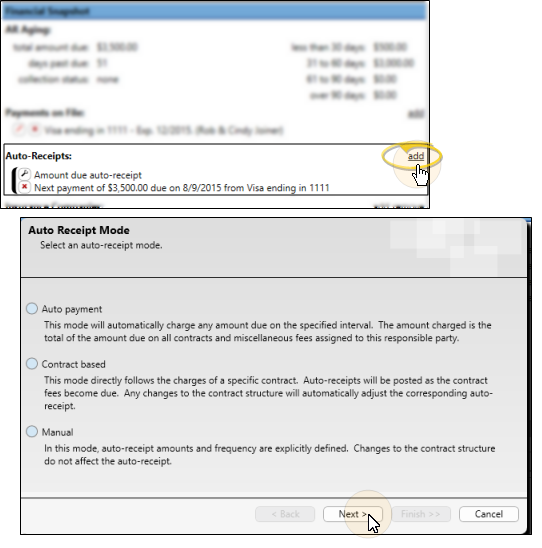
Add - Click add beside the Auto-Receipts section of the responsible party record. Then select how you want the Auto-Receipt agreement to calculate the amount of the payment. Choose auto payment, which processes payments for the entire amount due on a specific date, contract based, which processes payments for contract fees as they fall due, or manual, which processes payments for the amount and frequency defined by you, described below.
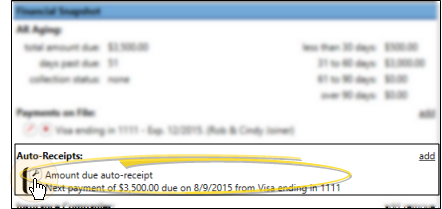
Edit - Click the  Settings icon beside the agreement you wish to change. Then use the Next and Back buttons as needed to move throughout the wizard and make changes. When you have completed the details, described below, click Finish to save the changes.
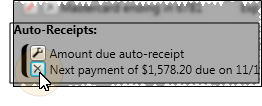
Delete - Click  beside the agreement you wish to remove from the responsible party record. Then confirm your action.
Auto-Receipt details - Complete these details when you add or edit an Auto-Receipt agreement. Use the Next and Back buttons as needed to move throughout the wizard. When you have completed the details, click Finish to add the Auto-Receipt agreement to the responsible party record.
-
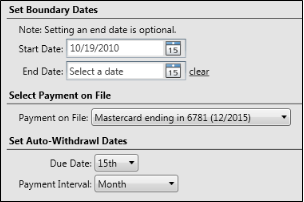
Auto payment mode details - Auto payment agreements process payments for the current amount due from all contracts for this responsible party. You enter the start (and optionally end) dates, the payment on file to use for processing the payments, day of the month the payment should be withdrawn, and the payment interval (i.e. Monthly, Quarterly).
If you do not enter a specific end date, the Auto-Receipt agreement will stop processing payments when there is no amount that should be collected. In addition, if the responsible party is paid ahead on all contracts, no payment will be processed for that interval.

-
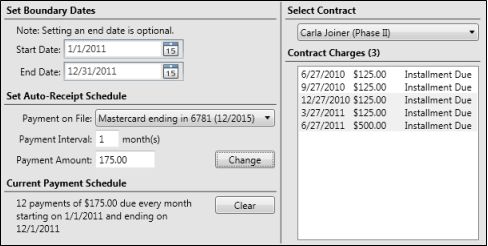
Contract based details - Contract based agreements process payments as the fees for a specific contract fall due. You first specify the contract to work with, then enter the start (and optionally end) dates, and the payment on file to use for processing the payments,
The contract summary at the right of the window highlights the contract charges this agreement will cover: Keep in mind that any charges that fall due before your start date and/or after your end date will not be covered by this Auto-Receipt agreement.
The payment amounts and dates are determined by the contract itself. Any changes you make to contract dates and amounts will automatically affect this agreement. If you do not enter a specific end date, the Auto-Receipt agreement will stop processing payments when no contract fees remain. The agreement will also stop processing payments when the contract is fully paid, even if not all charges have yet fallen due. In other words, if the responsible party pays ahead, the agreement will stop processing automatic payments when the contract balance is paid.
-
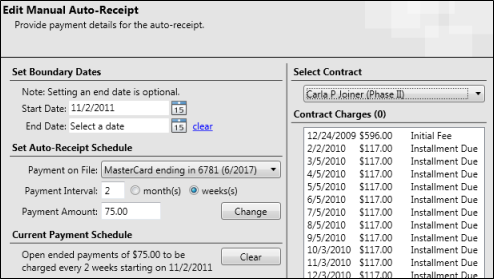
Manual mode details - (Use this mode sparingly.) Manual Auto-Receipt agreements process payments according to a schedule you specify. Neither the actual amount due nor the associated contract affect this agreement.
First, select the contract to work with. A summary of the contract appears to help you determine the best way to manage the payments. You then enter the start and end dates, and the payment on file to use for processing the payments, The start date determines the day of the month that the payments will be processed. You also need to enter the payment interval, in either months or weeks, and the amount of each payment. For example, to process a payment each month, enter an interval of 1. To process a payment every other month, enter an interval of 2. Click Add to initially set up the agreement. If you edit the agreement, click Change to adjust the payments as needed. The Auto-Receipt agreement will automatically use the start and end dates, along with the payment interval to calculate the number of payments to process.
Important: If you leave the end date blank, the account will continue to be charged until you either delete the Auto-Receipt agreement, or supply an ending date.
-
Review summary - After entering the required details, review the agreement summary. You can click Back to review and change details as needed.
-
Save - Click Finish to save the Auto-Receipt agreement.


