Scan Documents
Use the Scan tool along with your digital scanner to make an electronic image of any picture or document, and store that image in a correspondence history.
Get Started
Choose Scanner to Use - (Optional.) Choose which scanning device to activate automatically when you initiate a document scan from this machine. (See "Scanner User Options" for details.)
Use This Feature
-
Prepare Your Scanner - Place the item to be scanned (or the first page of a multi-page document) in your scanner, and be sure the device is on and ready.
-
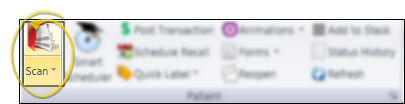
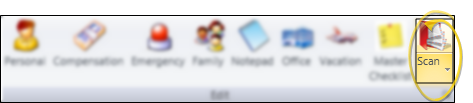
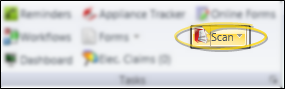
 Initiate Scan - Click
Scanning Options - You can optionally click the arrow beside the
Scan icon, and choose Scan Manual to manually select your scanner settings. or Scan Text to scan the document in black-and-white, regardless of the document's original colors. -
Select Scanner - Depending on your Scanners User Options settings, you may be prompted for the scanning device to use before the scan will begin.See "Scanner User Options" for details.
-
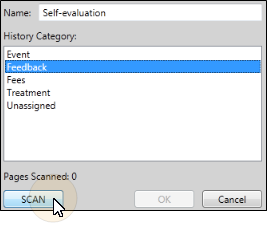
Document Name and Category - Enter a name, and choose the appropriate history category for the scanned file, then click SCAN. (Use the History Category
-
Select Settings & Start Scan
-
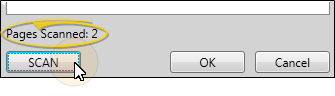
Scan Additional Pages - After your scanning device has digitized the current page, you can insert another page in the scanner, and click SCAN to continue scanning a multiple-page document as needed. The scanning window indicates the number of pages that have been scanned into this document so far.
-
Save and Exit - When you have scanned all pages, click

![]()
www.ortho2.com │ 1107 Buckeye Ave. │ Ames, IA 50010 │ 800.346.4504 │ Contact Us
Chat with Software Support │ Chat with Network Engineering │ Chat with New Customer Care
Remote Support │ Email Support │ Online Help Ver. 11/11/2019


