 Open patient >
  Finance page.

You can review proposed contracts, negotiate terms with the parties involved, and update the proposals as needed. When all parties are satisfied with the proposal, you apply the selected contract to the patient accounts, which adds the contract fee to your production and initiates the contract timeline.
Watch video tutorial. (Windows Media Player, an active Internet connection, and a valid Ortho2 customer login are required to run video tutorials, webinars, and training programs.)
Create proposed contract - Use the Contract Proposal Wizard to set up new proposed financial arrangements for the patient's treatment at your office. See "New Contract Proposal Wizard" for details.
Open patient > Finance page.
Enable proposal option - Choose to view proposals from the top of the Finance page.

Open a proposal - Select a proposed contract from the list that appears at the left of the window.
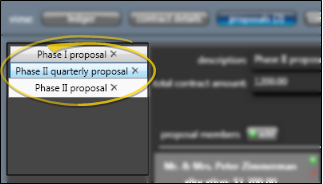
Description - If you have multiple proposals for this patient, be sure the description identifies this specific proposal.
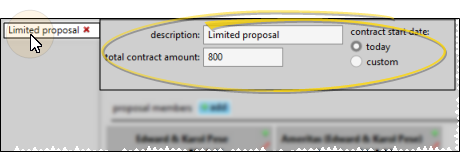
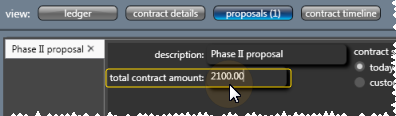
Total contract amount - This amount should be the entire fee for this treatment. Note that all the money must be allocated among the billing parties before you can apply the proposal to the patient's account.
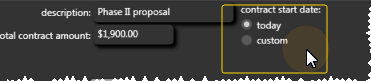
Contract start date - Select today to set the contract start date to the day that you apply the proposal. Or, select Custom and choose a specific date to start the contract, regardless of the date you apply the proposal to the patient account.
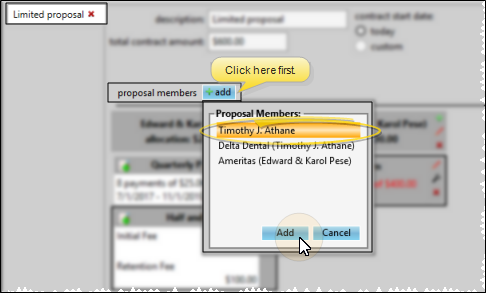
Add a proposal member - Click  add to select another responsible party or insurance company to include on the proposal. You can only add members that are properly linked to the patient folder. (When the patient receives insurance benefit money directly, the patient is responsible for paying you all financial obligations, and you do not include the insurance company as a member of the financial contract. You do, however, assign the insurance plan to the responsible party, and create an Insurance Detail record for that plan so that you can submit insurance forms on behalf of the patient.)
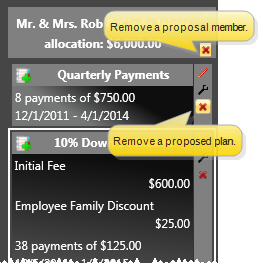
Remove a proposal member or a proposed payment plan - Click  beside the name of the proposal or member you wish to remove. If you remove a member that had been allocated part of the contract fee, you will need to add that amount to other members.
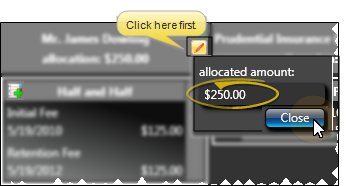
Adjust fee allocation - Click in the member's box to increase / decrease the portion of the contract fee that is allocated to that member. Just remember that the entire fee must be allocated before you can apply the proposal to the patient's account.
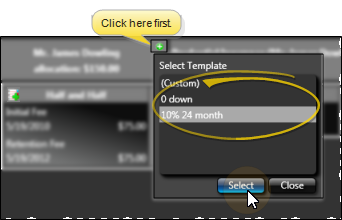
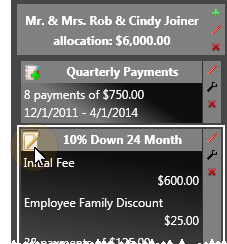
Add a proposed payment schedule - Click in the member's box and select the contract template to use for adding a new proposed payment option for that member. (You can also select Custom, then enter the payment plan details yourself, as described below.) Edge calculates the payments according to the portion of the fee that is allocated for this member. When a member has multiple proposed payment schedules, that member can then see the differences in the options and select a payment schedule that best works for them. Note that when you apply the proposed contract to the patient account, you must select one payment option for each member: All other options will be ignored when the contract is actually applied.
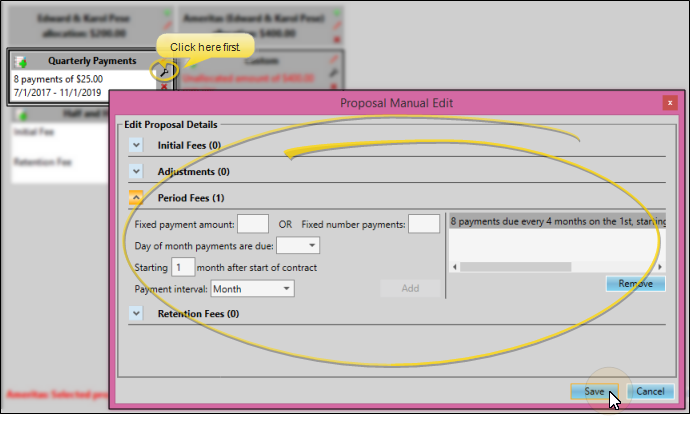
Customize a payment schedule - You can either add a Custom proposed payment schedule (described above) or click  in a payment proposal box. Then enter the payment schedule details and click Save. See "Edit Contract Structure" for details about each type of payment. Edge recalculates the payments, and notifies you if your customized plan does not accommodate the entire fee allocated to this member.
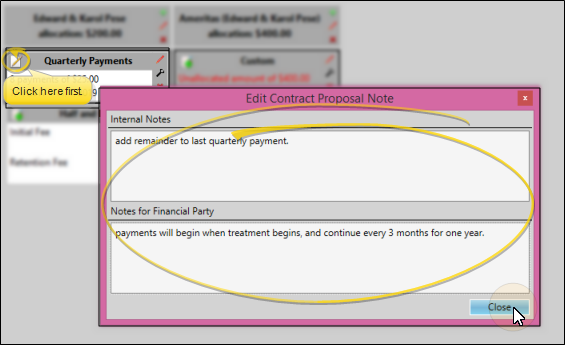
View / edit notes - Click the  Notes icon to read and edit the optional proposal notes. The contract template can include a default note to appear with the proposed contracts that you create with that template. This note, which prints on the Proposal Schedule form, is intended to be seen by the financially responsible party, and can be changed for individual proposals as needed. In addition, you can manually add another note to the proposal for internal use only.
Click the Notes icon.
Review and edit notes.
Save Changes![]() Click
Click  Save in your Quick Access toolbar or File ribbon bar (or press Ctrl+S on your keyboard) to save any changes you have made.
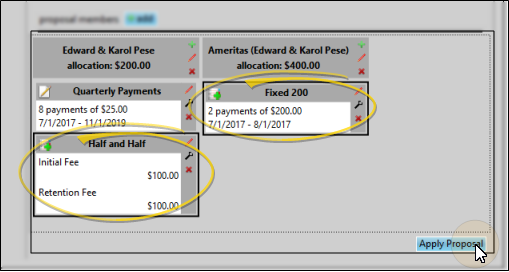
Apply a proposed contract - When you have agreed upon the contract amount and payment plan options, you are ready to apply the contract to the patient account.
Initiate proposal - Select the payment option you have agreed upon for each contract member and click Apply Proposal at the bottom of the window.
Select contract details - Set up the contract class and late fee policy for each contract member, and enter the expected treatment dates. Note that the dates you supply here will auto-fill into the corresponding dates for this treatment phase on the Findings page and Treatment Hub pages of the patient folder.
Note that the late fee applied to miscellaneous charges (i.e. diagnostic records charges and panorex charges) can be different from the late fee applied to contract charges (i.e. initial fees and period fees).See "Responsible Party Page" for details about changing the miscellaneous charge late fee policy.
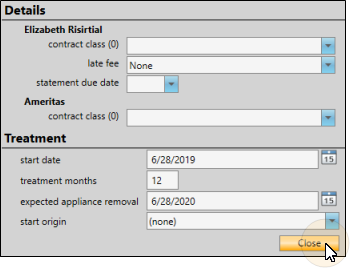
Click Close when you are finished with the details.This adds the contract to the patient account, initiates the contract timeline, and starts charging out payment plans according to the selected options.
 │
│
Ortho2.com │1107 Buckeye Avenue │ Ames, Iowa 50010 │ Sales: (800) 678-4644 │ Support: (800) 346-4504 │ Contact Us
Remote Support │Email Support │New Customer Care │ Online Help Ver. 8/3/2015


