 Editors > Financial > Contract Class. (You can also search for the editor you want to work with.)
Use the Contract Class
Home Ribbon Bar - Editors > Financial > Contract Class. (You can also search for the editor you want to work with.)
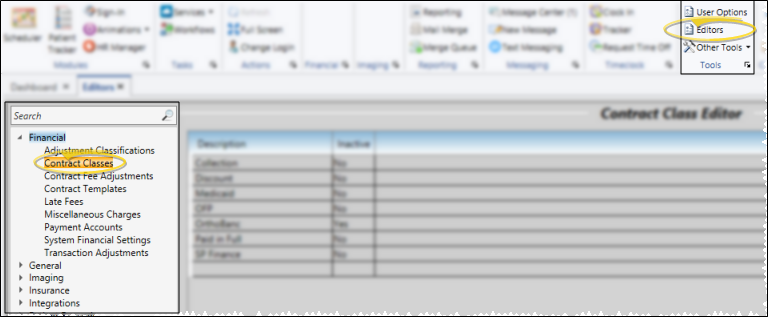
Click Editors from the Tools section of the Home ribbon bar.

Select Financial in the list at the left and select the Contract Classes option.
Choose Record to Work With - Your existing list of contract class descriptions appears alphabetically. Click to select the description to work with.
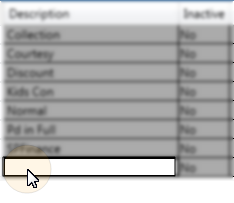
Create New Record- Click in the empty row at the bottom of your list, and type a new description.
Edit Description - Click to select the description to change, then type your changes. The list is re-alphabetized automatically.
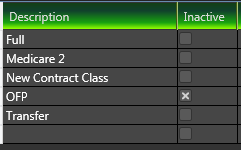
Inactive / Active Flag - Once you create a record, you cannot delete it. You can, however, flag it inactive. Inactive records cannot be selected for your patient contracts.
Save Changes![]() Click
Click  Save in your Quick Access toolbar or File ribbon bar (or press Ctrl+S on your keyboard) to save any changes you have made.
Assign Classes to Contracts -
OrthoBanc contract class description recommended - If you use the OrthoBanc integration, we recommend you create one or more "OrthoBanc" contract class descriptions so that you can easily subgroup patients that use OrthoBanc payment processing. See "About the OrthoBanc Integration" for details.
 │
│
Ortho2.com │1107 Buckeye Avenue │ Ames, Iowa 50010 │ Sales: (800) 678-4644 │ Support: (800) 346-4504 │ Contact Us
Remote Support │Email Support │New Customer Care │ Online Help Ver. 8/3/2015


