Home ribbon bar >  Editors > Workflows > Time Triggers. (You can also search for the editor you want to work with.)
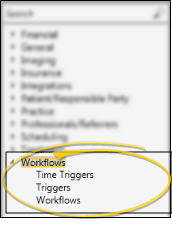
Click Editors from the Tools section of the Home ribbon bar.

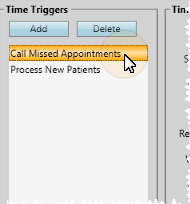
Select Workflows in the list at the left and choose the Time Triggers option.
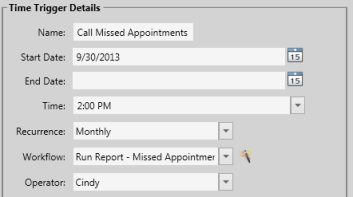
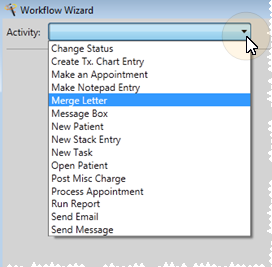
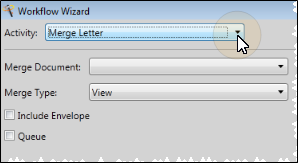
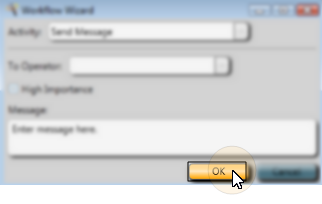
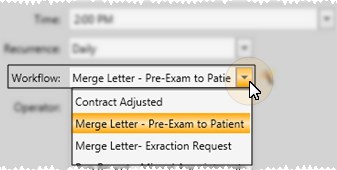
 Workflow Wizard icon, then choose the activity you would like to initiate with this event. After you define the activity properties, a new workflow is created, and assigned to this trigger.
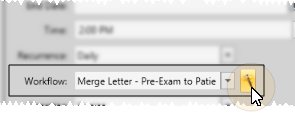

 Save in your


