Patient Appliance Tracker
The Appliance Tracker lists patient appliances you have sent to lab destinations but have not yet been returned. Use this feature to review and edit expected appliance information.
You track the type of appliances sent for consultation or service, along with their service locations and dates in the Appliances section of the Milestones panel of the patient folder. You can optionally assign and use barcodes to facilitate the appliance tracking process. See "Manage Patient Appliances" for details.
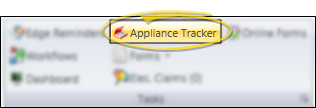
Select the  Appliance Tracker option from the Tasks section of the Home ribbon bar..
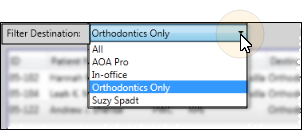
You can view all active appliance records, or select to display only items you have sent to a specific destination. Only appliances that are currently flagged as "sent", and appliances flagged as "received" today are included in the Appliance Tracker.
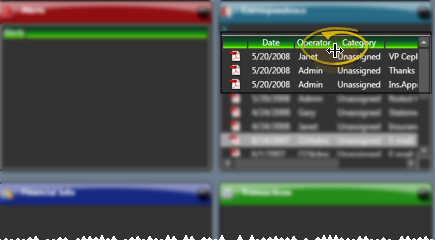
Sort Data - Click a column heading to sort the data by that column. Click the same column heading to reverse the sort order.
 Adjust Columns - You can adjust both the width and location of the columns in the window. All columns return to the defaults when you exit and re-enter.
Adjust Column Width - Click the bar between two columns to reallocate the column space. Be aware that it is possible to adjust a column to be so narrow that you no longer see it.
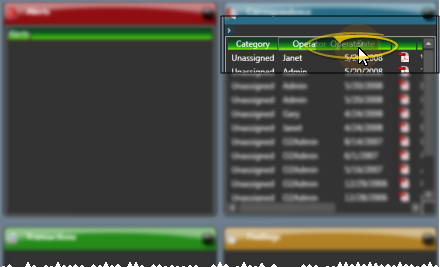
Change Column Order - Click a column heading and drag it to a new location within the window. Other columns adjust accordingly.
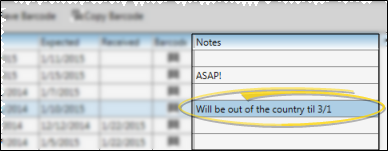
Click the Notes column to enter a message about the selected appliance. Appliance notes can only be viewed only from the Appliance Tracker, and not from the Milestones panel of the patient folder.
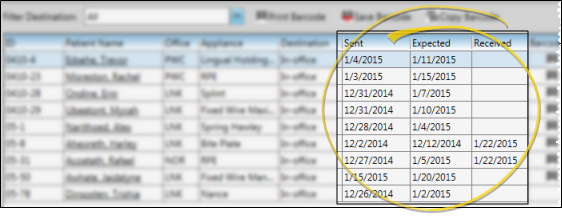
Click the date column you want to edit, then make your changes. Only appliances that have been "sent", but have not yet been received, or that have been received today, appear in the Appliance Tracker.
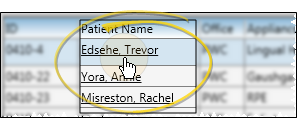
Click a patient name in the Appliance Tracker to open that patient folder.
Use barcode actions to assign, print, and copy barcodes. Printed barcodes can be attached to patient records or appliances. When you scan a patient barcode, the associated patient folder is opened for you. When you scan an appliance barcode, you are prompted to flag the associated appliance as "received".
Assign / Print Barcode - Select Print Barcode to obtain a hard copy of the currently assigned barcode. You can then attach the print out to the corresponding record, appliance, or other item you are tracking. If no barcode exists, Edge Cloud prompts you to generate one before printing. After creating a new barcode, be sure to save your changes before exiting the patient folder.
Save Barcode Assignment - If you have a printed barcode that you want to assign, select Save Barcode, then scan the printout. If no barcode exists, the code is assigned automatically. If a barcode is already assigned, you can either overwrite it with the newly scanned code, or cancel the action and keep the original barcode.
Copy Barcode - Select Copy Barcode, then choose to save the barcode text or image to your clipboard. You can then paste the copied code into another application, such as a word processing document or label.
Barcode Indicator - After you save a barcode for an appliance, an icon appears in the barcode column of your Milestones panel and your Appliance tracker,
Barcode Scanner, Printer, and Format - Use the Barcode fields of your Scanners user options to select the type of barcode scanner you have, which format to generate, and which printer to use to obtain a hard copy of the codes.See "Scanner User Options" for details.
Click Add Appliance at the top of the Appliance Tracker window, then enter the details, including the patient, appliance type, destination, and related dates. When finished, click Save to add the appliance to the Appliance Tracker and the Milestones panel of the patient folder.
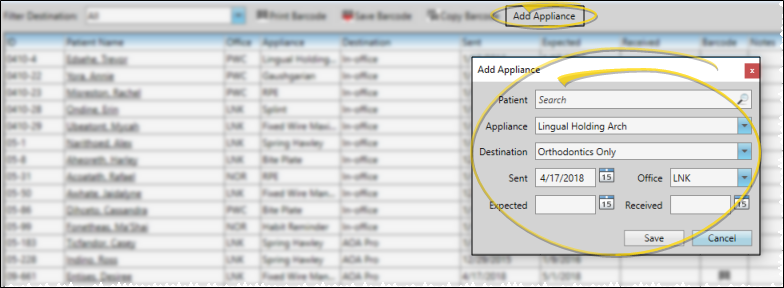
Patient - Use Fast Find to search for the patient to work with.
Appliance - Choose the type of appliance that is being serviced. See See "Set Up Appliance & Destination Lists" for details for details about your list.
Destination - Identify the location of the lab or office where the appliance is being sent for service or consultation. See See "Set Up Appliance & Destination Lists" for details for details about your list.
Sent - Enter the date you sent the appliance for laboratory service or consultation.
Office - Select which office location in your practice to associate with this appliance's service. This may or may not be the same office that is normally associated with the patient.
Expected - Enter the date you expect the appliance to be back at your office, ready for the patient.
Received - This is the date the appliance was returned to you, if any.
Save Your Changes - Click Save to save the changes you have made and close the editing window.
Additional Information - After the appliance has been saved, you can add notes and a barcode, if needed.
You cannot delete an appliance from the Appliance Tracker; You can, however, delete it from the Milestones panel of the patient folder. Remember, only appliances that have not been returned yet appear in the Appliance Tracker: Received appliances are removed from the list automatically. See "Manage Patient Appliances" for details.
Click  Save in your Quick Access toolbar or File ribbon bar (or press Ctrl+S on your keyboard) to save any changes you have made.

 Print from your File ribbon bar or Quick Access toolbar (or press Ctrl+P on your keyboard) to print a copy of the current screen contents.


