Appointment History
The Appointment History details the regular and recall appointments of your patients,
as well as appointments you have processed as kept, changed or missed and those that
have been deleted. While viewing the Appointment History, you can edit the status and reminders of the appointments as needed. You can also print the history for specific patients.
You can open this feature in multiple ways: Use the method that's most convenient for you.
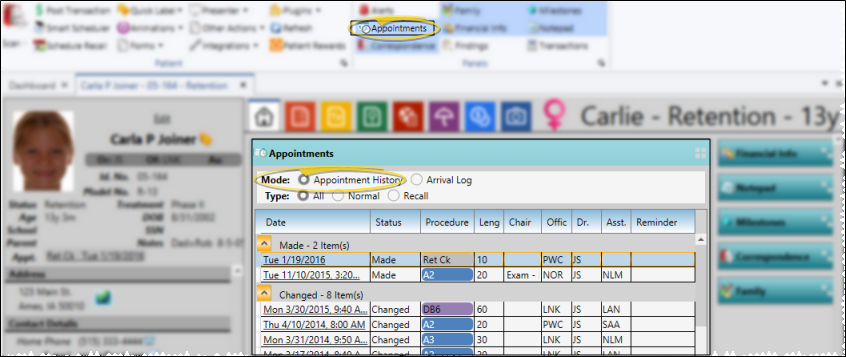
Patient Folder Home Page - To open the Appointment History from the patient folder, open and expand the Appointments panel on the Home page, and enable Appointment History mode.
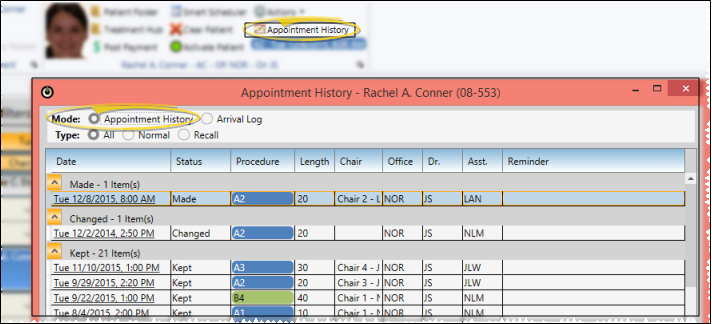
Scheduler Ribbon Bar - To open the Appointment History from the Scheduler ribbon bar, first activate the patient, then select the Appointment History icon from the Active patient section, and enable Appointment History mode. (You cannot print the Appointment History from here.)
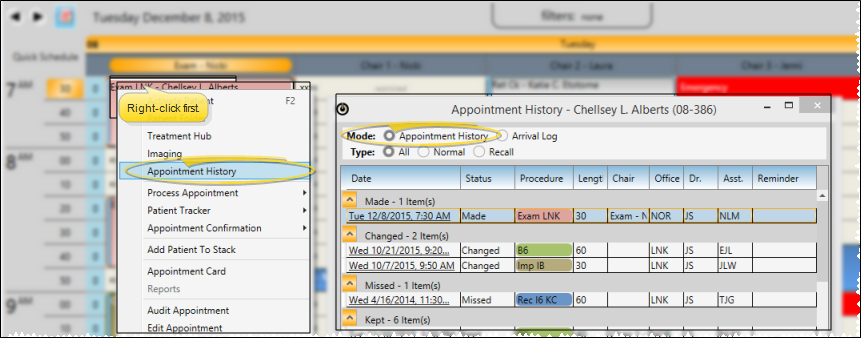
Right-Click Scheduler Appointment - To open the Appointment History from a patient's appointment, right-click the appointment in your Scheduler, and select Appointment History. Then be sure Appointment History mode is enabled. (You cannot print the Appointment History from here.)
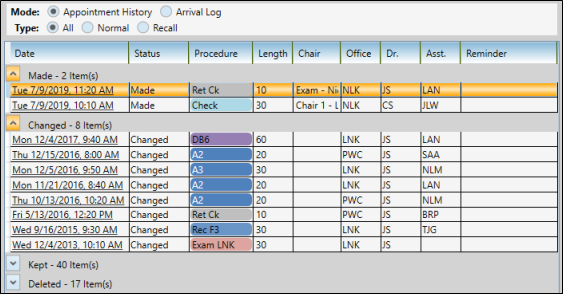
You can toggle between the Appointment History and Arrival Log, choose the type of appointments to view, and sort your data.
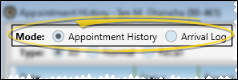
Toggle Appointment History / Arrival Log Mode - Use the Mode options at the top of the window to select which type of history to work with. (See "Patient Arrival Log" for details about using the Arrival Log.)
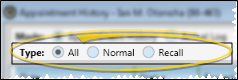
Choose Appointment Type to View - Select the type of appointments to include in the history: Normal (regularly scheduled appointments), Recall (recall appointments only), or All (both regular and recall appointments.)
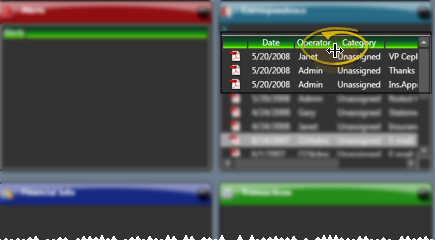
Sort Data - Click a column heading to sort the data by that column. Click the same column heading to reverse the sort order.
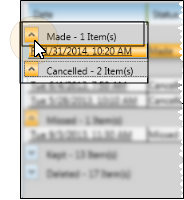
Collapse / Expand Sections - You can click the arrow in each status heading to collapse / expand that section, allowing more room on your screen for the type of appointments you wish to view.
 Adjust Columns - You can adjust both the width and location of the columns in the window. All columns return to the defaults when you exit and re-enter.
Adjust Column Width - Click the bar between two columns to reallocate the column space. Be aware that it is possible to adjust a column to be so narrow that you no longer see it.
Change Column Order - Click a column heading and drag it to a new location within the window. Other columns adjust accordingly.
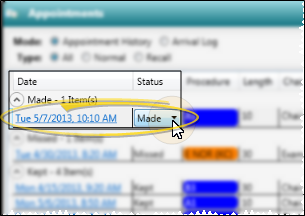
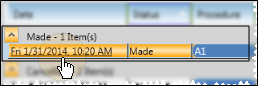
Click an appointment status column, then choose to process the appointment as Made (currently scheduled), Kept, Changed, Cancelled, Missed, or Deleted. See "Process Appointments" for details. about other ways to process appointments.
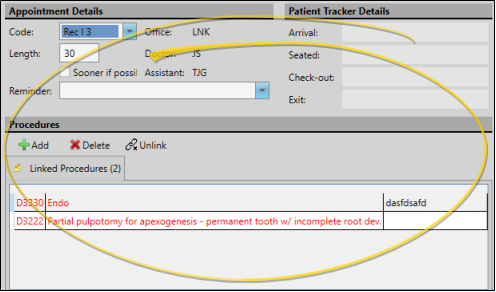
You can open the Edit Appointment Details window for scheduled appointments in several ways: Right-click an appointment in your Scheduler, Scheduler Group bar, Patient Information Panel, Treatment Hub, or Appointment History and select Edit. You can then update the appointment details, including the procedure, appointment length, reminder, Patient Tracker times and associated dental procedures. You can also enable / disable the Sooner if Possible option to add / remove the patient from your Sooner if Possible scheduler board. When finished, be sure to save your changes and exit the editing window.
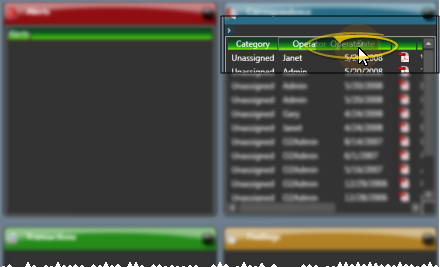
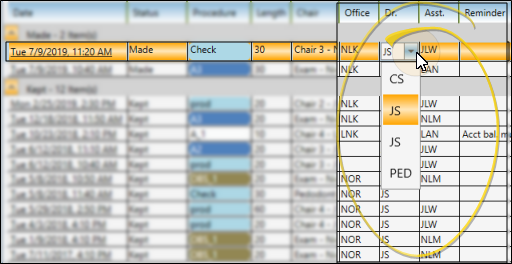
Select an appointment to work with, then click a column to change the office, doctor, or assistant assigned to the appointment. In addition, if the appointment already had a reminder assigned, you can click the reminder column to change it. You cannot, however, add a reminder to an appointment that did not have one originally. Be sure to click Save to save any changes you have made to the appointment details.
Click an appointment in the Appointment History to open your Scheduler to that date, with the appointment selected and the patient activated.
If you have multiple Scheduler tabs open, clicking a patient appointment link will bring the left-most tab to the front of your Edge Cloud window. Note that before you click the link, you can reorder your tabs by simply dragging them into place, thus selecting which Scheduler tab you want to work with. See "Scheduler User Options" for details about enabling/disabling the multiple Scheduler option.
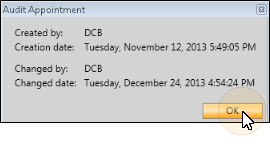
Right-click an appointment to view the date and time the appointment was made, the last time it was changed, and the operator who processed those changes.
Click Save, either from the Quick Access toolbar, or the bottom of the window, depending on how you opened the Appointment History to save any changes you have made to the appointment details.
Save from patient folder Home page Appointments panel:
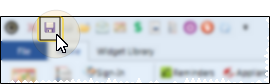
Save from Scheduler Appointment History window:
Run the Appointment History form to obtain a printed copy of the patient's current and past appointments.
-
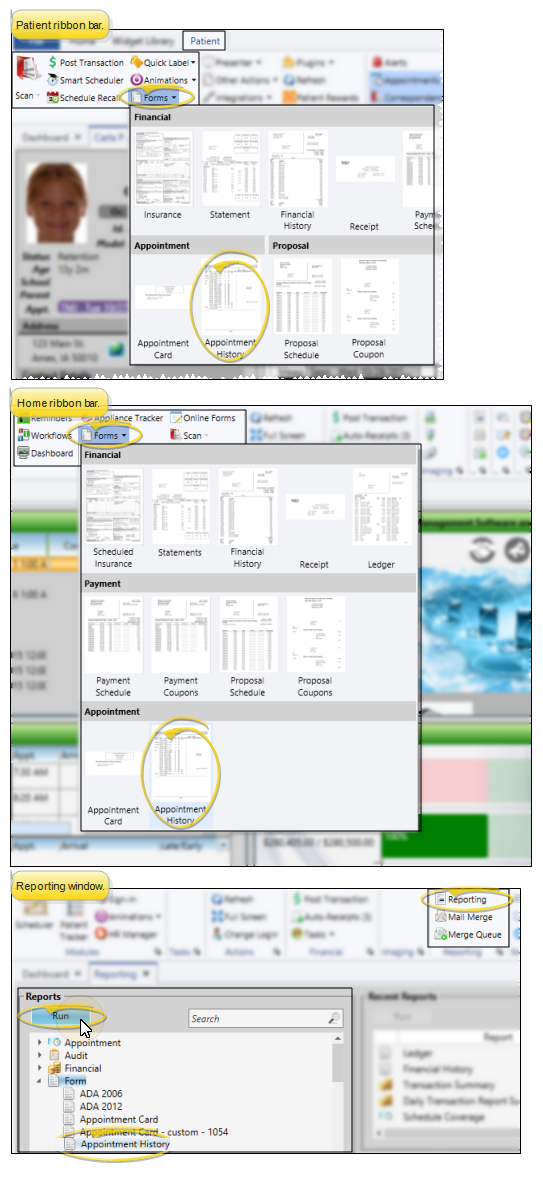
Select Appointment History Form - You can select the Appointment History form by selecting Forms then Appointment History from the Patient or Home ribbon bar, or from the Forms section of your Reporting window.
-
Choose Patient - Select the patient for whom you want to run the form.
When you open a patient folder, then initiate this form from the Patient ribbon bar Forms icon, your Quick Reports settings take effect, and the form is immediately generated for the active patient. To use different settings, click the  Slider icon at the upper left edge of the report to open the report settings window, if available, or edit the Quick Report settings. See "Quick Reports" for details.
-
View Results - If needed, click View at the top of the report settings panel to view the results on your screen. When you run a report or form from your Recent Report list, or when you run a Quick Report, the initial results are sent to your screen immediately, with one exception: A Quick Report that has the Print Only option enabled will not show your results on the screen at all, but continue with the printing options.
While viewing the form, You can click the arrow in each status heading to collapse / expand that section, allowing more room on your screen for the type of appointments you wish to view.
-
Manage Options and Output - With the results on your screen, you can choose different report settings from the left side of the screen and click View again to obtain different results. In addition, you can manage the output with the toolbar at the top of the report window. See "Use Report Results" for details.
Print Appointments Panel - You can also print the currently displayed portion of the Appointment History from the expanded Appointments panel of the patient Home page. Click  Print from your File ribbon bar or Quick Access toolbar (or press Ctrl+P on your keyboard) to print a copy of the current screen contents. (See "Printing from Edge Cloud" for details.)