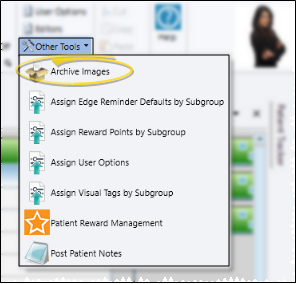
Home ribbon bar >  Other Tools >
  Archive images.
Use the Archive Images feature to move the images of patients who are no longer active off of the data server to an archive directory. Your images may optionally still be available for viewing and editing in the patient folder, and can optionally be used in your Patient Tracker, Treatment Hub, and mail merge letters, as long as the image cache is not deleted.
Designate image cache location - (* Workstation-specific setting.) Designate an Image Cache location that will be used by this workstation for new and changed images waiting to be uploaded to your server, and for archived images to remain linked to your patient folders. See "Set Up Imaging User & Machine Options" for details.
Home ribbon bar > Other Tools > Archive images.
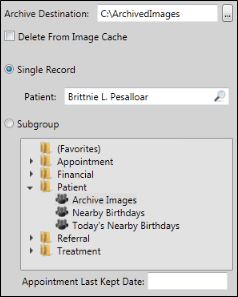
Select archive options - Select the options to use for this archiving job.
Archive destination - If you supply an Archive Destination, the images will be copied to that location in a folder identified by the patient's primary ID number. We strongly advise you to back up this folder whenever you archive images to preserve the integrity of your patient records. You will still be able to view and edit the images from the patient folder only if you do not delete the image cache (described below).
Image cache option - If you do not use the  Delete from Image Cache option, the images will be linked to the patient folder via the image cache on your server, so that you can still view and edit them. If you enable the
  Delete from Image Cache option, you must supply an Archive Destination to preserve a copy of the images. The images are then deleted from the server, and no longer linked to your patient folders.
Choose patients to archive - You can archive images for a single patient or for a subgroup. Look for a sample Archive Images subgroup in the Patient subgroup folder. Or, you might create a subgroup similar to one of the following:
Has unarchived time point = YES AND
Patient status = DIS (or your dismissed status description) AND
Appointment Last Kept Date < PROMPT
or
Has unarchived Time point = YES AND
Status requires appointment = NO AND
Appointment Last Kept Date < PROMPT
Use the Prompt for the Last Kept Appointment Date subgroup element to be sure you are archiving only patients that have been inactive for quite some time.
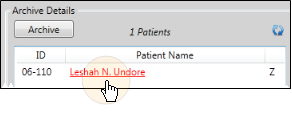
Review patient folders - After selecting the patient or patients you wish to archive, a list of those patients appears at the right of the window. You can click a patient name to open that folder.
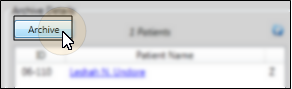
Archive images - After reviewing the patient list, click Archive to begin the archiving process. Note that this process can take a long time - even several hours. So, we strongly recommend that you archive images after hours, or only when you will not be using Edge for other tasks.
Back up archived images - Each time you archive images, be sure to back up your archive directory and store it in a safe place.
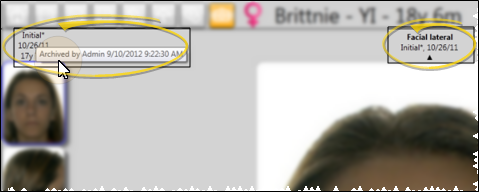
View & edit archived images - As long as the image cache has not been deleted, you can view archived images in the patient folder, as well as use them in your Patient Tracker, your Treatment Hub and mail merge letters. Archived images are identified by an asterisk beside the timepoint name. You can hover over the timepoint name to view the archived date and operator. You can still edit images and import new images for this patient, but they will continue to be stored in the image cache, and not your general system database.
Consider processing time - You can run the archive process at any time, but we recommend you archive images after hours. Archiving can take a long time.
Keep images safe - Back up your archives images directory up after each archival, and store those backups in a safe place to maintain the integrity of your patient records.
 │
│
Ortho2.com │1107 Buckeye Avenue │ Ames, Iowa 50010 │ Sales: (800) 678-4644 │ Support: (800) 346-4504 │ Contact Us
Remote Support │Email Support │New Customer Care │ Online Help Ver. 8/3/2015