View From Patient Information Panel - You can view, open, and print items from the Correspondence tab of the patient's correspondence history from the Correspondence patient folder widget. The widget uses the filter settings from the correspondence panel of the patient's home page to determine which items to include. Also, you can only toggle the Edge Portal flag and the Inactive flag from the home page correspondence panel, and not the patient folder widget.. See "Patient Folder Widgets" for details.
View From Treatment Hub - Your Treatment Hub can optionally display correspondence history items (from the Correspondence tab only) within the list of treatment chart records. To choose which items to include, click the  Filters icon in the Treatment Chart section of the Patient ribbon bar, and select enable / disable items as needed. These filter settings are independent of the filter settings in the correspondence panel and notepad panel of the patient's home page. Edge Cloud remembers your filter settings the next time you view the Treatment Hub. See "Treatment Hub" for details.
Filter Items to Display - Click the  Filter icon at the left of the frame to select the categories of items to display. When you are finished, move your cursor off the filter selection box to close it. Edge Cloud remembers filter settings by user and page: So, no matter what workstation you use, or which patient you are working with, your favorite filters go along with you. See "Set Up History Categories" for details about setting up your categories. If you enable the Correspondence patient folder widget, the widget will use the filter settings you apply here.
Edge Portal - Click the Exclude Portal column at the right-side of an item in the correspondence history to toggle whether the item appears in the Edge Portal mobile viewer.
Inactive / Active Toggle - Once you create a record, you cannot delete it. You can, however, flag it Inactive. Records you flag as Inactive are not available for general use, but they remain in your system for reporting and other data collection needs. In addition, you can toggle records back to Active whenever needed.
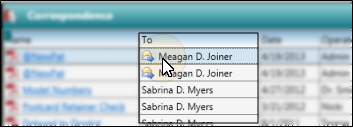
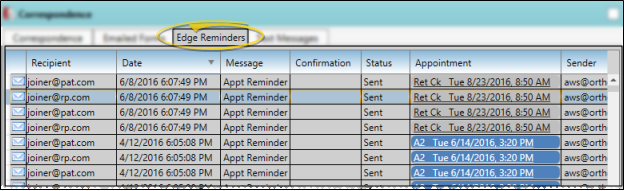
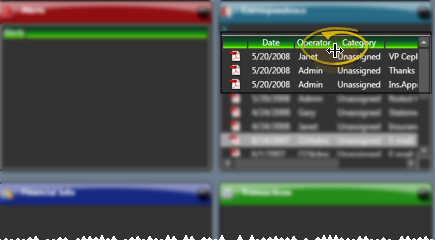
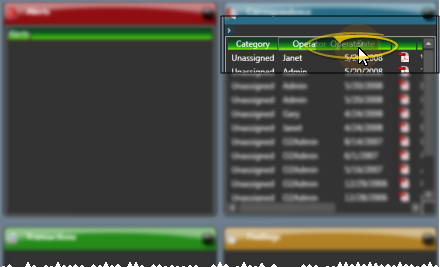
Identify Recipient - When you expand a patient's Correspondence panel, the To column indicates to whom mail merge documents were printed, captured, or emailed, according to the Email Type setting in the Merge Document editor. In addition, mail merge documents that you sent via email are preceded by an email icon, to indicate that the document was sent electronically. You can hover over the icon to see pop up a window that identifies the email address that was used.
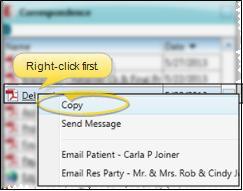
Copy a File to the Clipboard - Right-click an item, and select Copy. The document is copied to your clipboard, ready to be pasted into another folder or application.
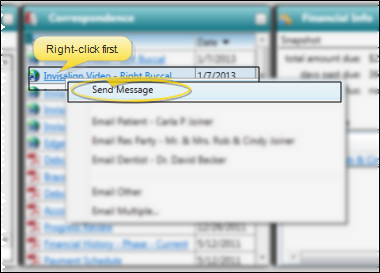
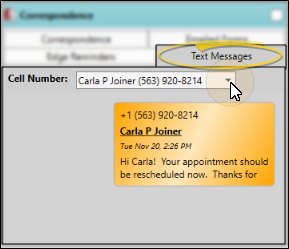
Send a Message - Right-click an item, and select Send Message. The New Message window opens, with a link to the patient and the correspondence history item. You may then add text to the message, select recipients, and send the message. (See "Send an Instant Message" for details.)
 Email a Correspondence History Item - Right-click an item, and choose who should receive the message, with the correspondence history item attached.
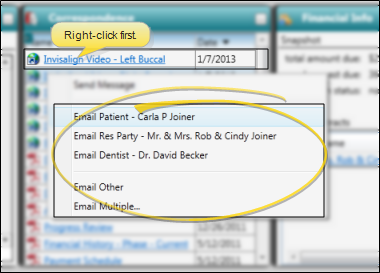
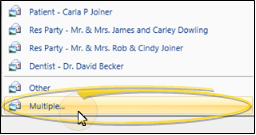
Select Individual Recipient - Choose to send the document to the email address of the patient, responsible party, or professional associated with the patient folder, or select Other to send the document to a different email address.
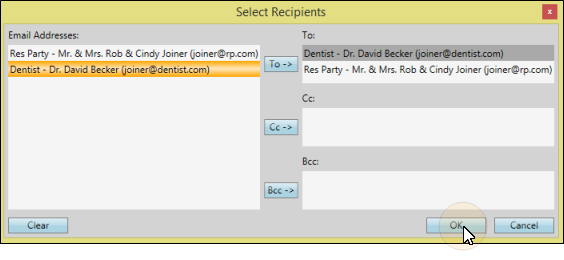
Select Multiple Recipients - Select Multiple..., then choose the individuals you want to receive the message. You can use the To, Cc, and Bcc buttons to add addresses to the list, or double-click to add and remove addresses as needed. You can also click Clear to remove all selected addresses. All recipients will receive the same email message content and attachments, and a notification will be added to each individual's correspondence history.
Open multiple recipient window:
Select recipients:
View a Document / Video - Click the file name to open a document or run a video. You must have an appropriate viewing / editing tool, such as Adobe Acrobat, installed to be able to open files.
Drag Document / Image / Video - You can drag and drop almost any type of digital file into a correspondence history for archive and reference purposes. Files you may want to drag and drop include .PNG graphic files, .PDF document files, .MP3 sound files, and .MP4 video files. See "Drag & Drop Documents into Correspondence History" for details.
Scan Document - Use the Scan tool to send a digital copy of any document from your scanning device to a correspondence history.See "Scan Documents" for details.
Capture Patient Forms - Patient forms are saved in the correspondence history whenever they are printed or emailed. However, you can also use the Capture tool to save a form in the correspondence history even if you don't print or send it. See "Use Report Results" for details.
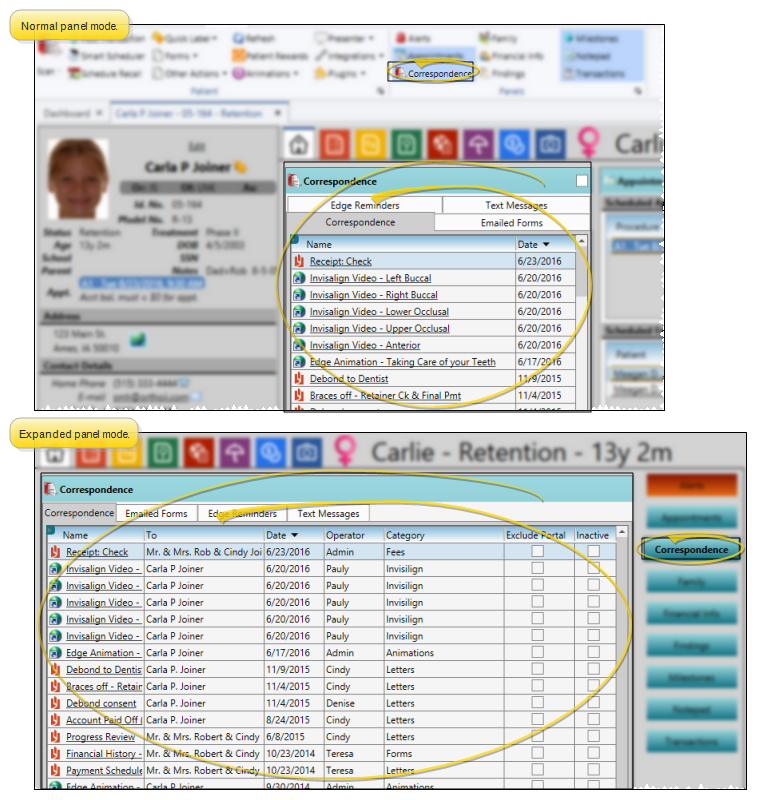
 Correspondence. (See "Patient Home Page" for details about opening the patient's Home page and selecting the panel(s) to view. The process is slightly different, depending on whether Normal panel mode or Single Expanded panel mode is enabled in your Visual User Options.)