File, Home, or Scheduler Ribbon Bar -  User Options > Scheduler > Printing.
Select User Options from a ribbon bar.
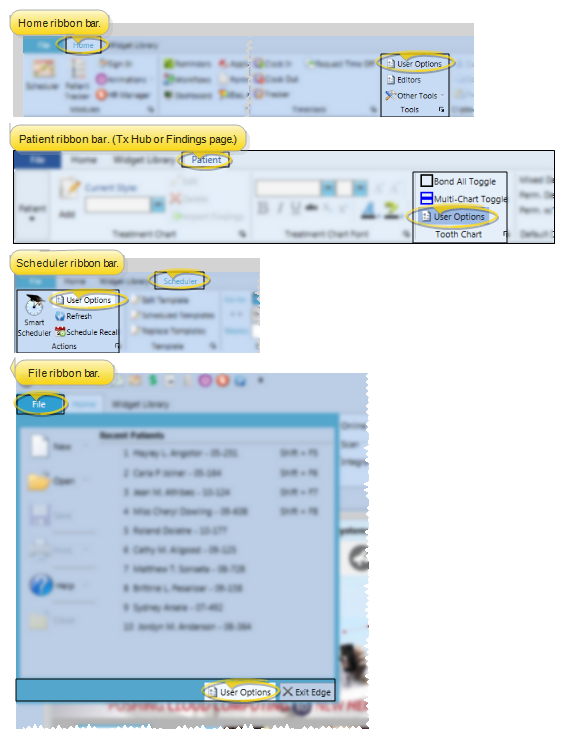
Choose the Scheduler options.

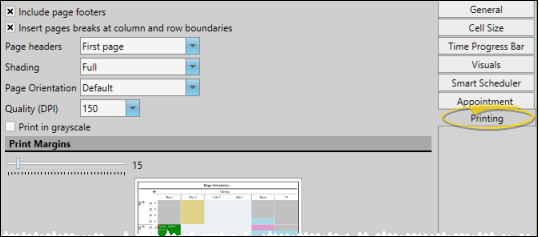
Select the Printing tab.
 Print icon from your Quick Access toolbar to print a graphical copy of the currently displayed schedule.


