File, Home, or Scheduler Ribbon Bar -  User Options > Scheduler > General.
Select User Options from a ribbon bar.
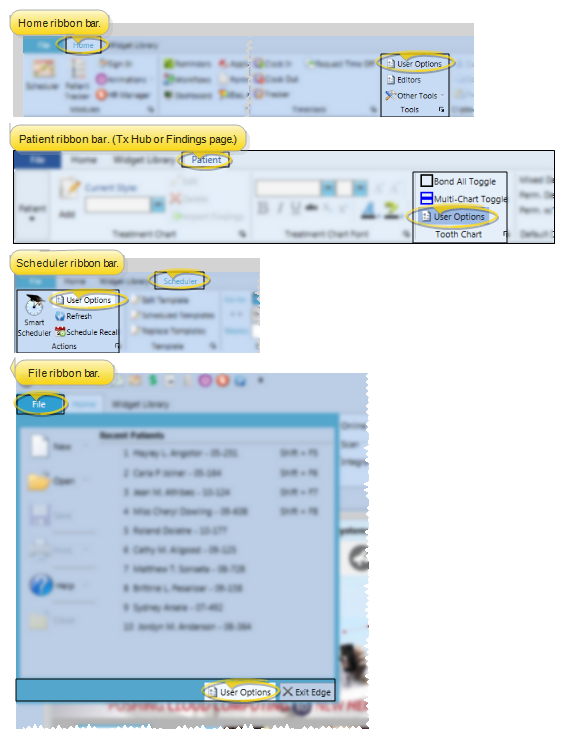
Choose the Scheduler options.

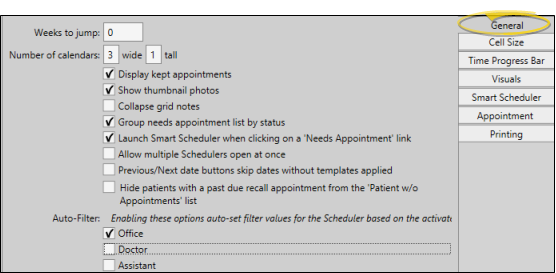
Select the General tab.
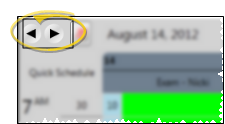
 Jump Day /
  Jump Weekis on e jump after today.
 icon from your ribbon bar, a new Scheduler tab will be opened within your Edge system. Your front desk might use this option, for example, to keep today's schedule open on one Scheduler tab, while rescheduling patient appointments on another Scheduler tab.