Use the
Home ribbon bar > Editors > Scheduling > SchedulerTemplates. (You can also search for the editor you want to work with.)
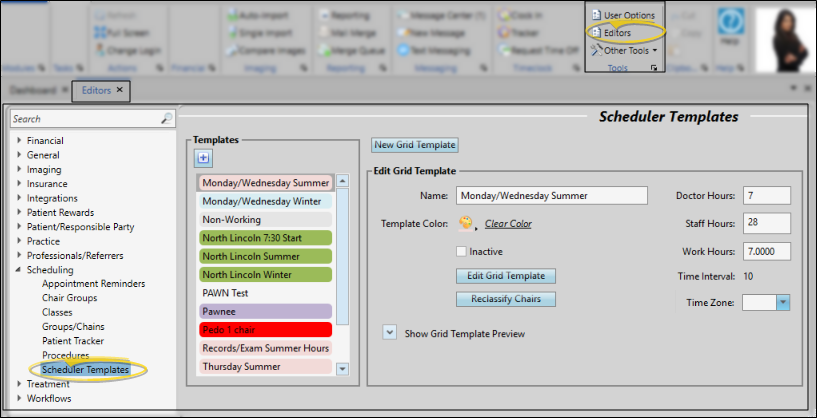
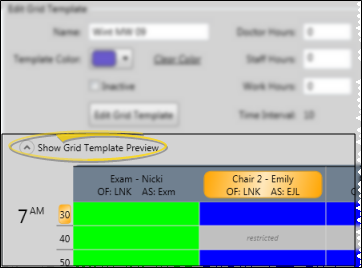
You can also work with the template of an individual date in your scheduler by selecting Edit template
Display active / inactive records - You can choose whether to include inactive records in your list. 
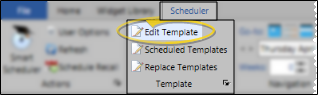
icon at the top of the window
Work with an existing template - Your list of existing templates appears at the left. Click a description to work with.
Show Grid Template Preview - Toggle the Show Grid Template Preview option to see a preview of the template you have selected. This feature provides a way to determine if you have selected the correct template before you continue with changes. Note that keeping the preview open can slow down the processing speed of the editor.
Rename template - You can type a new name for the template, without making any other changes.
Template Color - The template color is used with your scheduler's Month View mode and in the status bar at the bottom of your daily schedule, to identify which template you have assigned to which dates. Select a color for the template, or click C
Template Hours - Enter values in the Doctor Hours, Staff Hours, and Work Hours fields to be used for reporting purposes
Inactive / active toggle - Once you create a template, you cannot delete it. You can, however, flag it 
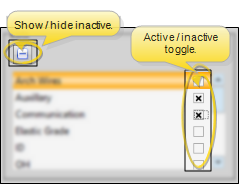
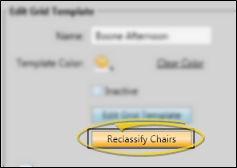
Inactive. Inactive records cannot be selected for a scheduling date. You can change them back to active if needed.
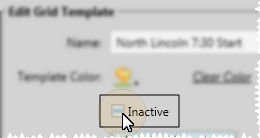
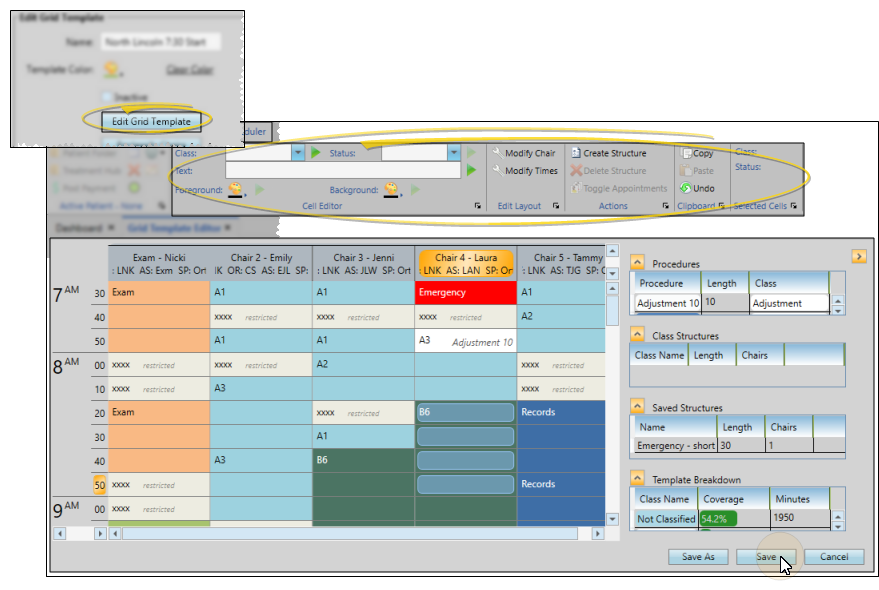
Edit details - Select the template, then click Edit
Save Changes Click
Save in your Quick Access toolbar or File ribbon bar (or press Ctrl+S on your keyboard) to save any changes you have made.
Reclassify chairs - Use the Reclassify Chairs feature to update the chair assignments (Office, Doctor, Assistant and/or Chair Group) of applied scheduling templates to match the values of a global scheduling template you have just edited. This reclassification occurs without disturbing any currently scheduled appointments. You might use this feature, for example, if you have edited a template to assign chairs to a new orthodontist in your practice, or to reassign chairs among your assistants. See "Reclassify Grid Chairs" for details.
Create a new template -
Chairs / Columns - Specify the number of chairs, or columns, to have in the template. You can optionally assign a doctor, office, assistant
Template Time Coverage - Define the interval (the number of minutes) allotted for each scheduling cell. Most offices schedule by 5-, 10-, or 15-minute intervals. Also, enter your working hours for this template. When finished, click
Review & finish template - You can review the choices you have made for this template, using Back and Next to toggle among the setup windows. When ready, click Finish to accept your settings and continue to the template tools window, where you set up the scheduling rules for your time slots as needed. See "Use Template Editing Tools" for details.
I don't see my changes - Changes you make from the Template editor do not affect any scheduling dates that are already using that template.
Ortho2.com │1107 Buckeye Avenue │ Ames, Iowa 50010 │ Sales: (800) 678-4644 │ Support: (800) 346-4504 │ Contact Us
Remote Support │Email Support │New Customer Care │ Online Help Ver. 8/3/2015