Scheduler > Quick Schedule.
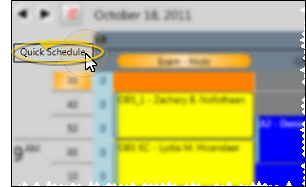
After opening your Scheduler to the date you want, click the Quick Schedule link at the left side of the window.
Use Quick Scheduling to quickly find open appointment slots on the currently visible grids for a specific procedure.
Classify your procedures & scheduling grids - You must classify both your procedures and your templates for the Quick Scheduling feature to function properly: If you do not use classification, Quick Scheduling will not know which appointment time slots are appropriate for which procedures.
Scheduler > Quick Schedule.
After opening your Scheduler to the date you want, click the Quick Schedule link at the left side of the window.
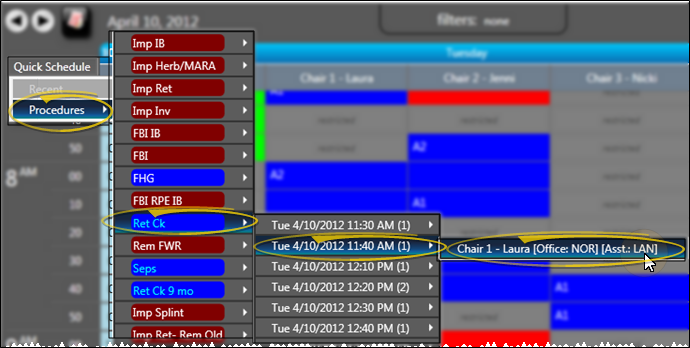
Select procedure & time - Click Procedures to view the list of appointment procedures that would fit into the current grid, or click Recent to view the list of most recent Quick Schedule searches. When you select the procedure to search for, the available openings for that procedure appear. Choose the time slot, and chair, if appropriate, you want to appoint.
Note that if the time slot you select is assigned to a specific orthodontist, office, or assistant, that requirement is included along with the chair notation.
Choose patient - If a patient is not currently active in the Scheduler, you use Fast Find to locate the patient to work with. If you attempt to appoint the same patient twice in a row, you are notified of the event and must confirm your action to continue scheduling the appointment. This feature helps prevent accidental duplicate scheduling.
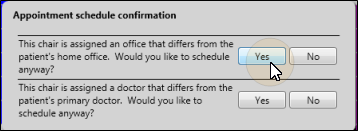
Confirm scheduling conflicts - If this appointment is being scheduled to a grid cell with a different class or column assignment, or if the doctor, office, or assistant do not match those in the patient folder, you must confirm you action before continuing.
Respond to milestone reminders -
 Alert - If the patient has an alert stop flag for this feature, the alerts box will appear when you initiate this feature for the patient. Review the alert information, then click the box to continue. See "Patient Alerts" for details.
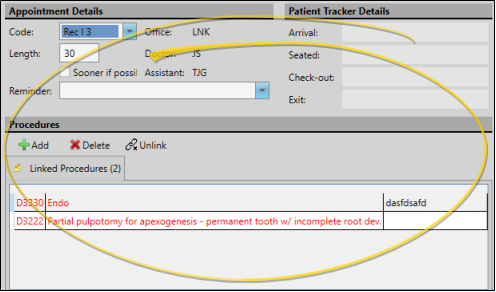
Appointment details - After finding the appointment time slot for a patient, and responding to any alerts and reminders, the Appointment Details window opens. You can then review and change certain appointment details, and process previously scheduled appointments before appointing the patient.See "Choose Appointment Details" for details.
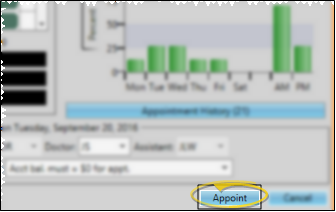
Appoint the patient - When you are satisfied with the appointment details, click Appoint. If you have changed the appointment details so that the selected procedure no longer matches the appointment location, you must confirm your action before the appointment will be scheduled.
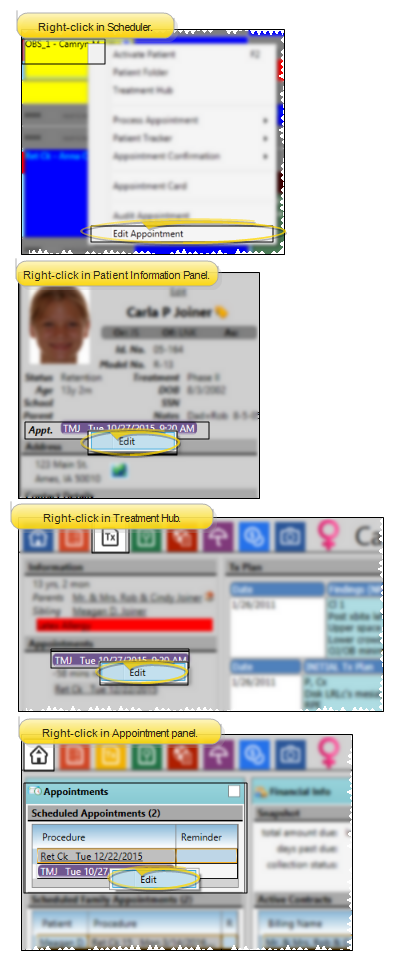
Edit Appointment Details![]() - Right-click an appointment in your schedule, from the patient information panel, or from the expanded Appointment panel of the patient folder Home page, and select Edit Appointment to change the appointment details, including the procedure, appointment length, reminder, and Patient Tracker times. You can also enable / disable the
- Right-click an appointment in your schedule, from the patient information panel, or from the expanded Appointment panel of the patient folder Home page, and select Edit Appointment to change the appointment details, including the procedure, appointment length, reminder, and Patient Tracker times. You can also enable / disable the  Sooner if Possible option to add / remove the patient from your Sooner if Possible scheduler board.
 │
│
Ortho2.com │1107 Buckeye Avenue │ Ames, Iowa 50010 │ Sales: (800) 678-4644 │ Support: (800) 346-4504 │ Contact Us
Remote Support │Email Support │New Customer Care │ Online Help Ver. 8/3/2015